How to open files and folders stored on the DrivePod on either a
PC or a Mac.
1. Double-click on the DrivePod. A window showing the files and folders stored
on the drive will appear.
2. Double-click on the file or folder that you want to open.
How to copy files/folders to your DrivePod On a PC
1. Single-click the file or folder that you want to copy in order to highlight it.
2. In the
Edit pull-down menu select Copy
.
3. Double-click the DrivePod to open it.
4. If you want to copy the file or folder to a specific folder on the drive, double-
click that folder to open it.
5. In the
Edit pull-down menu select Paste
. The file or folder will copy over.
How to copy files/folders to your DrivePod On a Mac
1. HIghlight the file or folder that you want to copy by clicking on it, but do not
release the mouse button.
Installation For Windows 98/ME Users
1. Once your DrivePod has been properly connected and powered “on”, the
Add New Hardware Wizard
window should appear. Click
Next
.
2. You will then see the message:
“What do you want Windows to
do?”
with two options. Select
“Search for the best driver for
your device (Recommended)”.
Click
Next
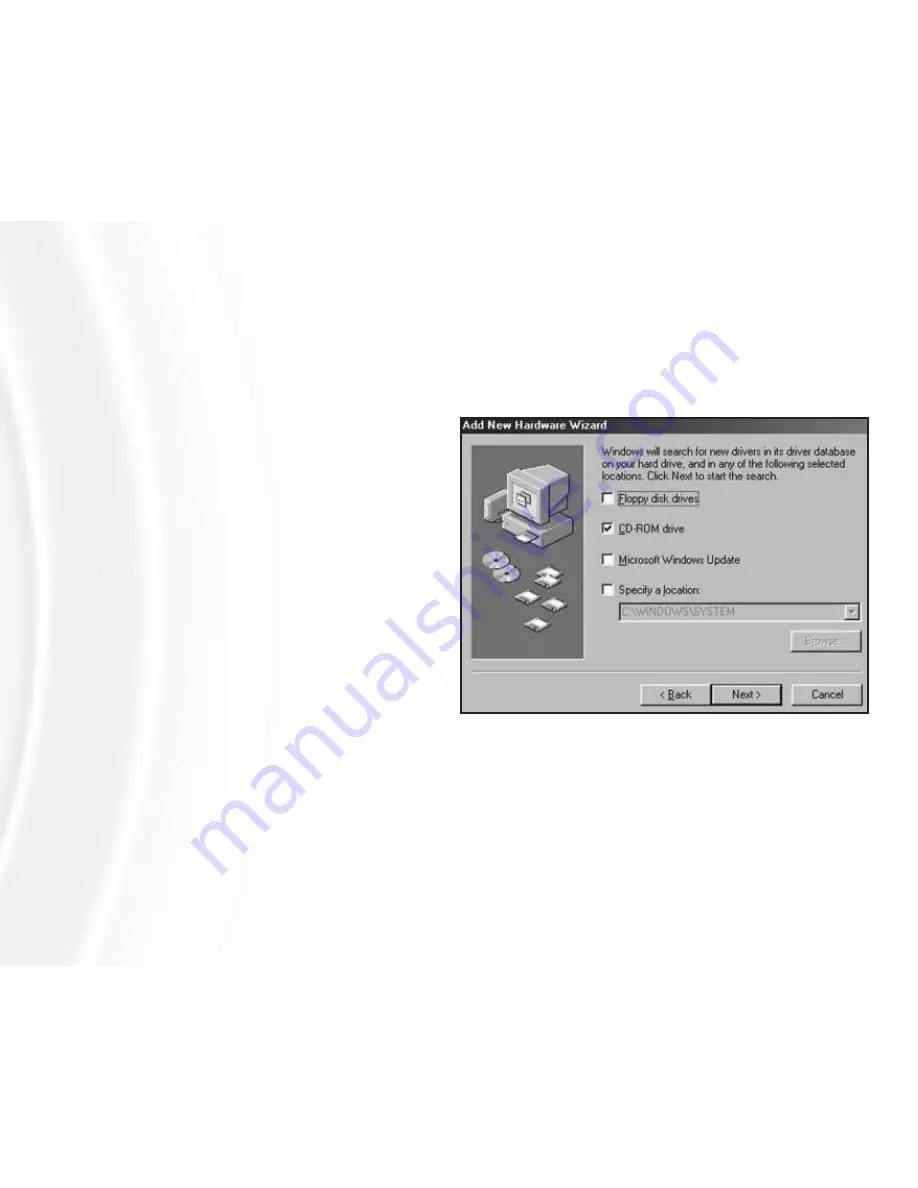
. You will then see the
display shown in Figure 2.
3. Select the
CD ROM drive
box
and then insert the USB 2.0
Installation CD into your CD drive.
Click
Next
.
4. You will then see the display
shown in Figure 3. Click
Next
.
5. When the installation is fin-
ished, you will see the message
“Windows has finished installing the software
that your new hardware device requires.”
Click
Finish;
and then eject the CD.
6. You should now see a new icon (a gray box with a green arrow) next to the
time display on your
System Tray
.
7. Double-click on the
My Computer
icon. In the
My Computer
window you
33
FIGURE 2
12
U
SING YOUR
D
RIVE
P
OD
Содержание DRIVEPOD
Страница 2: ......