


2-8
System Utilities
Setting a Password
0
Follow the succeeding instructions to set the user or supervisor passwords.
1.
Press
to highlight a
Set _______ Password
parameter and press
Enter
. The
Set
_______ Password
dialog box appears.
Figure 2-4.
Set Supervisor Password
2.
Type a new password in the
Enter New Password
field and press
Enter
. Passwords
are not case sensitive and the length must not exceed eight alphanumeric characters
(A-Z, a-z, 0-9).
3.
Retype the password in the
Confirm New Password
field and press
Enter
.
IMPORTANT
:
+
Use care when typing a password. Characters do not appear on the screen.
4.
Press
Enter
.
NOTE:
NOTE
:
Users can choose to enable the
Password on Boot
parameter.
5.
Press
F10
to save changes and exit from the
BIOS Setup Utility
.
Removing a Password
0
Perform the following:
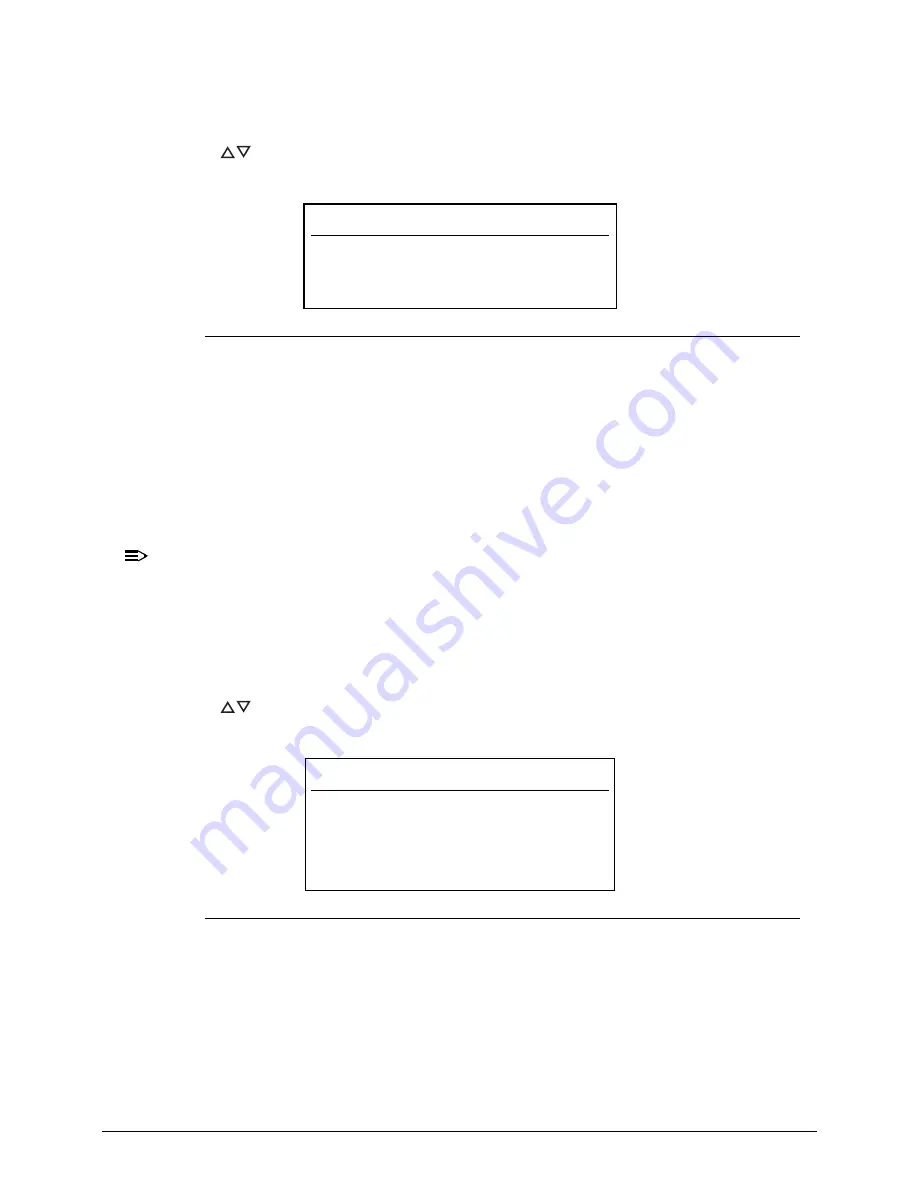
1.
Press
to highlight a
Set _______ Password
parameter and press
Enter
. The
Set
_______ Password
dialog box appears.
Figure 2-5.
Set Supervisor Password
2.
Type the current password in the
Enter Current Password
field and press
Enter
.
3.
Press
Enter
twice
without
typing anything in the
Enter New Password
and
Confirm
New Password
fields.
4.
Press
F10
to save changes and exit from the
BIOS Setup Utility
.
Set Supervisor Password
Enter New Password
[
]
Confirm New Password [
]
Set Supervisor Password
Enter Current Password [
]
Enter New Password [
]
Confirm New Password [
]
Содержание TravelMate P643-V
Страница 1: ...TravelMate P643M P643V P643MG SERVICEGUIDE...
Страница 10: ...6...
Страница 11: ...CHAPTER 1 Hardware Specifications...
Страница 14: ...1 4...
Страница 53: ...CHAPTER 2 System Utilities...
Страница 70: ...2 18 System Utilities...
Страница 71: ...CHAPTER 3 Machine Maintenance...
Страница 74: ...3 4...
Страница 83: ...Machine Maintenance 3 13 5 Pull the connector adapter off the module Figure 1 10 ODD Connector Adapter...
Страница 87: ...Machine Maintenance 3 17 6 Pull the HDD from the rubber holder Figure 1 17 HDD Rubber Holder...
Страница 91: ...Machine Maintenance 3 21 6 Remove the WLAN module from the slot Figure 1 24 WLAN Module...
Страница 109: ...Machine Maintenance 3 39 9 Remove the DC input cable from the lower case Figure 1 55 DC Input Cable...
Страница 117: ...Machine Maintenance 3 47 6 Lift the LCD module from the lower cover Figure 1 69 LCD Module...
Страница 136: ...3 66 Machine Maintenance 3 Secure the bezel with the two screw covers Figure 1 100 LCD Bezel Screw Covers...
Страница 167: ...Machine Maintenance 3 97 5 Connect the HDD cable Figure 1 154 HDD Cable...
Страница 174: ...3 104 Machine Maintenance...
Страница 175: ...CHAPTER 4 Troubleshooting...
Страница 205: ...CHAPTER 5 Jumper and Connector Locations...
Страница 214: ...5 10 Jumper and Connector Locations...
Страница 215: ...CHAPTER 6 FRU List...
Страница 216: ...6 2 TravelMate P643V P643M P643MG Exploded Diagrams 6 4 Main Assembly 6 4 LCD Assembly 6 5 FRU List 6 7...
Страница 229: ...CHAPTER 7 Test Compatible Components...
Страница 230: ...7 2 Microsoft Windows 7 Environment Test 7 4...
Страница 240: ...7 12 Test Compatible Components...
Страница 241: ...CHAPTER 8 Online Support Information...
Страница 242: ...8 2...
Страница 244: ...8 4 Online Support Information...


