


Chapter 1
37
Using the System Utilities
NOTE:
The system utilities work under Microsoft Windows XP only.
Acer GridVista (dual-display compatible)
NOTE:
This feature is only available on certain models.
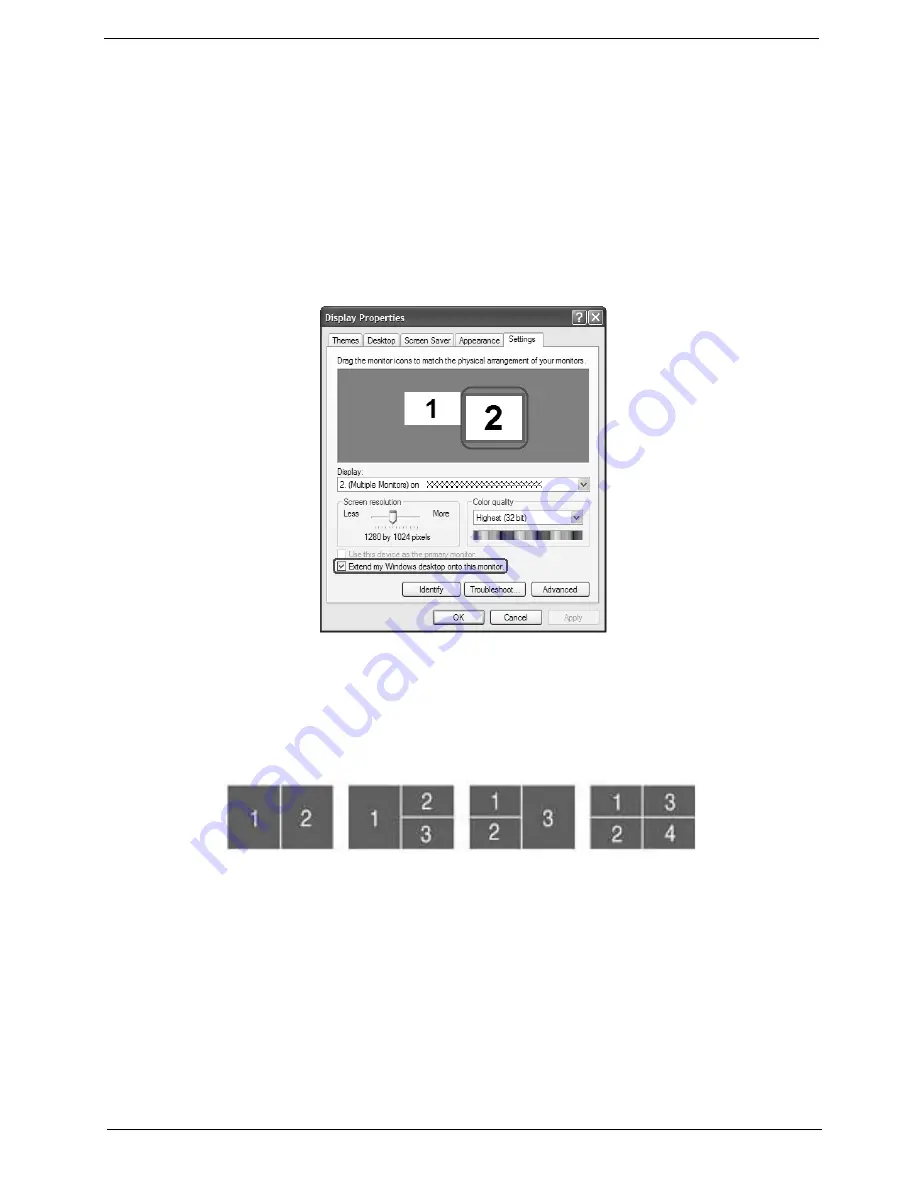
To enable the dual monitor feature of the notebook, first ensure that the second monitor is
connected, then select Start, Control Panel, Display and click on Settings. Select the secondary
monitor
(2)
icon in the display box and then click the check box Extend my windows desktop onto
this monitor. Finally, click Apply to confirm the new settings and click OK to complete the process.
Acer GridVista is a handy utility that offers four pre-defined display settings so you can view
multiple windows on the same screen. To access this function, please go to Start > All Programs
and click on Acer GridVista. You may choose any one of the four display settings indicated below:
Acer Gridvista is dual-display compatible, allowing two displays to be partitioned independently.
Acer GridVista is simple to set up:
1.
Run Acer GridVista and select your preferred screen configuration for each display from the task
bar.
2.
Drag and drop each window into the appropriate grid.
3.
Enjoy the convenience of a well-organized desktop.
Note:
Start Control Panel Display
Settings
(2)
Extend my windows desktop onto this monitor
Apply
OK
Start All Programs
Acer GridVista
Note:
Start Control Panel Display
Settings
(2)
Extend my windows desktop onto this monitor
Apply
OK
Start All Programs
Acer GridVista
Содержание TravelMate 8200
Страница 2: ...II PRINTED IN TAIWAN ...
Страница 30: ...20 Chapter 1 ...
Страница 35: ...Chapter 1 25 ...
Страница 37: ...Chapter 1 27 View information about Acer ePower Management ...
Страница 107: ...Chapter 4 97 8 You will see the screen displaying PASS when the system has built NAPP Master hard disk drive ...
Страница 108: ...Chapter 5 98 Top View of Main Board Jumper and Connector Locations Chapter 5 ...
Страница 109: ...99 Chapter 5 Part One of Top View Part Two of Top View ...
Страница 111: ...101 Chapter 5 Bottom View Part One of Bottom View ...
Страница 113: ...103 Chapter 5 CN12 PCMCIA card header SW03 Slider switch CN14 Five in one card reader Item Description Item Description ...
Страница 115: ...105 Chapter 6 Exploded Diagram ...


