Chapter 2
31
Setting a Password
Follow these steps as you set the user or the supervisor password:
1.
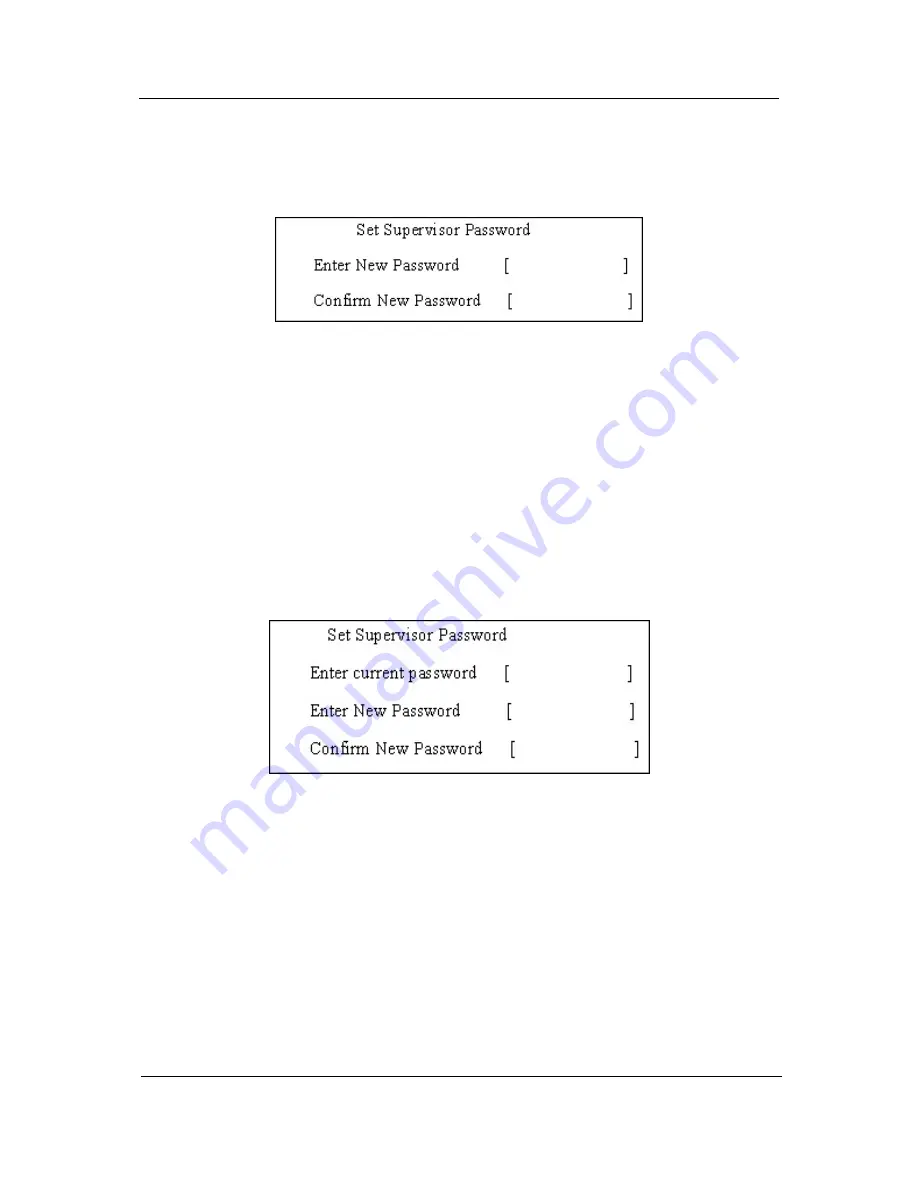
Use the w andy keys to highlight the Set Supervisor Password parameter and press the e key. The Set
Supervisor Password box appears:
2.
Type a password in the "Enter New Password" field. The password length can not exceeds 8
alphanumeric characters (A-Z, a-z, 0-9, not case sensitive). Retype the password in the "Confirm New
Password" field.
IMPORTANT:
Be very careful when typing your password because the characters do not appear on the screen.
3.
Press
e
.
After setting the password, the computer sets the User Password parameter to “Set”.
4.
If desired, you can opt to enable the Password on boot parameter.
5.
When you are done, press
u
to save the changes and exit the BIOS Setup Utility.
Removing a Password
Follow these steps:
1.
Use the w and y keys to highlight the Set Supervisor Password parameter and press the e key. The Set
Password box appears:
2.
Type the current password in the Enter Current Password field and press
e
.
3.
Press
e
twice
without
typing anything in the Enter New Password and Confirm New Password fields.
The computer then sets the Supervisor Password parameter to “Clear”.
4.
When you have changed the settings, press
u
to save the changes and exit the BIOS Setup Utility.
Содержание TravelMate 6293
Страница 6: ...VI ...
Страница 12: ...4 Chapter 1 System Block Diagram ...
Страница 46: ...38 Chapter 2 3 Execute SWin Flash Application 4 Select new BIOS update 5 Run Flash BIOS ...
Страница 49: ...Chapter 2 41 5 Press 確定 6 Press Start 7 Press 確定 8 Wait the disk format complete ...
Страница 50: ...42 Chapter 2 9 Press 確定 10 Press 關閉 11 Wait for the system to create the disk 12 Press 確定 when it s completed ...
Страница 51: ...Chapter 2 43 13 Press 否 14 nsert Floppy with the Crisis disk on system ...
Страница 54: ...46 Chapter 2 3 Rename it to bios wph ...
Страница 58: ...50 Chapter 3 LCM module disassembly flow chart ...
Страница 59: ...Chapter 3 51 Removing the Battery Pack 1 Release the battery 2 Slide the battery latch then remove the battery ...
Страница 68: ...60 Chapter 3 23 Disconnect Touchpad FFC 24 Disconnect BT cable ...
Страница 71: ...Chapter 3 63 Remove Main board 32 Remove M B from the BTCB ...
Страница 74: ...66 Chapter 3 Remove CCD cable 9 Disconnect CCD cable Remove LCD panel 10 Remove LCD panel from the TPDL ...
Страница 92: ...84 Chapter 4 ...
Страница 96: ...88 Chapter 6 TravelMate 6293 Exploded Diagram ...
Страница 108: ...100 Chapter 6 ...


