14
Chapter 1
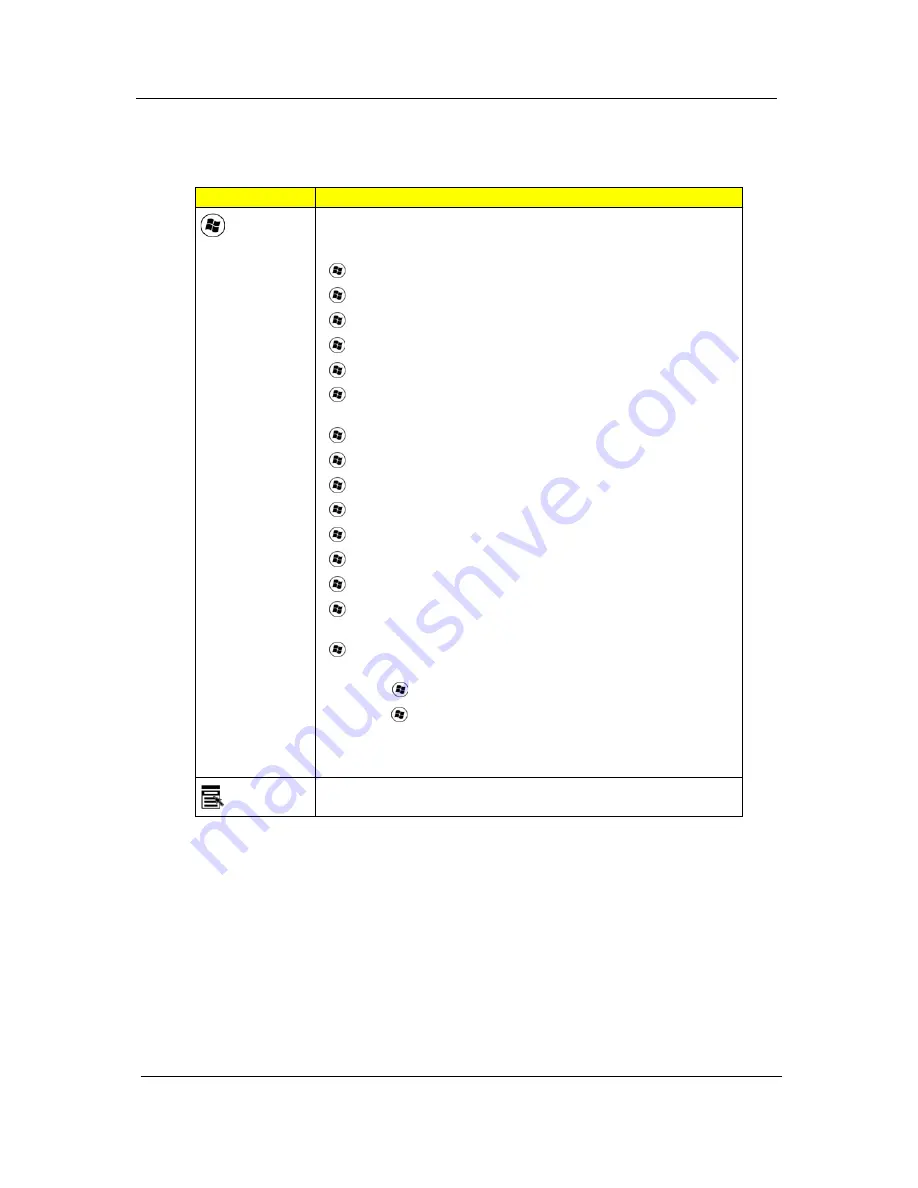
Windows Keys
The keyboard has two keys that perform Windows-specific functions.
Key
Description
Windows
key
Pressed alone, this key has the same effect as clicking on the Windows
Start button; it launches the Start menu.
It can also be used with other keys to provide a variety of functions:
<
> :
Open or close the Start menu
<
> + <D>:
Display the desktop
<
> + <E>:
Open Windows Explore
<
> + <F>:
Search for a file or folder
<
> + <G>:
Cycle through Sidebar gadgets
<
> + <L>:
Lock your computer (if you are connected to a network
domain), or switch users (if you're not connected to a network domain)
<
> + <M>:
Minimizes all windows
<
> + <R>:
Open the Run dialog box
<
> + <T>:
Cycle through programs on the taskbar
<
> + <U>:
Open Ease of Access Center
<
> + <X>:
Open Windows Mobility Center
<
> + <BREAK>:
Display the System Properties dialog box
<
> + <SHIFT+M>:
Restore minimized windows to the desktop
<
> + <TAB>:
Cycle through programs on the taskbar by using
Windows Flip 3-D
<
> + <SPACEBAR>:
Bring all gadgets to the front and select Windows
Sidebar
<CTRL> + <
> + <F>:
Search for computers (if you are on a network)
<CTRL> + <
> + <TAB>:
Use the arrow keys to cycle through programs
on the taskbar by using Windows Flip 3-D
Note:
Depending on your edition of Windows Vista or Windows XP, some
shortcuts may not function as described.
Application
key
This key has the same effect as clicking the right mouse button; it opens
the application's context menu.
Содержание TravelMate 6293
Страница 6: ...VI ...
Страница 12: ...4 Chapter 1 System Block Diagram ...
Страница 46: ...38 Chapter 2 3 Execute SWin Flash Application 4 Select new BIOS update 5 Run Flash BIOS ...
Страница 49: ...Chapter 2 41 5 Press 確定 6 Press Start 7 Press 確定 8 Wait the disk format complete ...
Страница 50: ...42 Chapter 2 9 Press 確定 10 Press 關閉 11 Wait for the system to create the disk 12 Press 確定 when it s completed ...
Страница 51: ...Chapter 2 43 13 Press 否 14 nsert Floppy with the Crisis disk on system ...
Страница 54: ...46 Chapter 2 3 Rename it to bios wph ...
Страница 58: ...50 Chapter 3 LCM module disassembly flow chart ...
Страница 59: ...Chapter 3 51 Removing the Battery Pack 1 Release the battery 2 Slide the battery latch then remove the battery ...
Страница 68: ...60 Chapter 3 23 Disconnect Touchpad FFC 24 Disconnect BT cable ...
Страница 71: ...Chapter 3 63 Remove Main board 32 Remove M B from the BTCB ...
Страница 74: ...66 Chapter 3 Remove CCD cable 9 Disconnect CCD cable Remove LCD panel 10 Remove LCD panel from the TPDL ...
Страница 92: ...84 Chapter 4 ...
Страница 96: ...88 Chapter 6 TravelMate 6293 Exploded Diagram ...
Страница 108: ...100 Chapter 6 ...


