23
FotoPrisa
6.
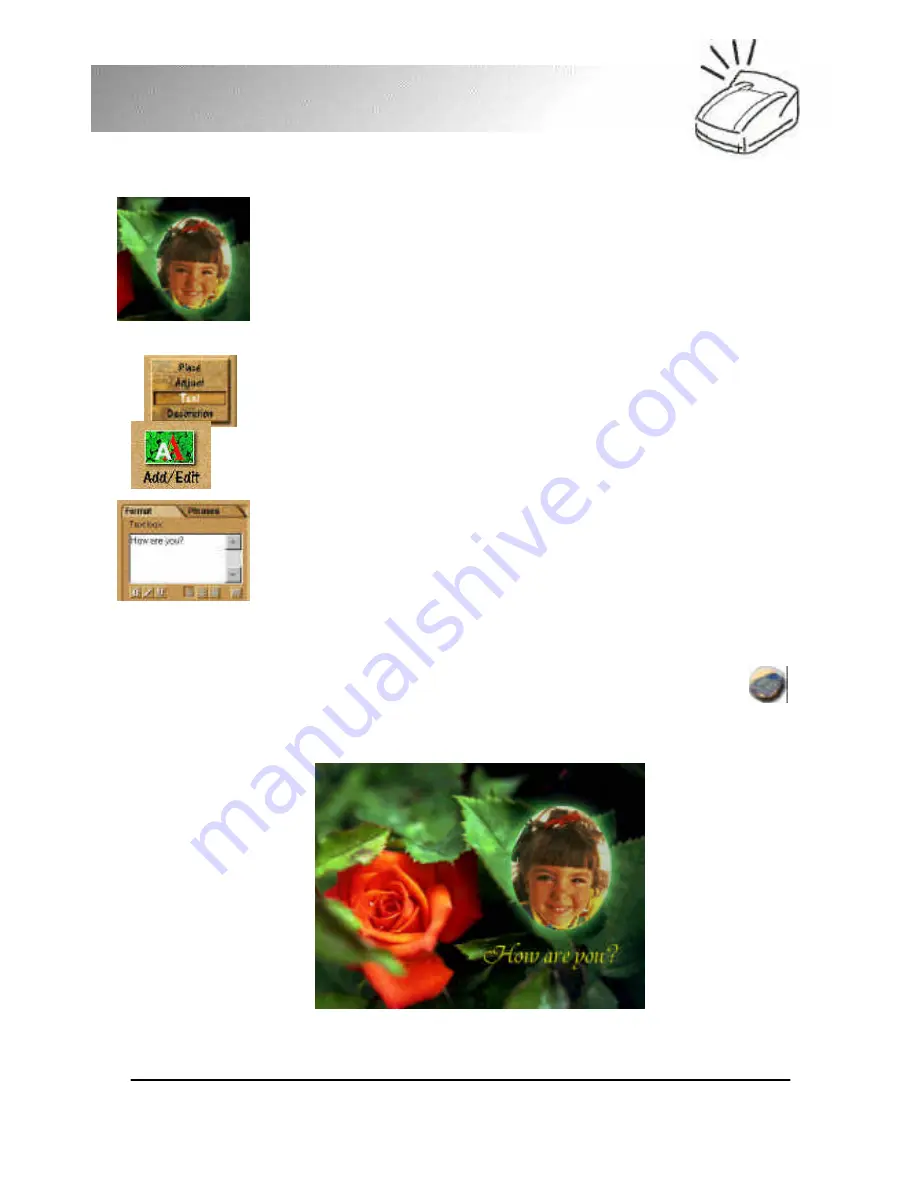
The scanner driver will pop up. Scan the image you want to
use. When finished, the image will automatically replace the
one in the template. You can adjust the size of the image by
moving the handles on it.
7.
Now we want to edit the text on the greeting card. Click
Text on the Command Panel.
8.
Click the text on the template and a box will appear on it.
Click and drag to adjust the position of the text box.
9.
On the Tool Bar, click Add/Edit.
10.
Enter new text or edit the existing text on the Options
Panel. Click New or Update to complete.
11.
Now you are ready to print the template with your FotoPrisa
Printer. Choose Print from the Command Panel. Select
Normal from the Tool Bar and FotoPrisa 300 Series
from the Options Panel.
12.
Click Print. The FotoPrisa Preview Window will appear
after a few seconds. If everything looks OK, click
button to start printing your greeting card.
Содержание FotoPrisa 300P
Страница 1: ...FotoPrisa 300P U Photo Printer User s Manual ...
Страница 7: ...iii ...
Страница 8: ...iv ...


