


14
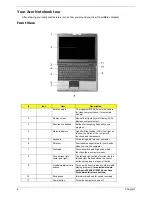
Chapter 1
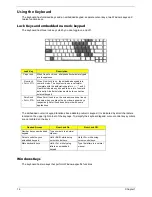
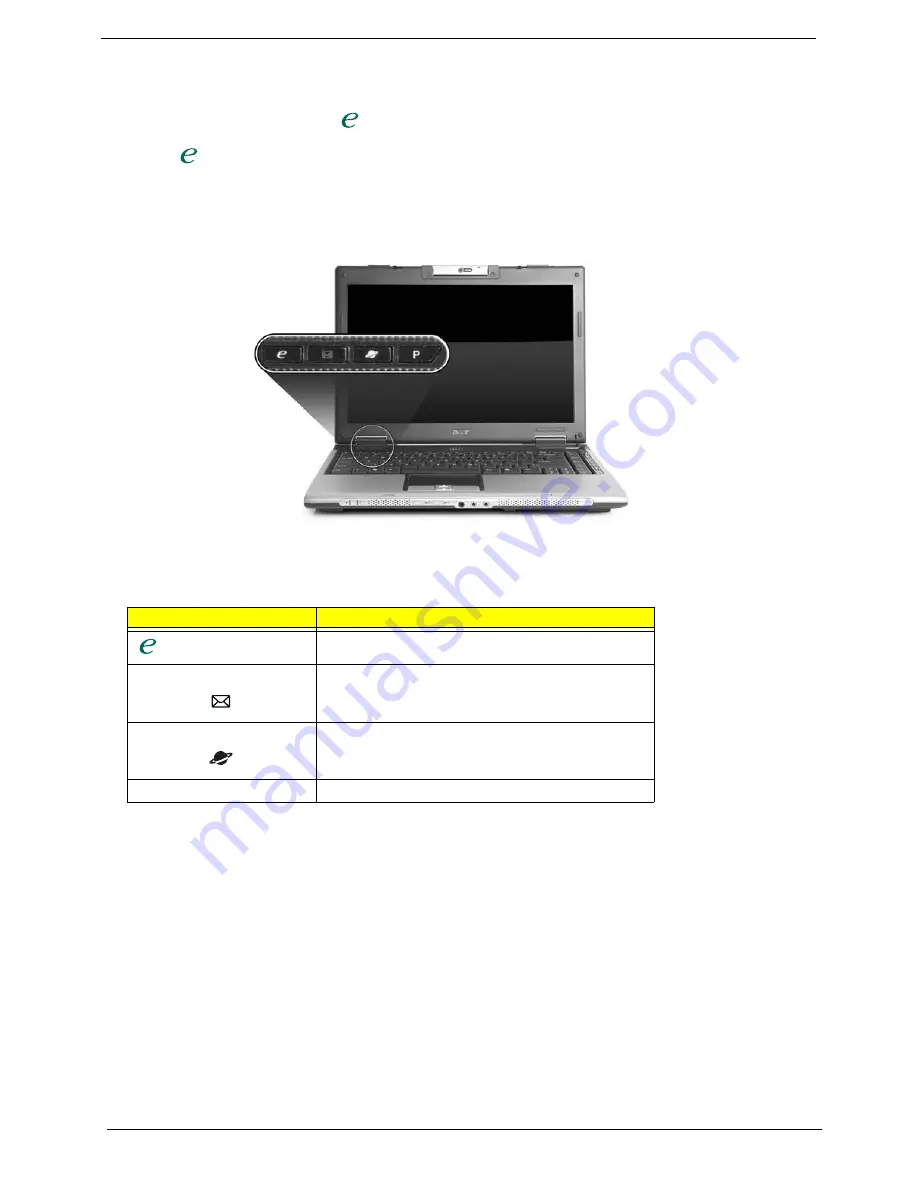
Easy-Launch Buttons
Located above the keyboard are four buttons. These buttons are called easy-launch buttons. They are: mail
Web browser, Empowering Key “
“and one user-programmable button.
Press “
“ to run the Acer Empowering Technology. The mail and Web browser buttons are pre-set to email
and Internet programs, but can be reset by users. To set the Web browser, mail and programmable buttons,
run the Acer Launch Manager.
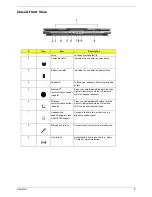
Touchpad Basics
The following teaches you how to use the touchpad:
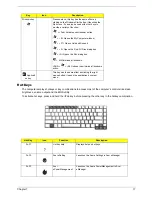
Launch key
Default application
Acer Empowering Technology (user-programmable)
Email application (user-programmable)
Internet browser (user-programmable)
P
User-programmable
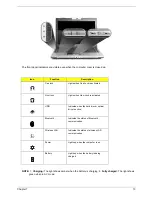
1. Charging:
2. Fully charged:
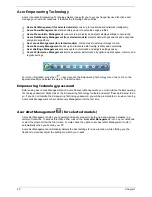
"Acer
Empowering Technology" on page 1
"Launch Manager" on page 51
Easy-launch button
Default application
Содержание ASPIRE 5570
Страница 6: ...VI...
Страница 34: ...26 Chapter 1...
Страница 54: ...46 Chapter 1...
Страница 71: ...Chapter 2 63...
Страница 72: ...64 Chapter 2...
Страница 86: ...78 Chapter 3...
Страница 108: ...100 Chapter 5...
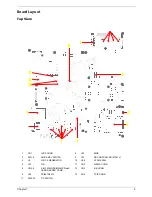
Страница 110: ...102 Chapter 6 Aspire 3680 5570 5580 Exploded Diagram...
Страница 142: ...134 Appendix B...
Страница 144: ...136 Appendix C...
Страница 147: ...Index 107...


