background image

E - 7

English

DISP. FREQ (Input frequency display)

This displays the input synchronization signal
frequency.
It identifies the horizontal and vertical
frequency sent to the monitor from the video
card currently in use.

MANUAL DEGAUSSING

After moving the selector to the degauss icon,
press the      button. The degaussing action
takes place a few seconds later.
Note: A sharp snap noise may be heard when
degaussing occurs. This is normal.

MEMORY RECALL

It is possible to restore adjustments to the
original factory settings. If the monitor is
operating in a user defined mode, this control
has no effect.

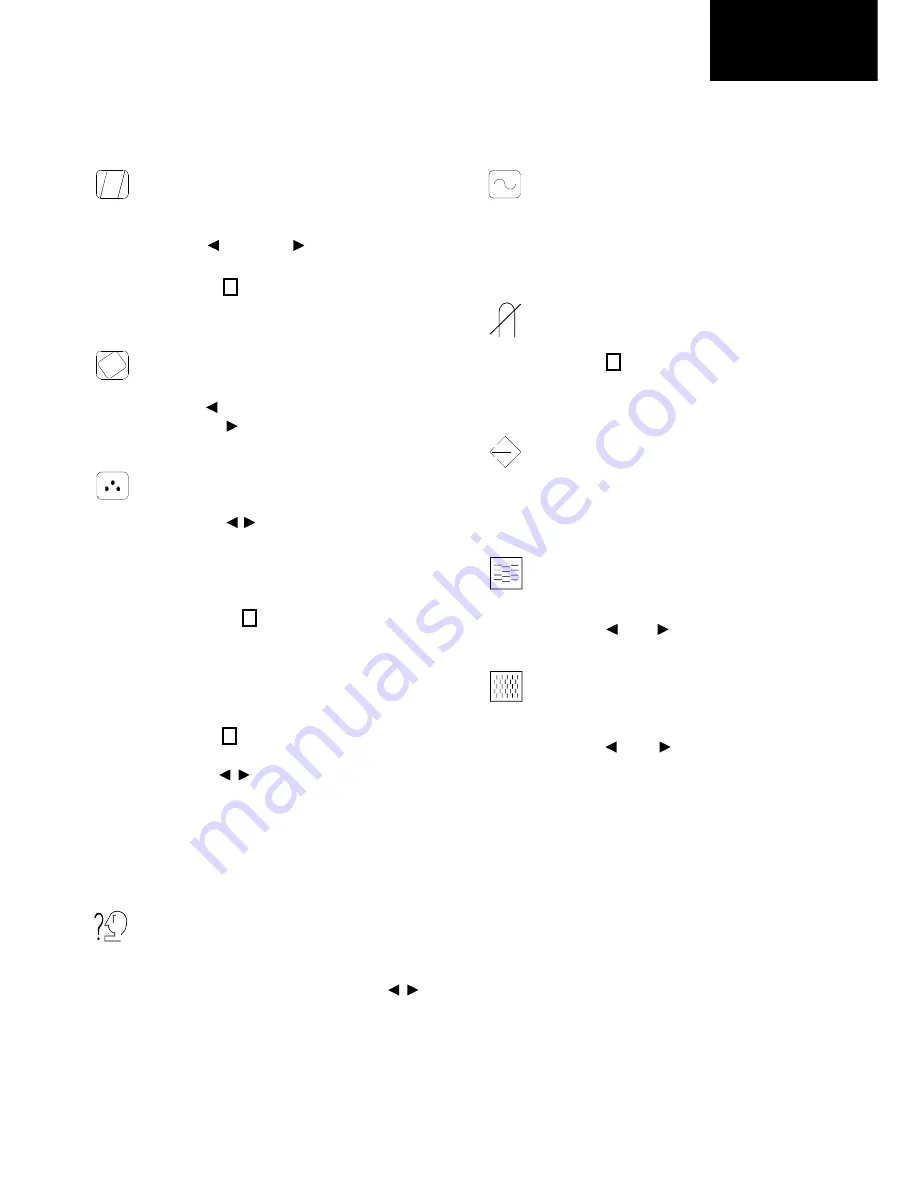
VERTICAL MOIRE

Reduce the dark wavy line Moire pattern on
the screen.
Press the      or      button to minimize the
vertical moire image on the screen.

HORIZONTAL MOIRE

Reduce the dark wavy line Moire pattern on
the screen.
Press the      or      button to minimize the
horizontal moire image on the screen.

PARALLELOGRAM adjustment

The image can be corrected for
parallelogram distortion.
Press the     button or     button to make left
or right parallelogram.
Press the     key toggles between PIN
BALANCE and PARALLELOGRAM
correction.

ROTATION adjustment

The image can be corrected for tilt picture.
Press the     button to tilt the image to the left,
or press the     button to tilt the image to the
right.

COLOR selection

The white in the image can be adjusted.
1) Use the          button to select: (1)9300

O

K,

(2)6500

O

K or (3)the user’s preferred color.

2) If the (3):the user’s color is selected, “2”

appears in the lower right of the On-Screen
Menu.

Press the front     button to display the USER
COLOR adjustment screen.

USER COLOR

The white in the video image can be adjusted
to the user’s preferred color.
1) Use the      button to select R (red) or B
(blue).
2) Use the          button to adjust the color as
desired.

IMPORTANT-Memory recall of the user’s
color is not possible, so take note of the initial
setting before adjusting.
When the monitor is turned OFF, user color
keeps the last adjustment.

LANGUAGE selection

The language of the On-Screen Menu can be
selected among English, French, German,
Italian and Spanish. Select with the
buttons.

2

2

2

2

Содержание AC901

Страница 1: ...Trademarks VGA 8514 A are registered trademarks of the IBM Corporation Super VGA is a registered trademark of VESA Edition A English ...

Страница 2: ...re E 2 Repacking E 2 Introduction E 2 Power saving E 2 Install the monitor E 3 Power cord E 3 User controls and indicators E 4 Using the on screen menu E 5 Individual adjustment E 6 Troubleshooting E 8 Servicing E 8 Signal connector information E 8 Technical specifications E 9 Preset modes E 10 English ...

Страница 3: ...ation with non certified peripherals is likely to result in interference to radio and TV reception Remarks To meet FCC requirement shielded cables are required to connect the device to a personal computer or other Class B certified device Information to Users Any change or modifications expressly approved by the party responsible for compliance could void the user s authority to operate this equip...

Страница 4: ...t It employs the latest on screen menu technology The microprocessor capability offers 10 most commonly used VESA timing modes preset in the factory and 6 modes for user to adjust to the special timings that user might have We hope that you will find this manual is helpful in obtaining the fullest use of your monitor and in ensuring your personal safety during operation PACKING CONTENTS The packag...

Страница 5: ...ther 100 120V AC or 200 240V AC voltage area No user adjustment is re quired First connect the power cord into your monitor s power input socket and then plug the other end into a 3 pin AC outlet The power cord may be connected to either a wall socket or the power out put socket on your PC depending on the type of power cord supplied with your monitor For units to be used at 120V AC Use a UL Liste...

Страница 6: ...R CONTROLS AND INDICATORS a Displays menu exits menu b Scrolls through menu to choose an icon for adjustment Adjusts level of selected icon c Confirms menu selection 1 Power LED 2 Power ON OFF switch a c 2 1 b ...

Страница 7: ... being adjusted is shown 2 1 H POSITION 50 1 2 Name of adjustment screen The adjustment level is shown by both a number and a bar It can be varied with the front buttons When the button is pressed the horizontal size adjustment screen appears Adjustment icon End Button When the button is pressed the adjustment level is stored the adjustment screen is ended and the menu screen returns On the adjust...

Страница 8: ... toggles between HORIZONTAL SIZE and HORIZONTAL POSITION 2 2 2 VERTICAL SIZE adjustment Fills the viewable area vertically Press the button to make the image smaller or press the button to make it larger Press the key toggles between VERTICAL SIZE and VERTICAL POSITION VERTICAL POSITION adjustment Shifts the image on the screen vertically Press the button to move it downward or press the button to...

Страница 9: ...or parallelogram distortion Press the button or button to make left or right parallelogram Press the key toggles between PIN BALANCE and PARALLELOGRAM correction ROTATION adjustment The image can be corrected for tilt picture Press the button to tilt the image to the left or press the button to tilt the image to the right COLOR selection The white in the image can be adjusted 1 Use the button to s...

Страница 10: ...w o p r o t c e n n o c r o h c t i w s r e w o p C P t s a r t n o c s s e n t h g i r B s l o r t n o c n o i t i s o p y a l p s i D r e t n e c f f o g n i r e t n e c l a c i t r e V s l o r t n o c e s a h p l a t n o z i r o h l l a m s o o t y a l p s i D e g r a l o o t r o e z i s l a t n o z i r o h l a c i t r e V s l o r t n o c t h g i r b o o t y a l p s i D m i d o o t r o t s a r ...

Страница 11: ...w o P n o i t p m u s n o C X A M W 0 3 1 s r o l o C y a l p s i D e t i n i f n I n o i s n e m i D D x H x W 8 7 6 4 x 0 6 4 x 2 5 4 m m x a M n o i t u l o s e R 0 0 2 1 x s t o D 0 0 6 1 s e n i L t h g i e W g k 0 2 y t i l i b i t a p m o C s e d o m c i h p a r g l l A l a t n o z i r o h h t i w n e e w t e b s e i c n e u q e r f z H K 6 9 o t z H K 0 3 g n i t a r e p O e r u t a r e p ...

Страница 12: ... Mode Resolution H x V H Freq KHz V Freq Hz 1 640 x 480 31 47 60 6 1152 x 870 68 68 75 2 720 x 400 37 93 85 7 1024 x 768 68 67 85 3 640 x 480 43 27 85 8 1600 x 1200 75 00 60 4 832 x 624 49 73 75 9 1024 x 768 91 15 85 5 800 x 600 53 67 85 10 1600 x 1200 93 75 75 ...

Отзывы: