


Page
7
of
33
Copyright © Access-IS 2020
3.3
Mounting
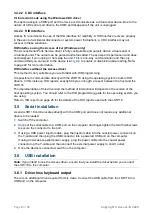
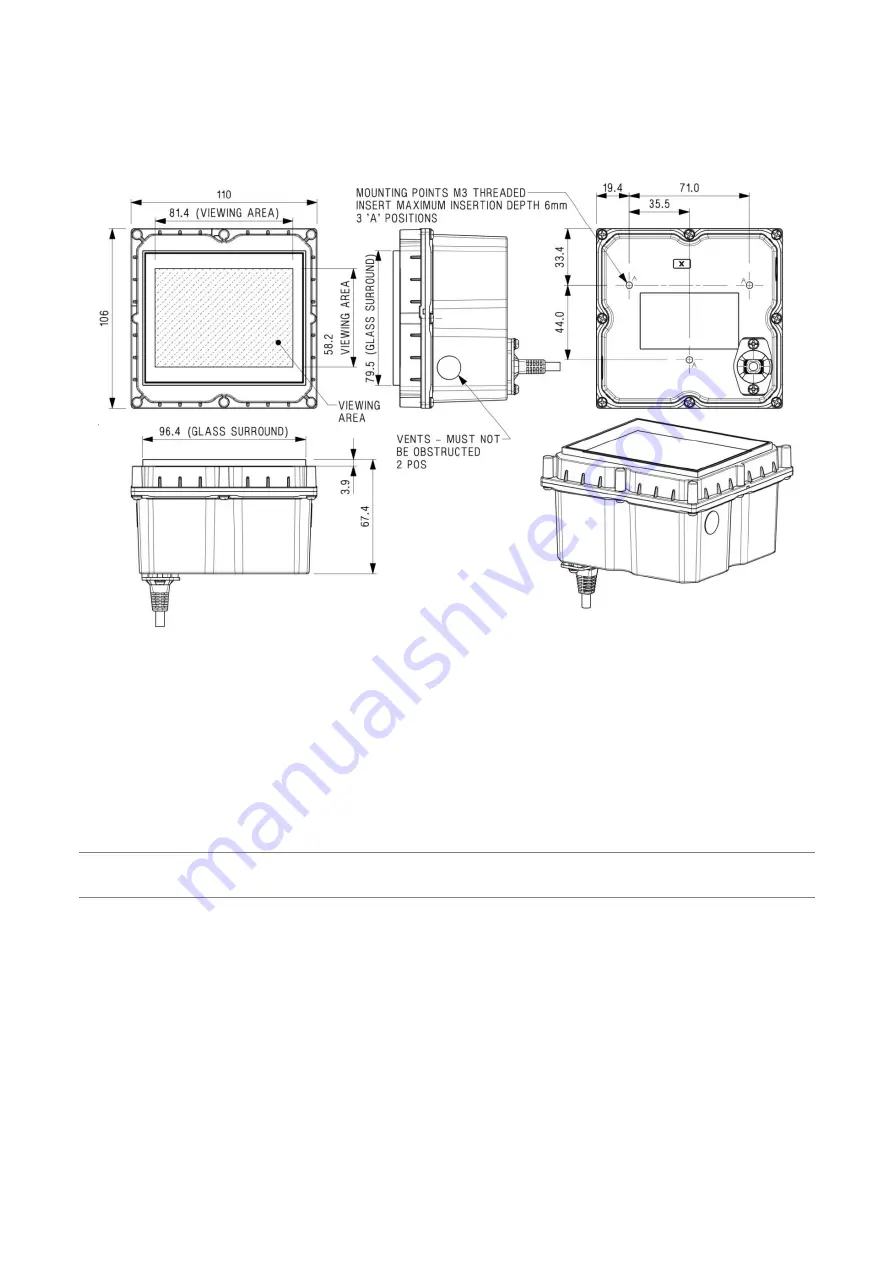
Mount the LSR116 into a kiosk, gate or similar device, if required. Refer to Figure 4 for the
LSR116’s dimensions (in millimetres) and mounting points.
For optimum performance, do not position the LSR116 in direct sunlight.
Figure 4. LSR116 dimensions and mounting points
Use three M3 screws (not provided) to mount the unit. Maximum insertion depth is 6 mm; minimum
recommended insertion depth is 2 mm.
3.4
Interface options
3.4.1 Serial connection
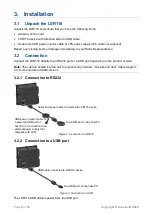
Connect a serial LSR116 device using an RS232 interface directly into a COM port. You must
specify the baud rate, parity, data bits and stop bits.
Note: A serial LSR116 communicates directly with the COM port and does not require any
additional drivers to be loaded.
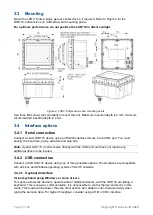
3.4.2 USB connection
Connect a USB LSR116 device using one of three possible options. These options are compatible
with all Linux and Windows operating systems from XP onwards.
3.4.2.1 Keyboard interface
Virtual keyboard using Windows or Linux drivers
This option allows the device to operate without additional drivers, with the LSR116 emulating a
keyboard. This is one-way communication; it is not possible to control the device directly in this
mode. This mode will be slower than the other options as it adds an inter-character delay when
typing the barcode data. For higher throughput, consider using a HID or CDC interface.


