Cutter Setup
1. Install the cutter in the spindle. Use the red-
label Raster™ Braille cutter for plastic and
wood, and the black-label collet and drill bit
assembly for metal, stone, or solid-surface
materials.
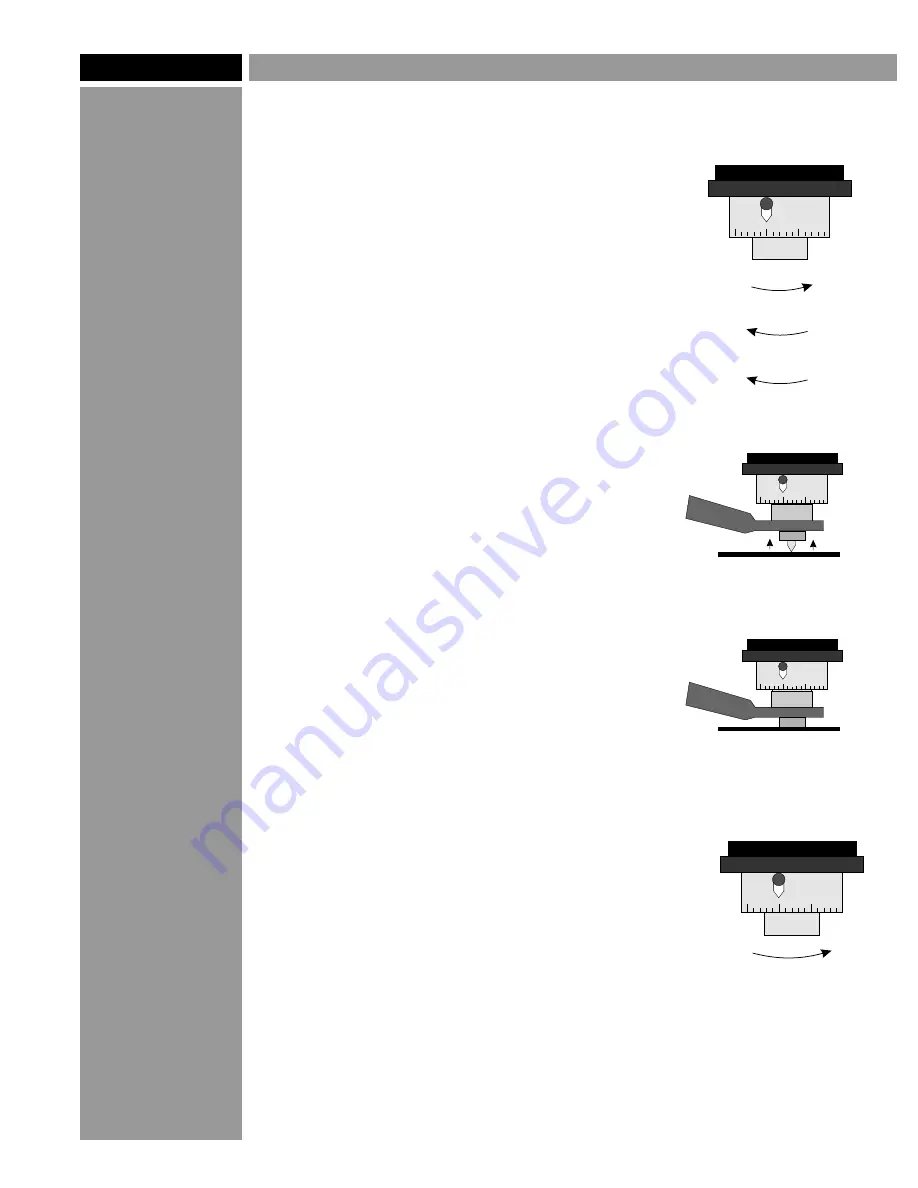
2. Turn the spindle micrometer all the way up,
then down to the first “0.” From this setting,
turn the micrometer 0.075” down (exactly
three turns), stopping at “0.”
3. Loosen the setscrew in the cutter's brass
knob and pull the cutter up inside the nose.
Hold a flat piece of plastic flush against the
nose of the spindle, and lower the cutter until
it touches the piece of plastic. Re-tighten the
setscrew while holding the plastic in place.
Don't over-tighten the setscrew! It only needs
to be “snug.”
4. The nominal depth setting for plastic and
acrylic substrates is 0.042”. Turn the spindle
micrometer up one full turn, plus 17 tick
marks.
5. For metal substrates, or any time the
adhesive-assist method is used, the depth
should be 0.002-0.003” deeper to allow for
the thickness of the adhesive.
Note: Set all you cutters to the same zero
point, so the micrometer settings are the same
for all of them.
Page 2
©2005 Accent Signage Systems, Inc. All rights reserved.
TM
Raster Method of Braille
5
0
20
5
0
20
Up until it stops
Down to “0”
Down three full turns to “0”
1 full turn = 0.025”
5
0
20
5
0
20
Past the first "0" and up to "17"
Tip
TM
Raster Braille
cutters are made
from solid carbide
for precision and
long life. Solid
carbide cutters are
heavy and one-
sided, so balance
is important. If
your cutter seems
to be making the
wrong size holes,
see Page 7 for
instructions on
how to find a
cutter's "sweet
spot."
...and re-tighten the setscrew
while holding it in place.
Loosen the setscrew,
hold the plastic against
the bottom of the nose...


