Actions
30
Creating a schedule
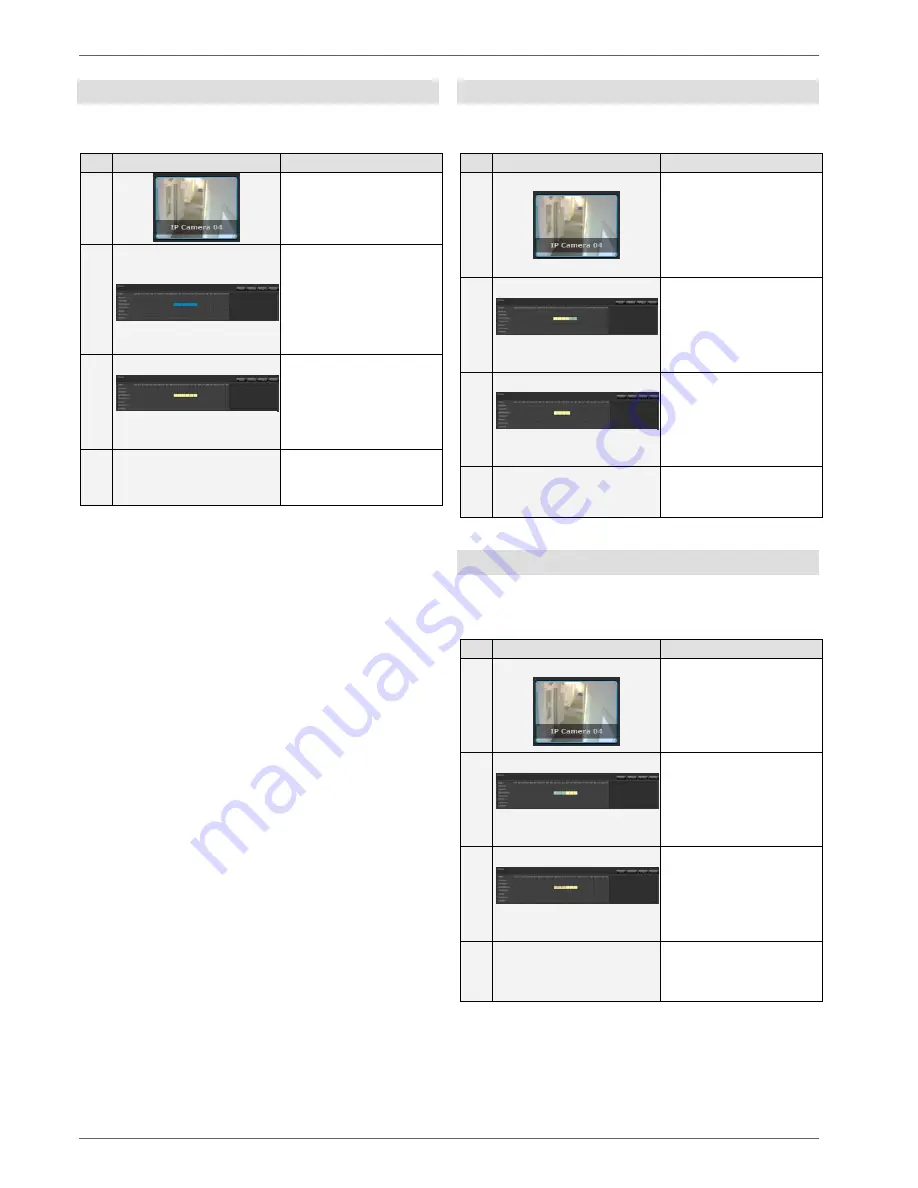
To create an individual schedule, proceed as follows:
No.
Symbol
Meaning
1
Select a camera in the
preview bar
2
Click on the desired
starting time and keep
the left mouse button
pressed. Select the
desired area.
(10.00 –16.00)
3
Click on the type of
recording you want
(permanent recording)
4
Click on “Save”
If you want to select a whole day, click on the weekday
you want.
To select a specific period for the entire week, click on
the corresponding time.
Deleting a schedule
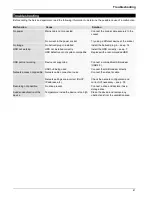
To delete the schedule, proceed as follows:
No.
Symbol
Meaning
1
Select a camera in the
preview bar
2
Select the period you
want to delete
3
Click on “Delete”
4
Click on “Save”
Changing a schedule
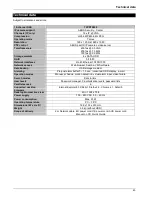
To change the schedule for your recording, proceed as
follows:
No.
Symbol
Meaning
1
Select a camera in the
preview bar
2
Select the period you
want to change
3
Click on the type of
recording you want to
add
(activity detection)
4
Click on “Save”
You can set up the schedule to meet your requirements.
Up to 3 recording types are possible at the same time.


