


German
3. Description of the hardware functions
3.1.
LED behavior
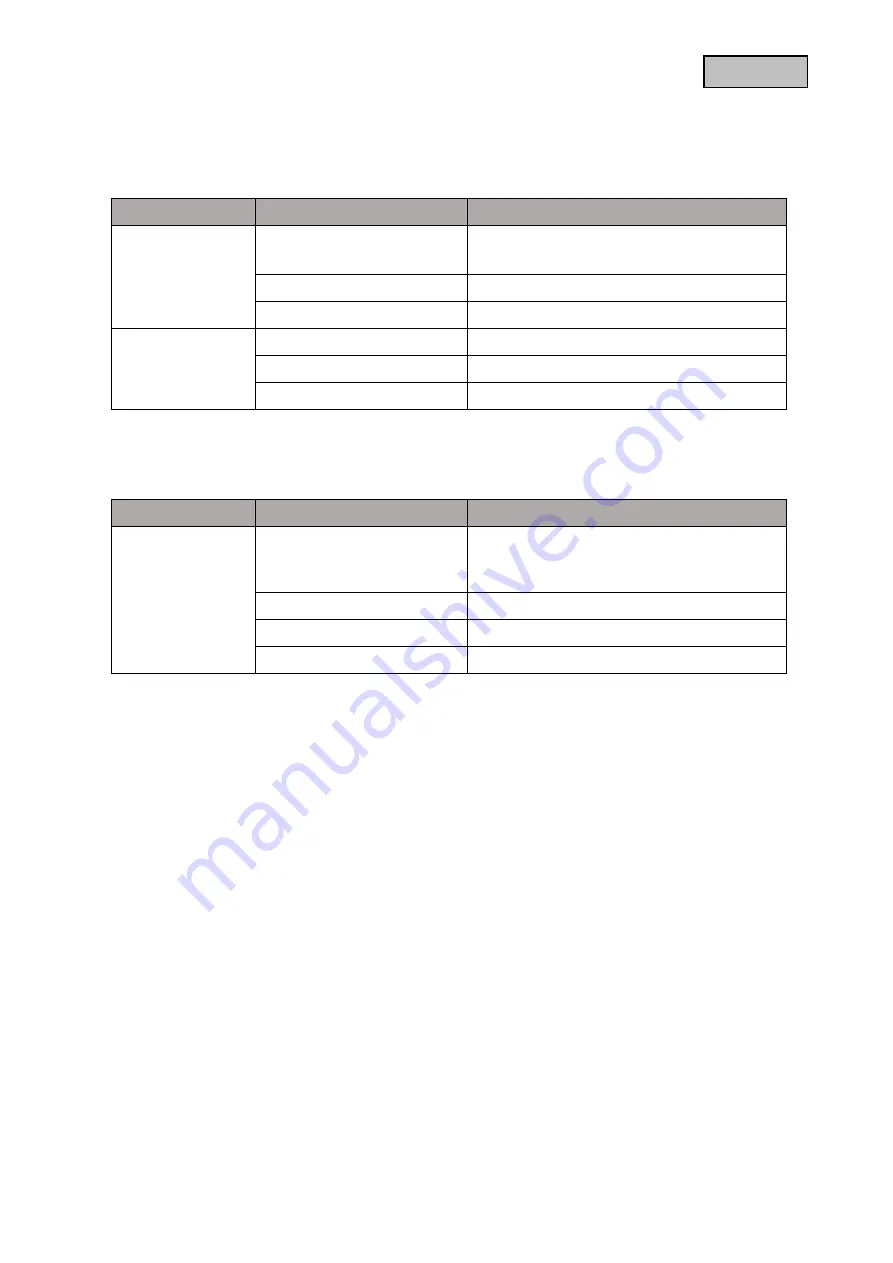
PPDF17000 - Monitor
LED
State
Description
Power LED
Lights
green
1. monitor connected to power
2. battery is fully charged
Flashing
green
Battery charges
Flashes
red
Battery level below 20%
Rec LED
Lights
red
Not in record
Flashes
red
Recording in progress
From
No SD card inserted
PPDF17000 - Camera PPDF17520
LED
State
Description
Status LED
Flashing fast
Red
(A beep sounds periodically
during the pairing process).
Camera powered and in pairing mode
Lights
red
Connected to the monitor
Flashes
red
Camera not connected to the monitor
From
Camera without power supply
3.2.
Audio transmission
The monitor can receive an audio signal from one camera at a time. If several cameras are connected,
only the audio signal from the selected camera is played back.
3.3.
Factory settings / Reset
The camera can be reset via the reset button on the cable.
The monitor can be restarted via the restart button but is not reset. The factory settings can be loaded
via the menu item "Manage system"->"Factory settings".
There are two options here:
1.
Easy reset (camera configurations are retained)
2.
Reset all (All data will be reset to factory settings)