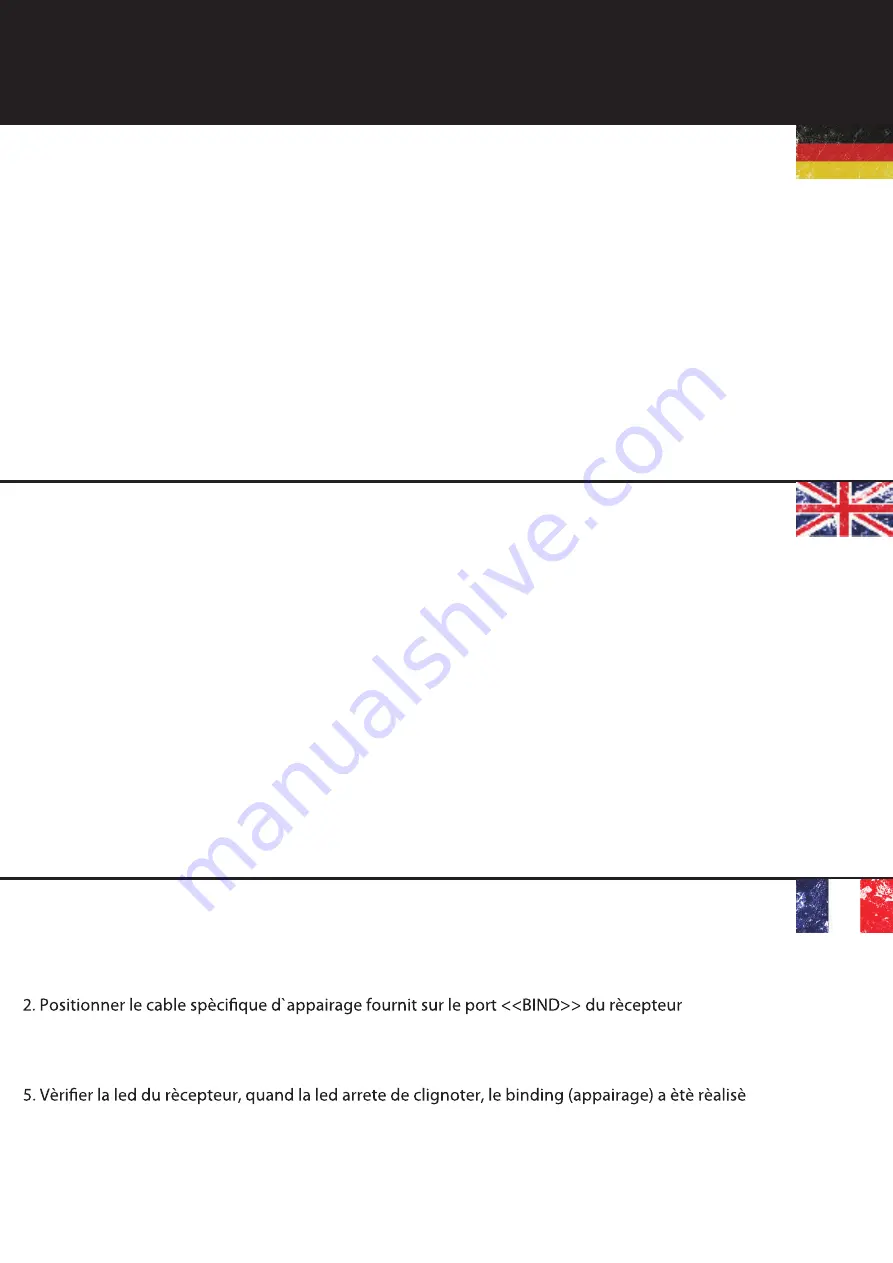
Nos produits sont correctement couplès (radio avec rècepteur) lors de la fabrication en usine, vous
n`avez aucune manipulation à faire. Si vous souhaitez connecter le rècepteur avec un autre èmetteur
ou connecter un nouveau rècepteur, merci de suivre les ètapes suivantes d`appairage:
1. Installer les batteries dans la radio 2.4 GHz et l`èteindre
3. Connecter la batterie du rècepteur sur l`un de ses ports VCC, la led rouge clignote: le rècepteur est en statut
d`appairage.
4. Appuyer et maintenir le bouton BIND de la radio et l`allumer.
(environ 5 seconds)
6. Relacher le bouton BIND de la radio et dèsengager la ligne BIND.
7. Installer le servo pour test normalement.
8. Si le test n`est pas correct, rèpèter les opèrations ci-dessus.
9. Si le test est correct, connecter l`alimentation VCC, le processus est terminè.
(le processus ci-dessus n`est possible que sur des produits de 2,4 GHz)
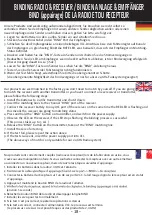
BINDING RADIO & RECEIVER / BINDEN ANLAGE & EMPFÄNGER
BIND (appairage) DE LA RADIO ET DU RECEPTEUR
Our products are well matched in the factory, you don’t need to match by yourself. If you are going
to match the receiver with another transmitter or you have to connect a new receiver or transmitter,
please follow the following steps:
1. Install the batteries to 2.4Ghz transmitter and shut it down.
2. Insert the matching lines to the channel “BIND” port of the receiver.
3. Connect the receover battery to any VCC port of the receiver, on the same time the RED LED is flashing and
this means the receiver are going to matching status.
4. Press and hold the “BIND” button on transmitter, and switch on the power supply.
5. Observe the LED on the receiver, if the LED stops flashing, the binding process is successful.
(This process takes up to 5 sec.)
6. Release the “BIND” button on the transmitter, take out the “BIND” matching line.
7. Install the servo for testing.
8. If the test fail, please repeat the action above.
9. If the tests succeeds, insert the power supply port into VCC
(The above ways of match is only suitable for our 2.4GHz Radio system)
Unsere Produkte sind werksseitig aufeinander abgestimmt, Sie brauchen sie nicht selbst zu
verbinden. Wenn Sie den Empfänger mit einem anderen Sender abgleichen wollen oder einen
neuen Empfänger oder Sender anschließen müssen, gehen Sie bitte wie folgt vor:
1. Legen Sie die Batterien in den 2,4Ghz-Sender ein und schalten Sie ihn aus.
2. Stecken Sie das Bind-Kabel in den "BIND" Port des Empfängers.
3. Schließen Sie den Empfängerakku an einen beliebigen VCC-Anschluss bzw. den Fahrtenregler auf Kanal 2
des Empfängers an, gleichzeitig blinkt die ROTE LED, was bedeutet, dass sich der Empfänger im Matching-
Status befindet.
4. Drücken und halten Sie die "BIND"-Taste am Sender und schalten Sie die Stromversorgung ein.
5. Beobachten Sie die LED am Empfänger, wenn die LED aufhört zu blinken, ist der Bindevorgang erfolgreich.
(Dieser Vorgang dauert bis zu 5 Sek.)
6. Lassen Sie die "BIND"-Taste am Sender los, ziehen Sie die "BIND"-Zuleitung heraus.
7. Testen Sie ob alle Servos/der Fahrtenregler richtig funktionieren.
8. Wenn der Test fehlschlägt, wiederholen Sie bitte die oben genannten Schritte.
(die oben genannte Möglichkeit des Bindevorgangs ist nur für unser 2,4GHz-Funksystem geeignet)
- 18 -
Содержание ADB 1.4
Страница 1: ...1 10 SCALE 4WD ELECTRIC DESERT BUGGY BENDIENUNGSANLEITUNG MANUAL mode d emploi ...
Страница 2: ... 1 ...
Страница 3: ... 2 ...
Страница 4: ... 3 ...
Страница 5: ... 4 ...
Страница 6: ... 5 ...
Страница 7: ... 6 ...
Страница 8: ... 7 ...
Страница 9: ... 8 ...
Страница 10: ... 9 ...
Страница 11: ... 10 ...
Страница 12: ... 11 ...
Страница 13: ... 12 ...
Страница 14: ... 13 ...
Страница 15: ... 14 ...
Страница 16: ... 15 ...
Страница 17: ... 16 ...
Страница 43: ... 42 ...
Страница 50: ...Absima GmbH Gibitzenhofstr 127a RG 90443 Nürnberg Germany Web www absima com ...

