4-6
Chapter 4
2. Array
Name:
This item allows you to give
a name of your array by this option.
Select Boot Disk
This item allows you to select boot disk among
hard disk(s).
3. Select Disk Drives:
This item allows you
to select the disk drives to be used with the
array.
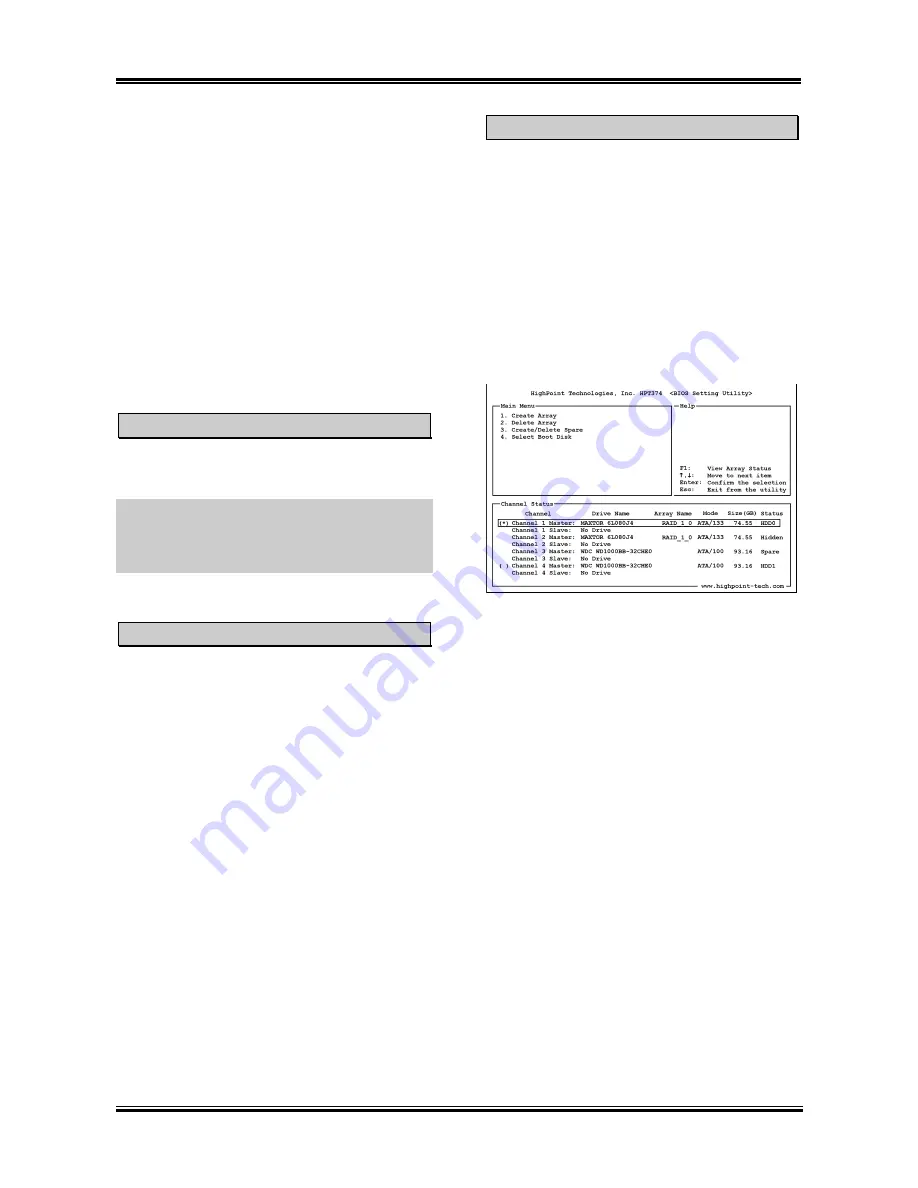
To select boot disk mode:
4. Block
Size:
This item allows you to select
the block size of the RAID array. The
options are: 2M, 1M, 512K, 256K, 128K,
64K, and 32K.
1. Select “4. Select Boot Disk” in the Main
Menu, and press <Enter> to confirm.
2. In the Channel Status, select the channel
you would like to set as bootable disk and
presses <Enter>, an asterisk mark appears
in the parentheses to indicate that the
channel has been selected.
5. Start
Creation
Process:
After you have
made your selection, choose this item and
press <Enter> to start creation.
Delete Array
This item allows you to remove a RAID Array
on this IDE RAID controller.
NOTE:
After having made and confirmed this
selection, all the data stored in the hard disk will
be lost. (The entire partition configuration will
be deleted too.)
Create/Delete Spare
To create the spare disk:
1. Select “3. Create/Delete Spare” in the Main
Menu, and press <Enter> to confirm.
2. If you are not creating the RAID system yet,
screen will show you the warning message,
tell you the current system do not create the
RAID system. If you choose create the
RAID system, then you can select the spare
disk you want to create.
3. In the validated channel status zone, select
the spare disk to be added and press
<Enter> to confirm.
IT7-MAX2
Содержание IT7-MAX2
Страница 2: ......
Страница 31: ...Introduction 1 3 1 2 Layout Diagram User s Manual ...
Страница 32: ...1 4 Chapter 1 IT7 MAX2 ...
Страница 92: ...E 2 Appendix E IT7 MAX2 ...
Страница 100: ...G 4 Appendix G IT7 MAX2 ...


