12
Software WIN-PC for Intrusion Alarm Panel L240
4.2
Connection to the panel
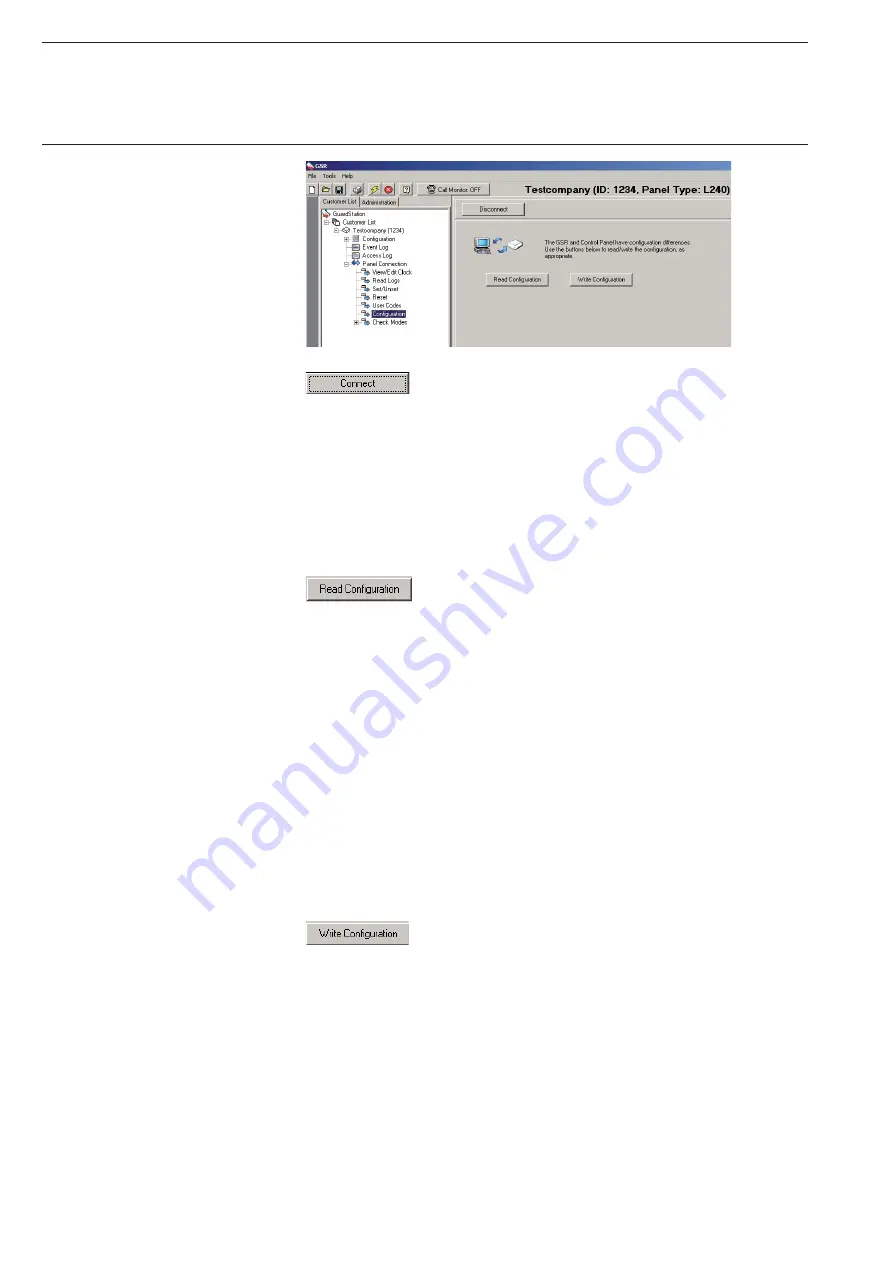
After the customer account is created, a connection with
the Intrusion Alarm Panel L240 can be established. For this purpose,
go to the “Panel Connection” in the customer tree and then click on the
“Connect” button in the main window. After a connection is established,
the following message is shown: “Connected to Panel: Please select an
option from the connection tree on the left”.
If the connection cannot be established, please check the settings in the
Intrusion Alarm Panel L240 again; refer to Chapter 3 “Connection points
to the panel L240”.
Now WIN-PC can read in the configuration data of
the Intrusion Alarm Panel L240. For this purpose, press the “Read
Configuration” button under “Panel Connection” in the submenu
“Configuration”. The transfer may take a few minutes depending on the
amount of data to be transferred.
Note:
After reading of the panel data, you should again check whether the con-
nection settings to the interfaces in your customer tree have been correctly
accepted by the panel. In the customer tree under “Configuration” sub
point “Remote”, the items Connection, Operations, User Auth and SiteIP
must correspond with the settings in the panel. Otherwise you must
correct these settings.
Editing the configuration data
The configuration can be edited after reading the data. After ending of
WIN-PC, this data can be automatically stored in the customer account.
In order to send the configuration data to the Intrusion
Alarm Panel L240, press the “Write Configuration” button under “Panel
Connection” in sub point “Configuration”.
Содержание L240 Series
Страница 1: ...Security Technology Software WIN PC for Intrusion Alarm Panel L240 Product Manual...
Страница 2: ......


