bdi
SCI
JTAG debug interface for SeeCode™ Debugger, BDI2000 (PPC744x/745x)
User Manual 12
© Copyright 1999-2003 by ABATRON AG
V 1.00
2.6 Configuration
Before you can use the BDI together with the debugger, the BDI must be configured. Use the
SETUP
menu and follow the steps listed below:
• Load or update the firmware / logic, store IP address
-->
Firmware
• Set the communication parameters between Host and BDI
-->
Communication
• Setup an initialization list for the target processor
-->
Initlist
• Select the working mode
-->
Mode
• Transmit the configuration to the BDI
-->
Mode Transmit
For information about the dialogs and menus use the help system (F1).
2.6.1 BDI2000 Setup/Update
First make sure that the BDI is properly connected (see Chapter 2.1 to 2.4). The BDI must be con-
nected via RS232 to the Windows host.
To avoid data line conflicts, the BDI2000 must be disconnected from the target system while
programming the logic for an other target CPU (see Chapter 2.1.1).
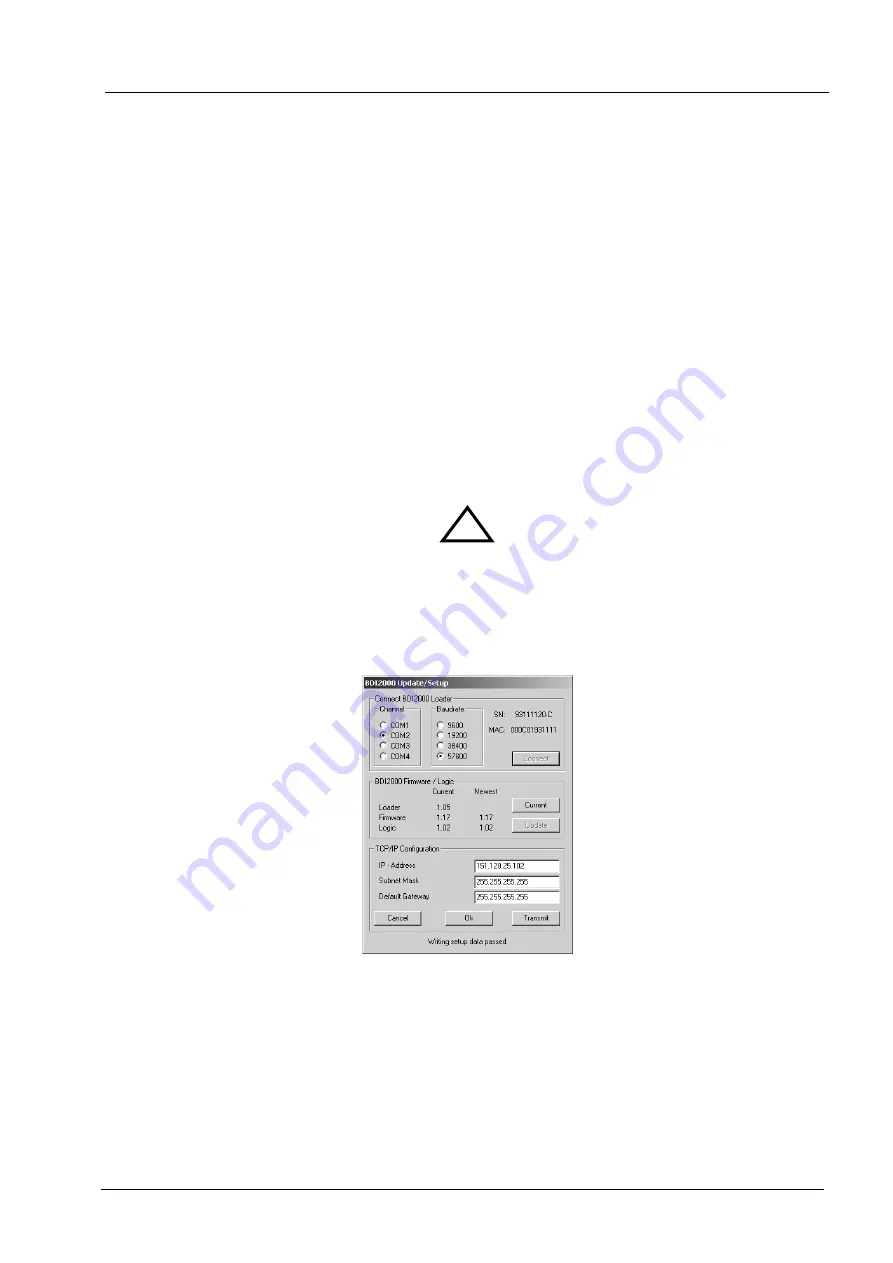
The following dialogbox is used to check or update the BDI firmware and logic and to set the network
parameters.
dialog box «BDI2000 Update/Setup»
The following options allow you to check or update the BDI firmware and logic and to set the network
parameters:
Channel
Select the communication port where the BDI2000 is connected during
this setup session.
Baudrate
Select the baudrate used to communicate with the BDI2000 loader during
this setup session.
!


