5.
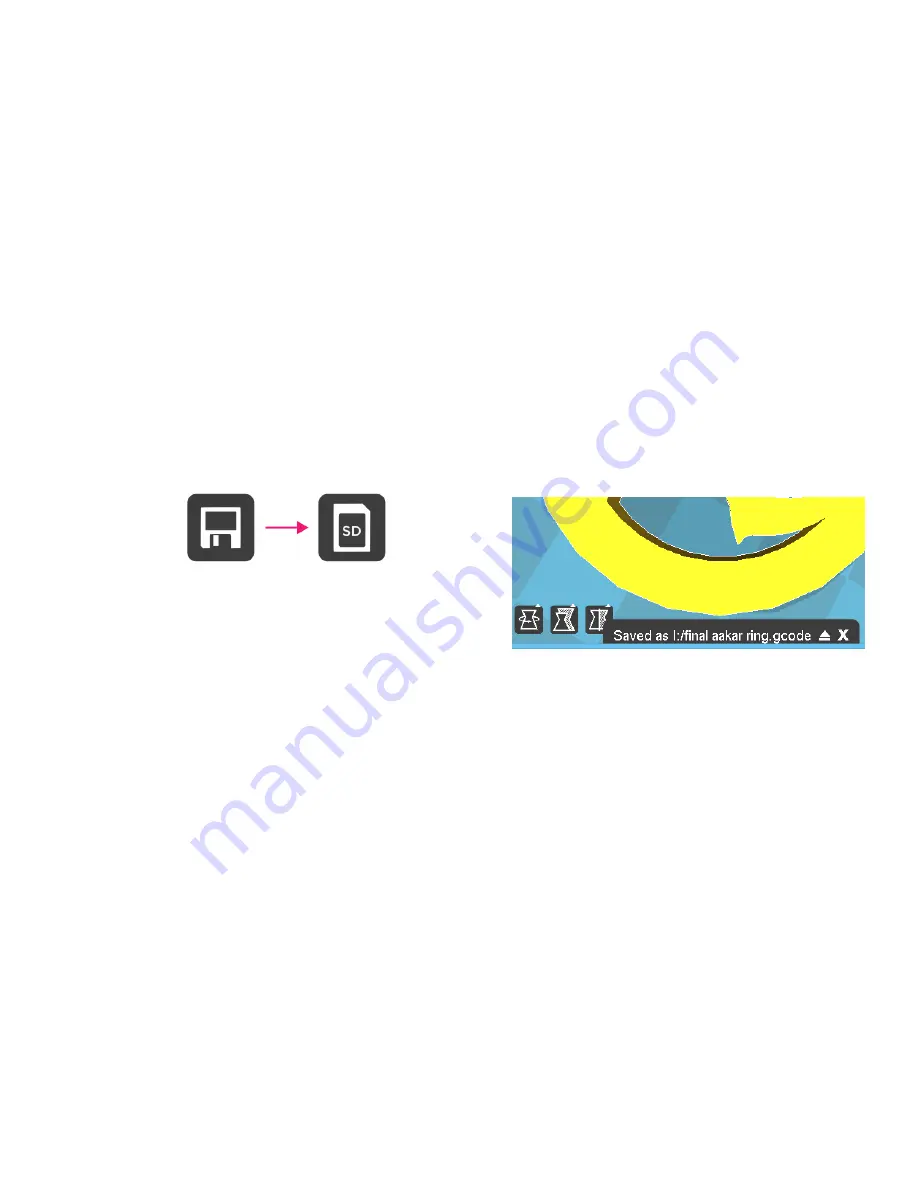
After you connect your Aakar v2 to computer, Cura
changes the Save tool path Button into the Tool path
to SD Button.
6.
Just after you choose for the Tool path to SD button
you will see the same progress bar but now it saves
the file on the SD card.
7.
When finished saving It will give you the notification
that your file has been saved.
8.
Before disconnecting Aakar v2 make sure you always
choose the safely eject button in Cura.
Содержание AAKARv2
Страница 1: ...USER MANUAL...
Страница 3: ...Welcome to AAKAR v2...
Страница 8: ...MACHINE OVERVIEW Interface Panel Filament Spool Control Panel Extruder Spool Holder Build Platform...
Страница 9: ...Graphic LCD Push and rotate button Play Pause Button...
Страница 10: ...Print head cable Extruder face panel Mounting guides Filament inlet Extruder cold end fan...
Страница 11: ...GETTING STARTED WITH SOFTWARE...
Страница 20: ...GETTING STARTED WITH HARDWARE...
Страница 38: ...MAINTAINANCE...
Страница 45: ...Good luck from Aakar Team...


