background image

Setting up your mouse pad and mouse is just a second away:   

1.  Plug the Mouse Pad

s USB plug to your computer

s USB port. 

2.  PWR LED on the Mouse Pad will be flashing in 

RED


3.  Put the MOUSE onto the center of the MOUSE PAD. 

4.    PWR LED on the Mouse Pad will stop flashing become steady 

RED


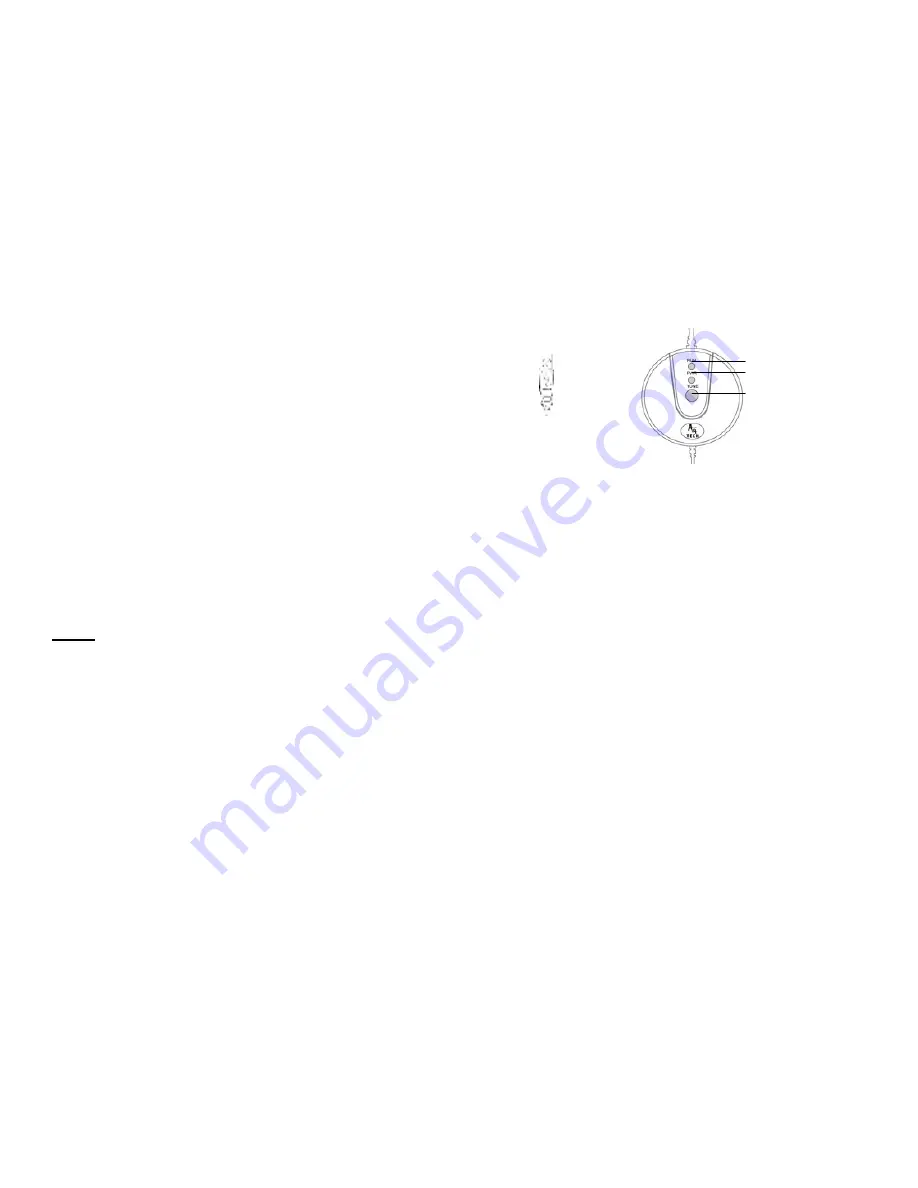
5.  Press the button 

TUNE

 to obtain the frequency for best performance. Do not move the mouse while the RUN 

LED is flashing in 

GREEN


6.  You may move the mouse around once the RUN LED stopped flashing in 

GREEN


7.    If the cursor doesn

t move smoothly, please repeat steps 5 to 7. 

8.  RUN LED should light up with steady 

GREEN

 while mouse is circulating on the mouse pad.


NOTE:


1.  Do not use this product on any metal table or surface

The metal surface may interfere with the cross induction 

and have an adverse effect on the mouse operation. 

2.    Keep working temperature under 0 to 50 degree Celsius (0

°–

 5

°

C). 

3.  Frequency: 119 KHz-135 KHz 
4.  Keep your credit cards and ATM cards away from RFID Mouse Pad to prevent the card

s magnetic stripe   

from losing its efficiency. 
5.    Our RFID Mouse Pad will not erase any data in the memory stick. So don

t worry if your memory stick is 


close to the inductive RFID mouse pad. 


PWR 

RUN LED 

TUNE 

Содержание NB-60

Страница 1: ...BatteryFREE Wireless Optical Mouse User s Manual Model NB 60 www a4tech com...

Страница 2: ...tion which can be determined by turning the equipment off and on the user is encouraged to try to correct the interference by one or more of the following measures l Reorient of relocate the receiving...

Страница 3: ...he cursor doesn t move smoothly please repeat steps 5 to 7 8 RUN LED should light up with steady GREEN while mouse is circulating on the mouse pad NOTE 1 Do not use this product on any metal table or...

Страница 4: ...Driver Select model NB 60 Battery Free Mouse 5 Click the button on the right to install driver 6 Follow the on screen instruction to complete your installation 7 Restart your computer after the drive...

Страница 5: ...ns from 2 to 6 are programmable Section II Double Click Speed Section III Button Configuration Adjust your double click speed If you select Left Handed your Main Button will be 2 button Keyboard Prope...

Страница 6: ...oke and you ll see a Keystroke Window pops up Image left bottom Here you will see 2 radio buttons l Press and hold will input keystrokes consecutively l Press and hold will only input once the keystro...

Страница 7: ...se Button green icon on the Mouse Image to your right to store the Keystroke Ctrl 7 Green icon will turn red once it s been selected Image C 8 Click Apply OK We have stored it in Mouse Button 4 Let s...

Страница 8: ...ill turn red once it s been selected Image B 7 Click Apply then OK We have stored it in Mouse Button 3 Let s try it on regular word document and on game application l Try it on Word Document Press and...

Страница 9: ...e Mouse Image to your right to store the Keystroke Ctrl 8 Green icon will turn red once it s been selected Image D 9 Click Apply OK We have stored it in Mouse Button 4 Let s try it on game application...

Страница 10: ...ed once it s been selected Image F 2 Click OK We have stored it in Mouse Button 5 Let s try it on regular word document or on game application 7 Try it on Word Document Press and hold your mouse butto...

Страница 11: ...TECH SUPPORT For tech support please visit our website at www a4tech com or email us at support a4tech com WARRANTY All A4 Tech products come with 1 year limited warranty...

Отзывы: