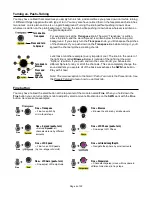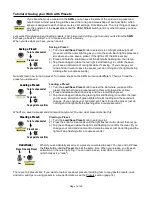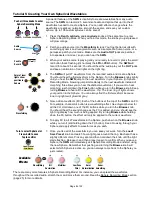
Tutorial 5: Creating Your Own Spherical Wavetables
A powerful feature of the
SWN
is its ability to create wavetables from any audio
source. The
SWN
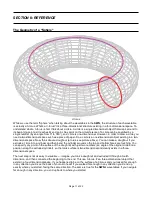
can record 2.5 seconds of audio and splice that up into the 27
waveforms needed to create a Sphere. You can add effects, change where the
waveforms are spliced, normalize, smooth the seams, and save your custom
sphere. Up to 108 custom spheres can be saved!
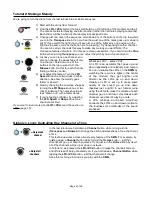
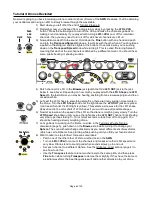
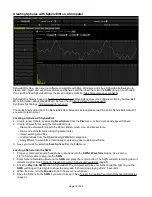
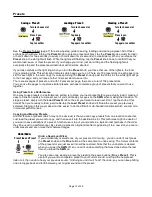
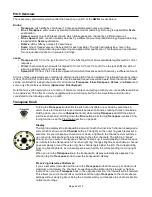
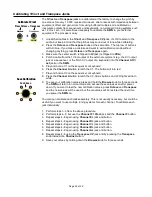
1. Press the
Depth, Latitude,
and
Longitude
knobs at the same time to enter
Sphere Recording Mode. When you're in this mode, the knobs you just pressed
will glow orange.
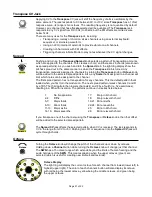
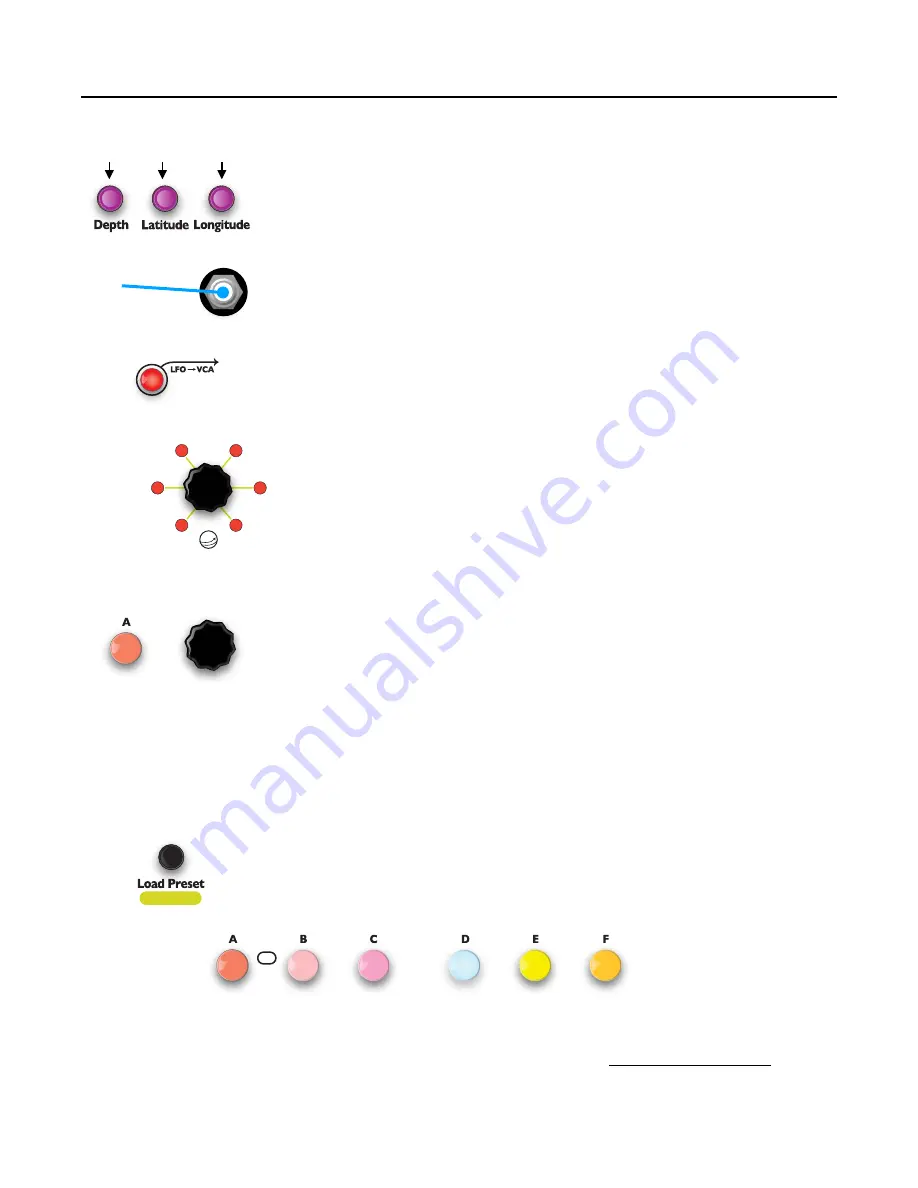
2. Patch an audio source into the
Waveform In
jack. You’ll get better results with
something dynamic and recognizable such as a sample of a human voice, or a
percussive patch you've made. Make sure the
Audio OUT
jacks are patched
into speakers or a mixer, so you can hear the
SWN
.
3. When your audio source is playing and you're ready to record it, press the small
red button that's flashing (it’s normally the
LFO->VCA
button). The
SWN
will
record for about 2.5 seconds. You should hear the audio play out the
OUT
jacks
and see an animation of red lights on the light ring.
4. The
SWN
will pull 27 waveforms from the recorded audio and create a Sphere.
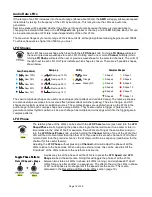
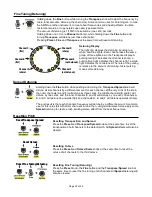
You should hear the first waveform in the Sphere. Turn the
Browse
knob slightly
until you hear the
SWN
jump to the next waveform in your Sphere. (In Sphere
Recording Mode, browsing jumps immediately to the next waveform instead of
morphing; this allows you to hear the distinct waveforms.) If you want to hear
morphing, just hold down the
Fine
button while you turn the
Browse
knob. Keep
turning
Browse
to hear all the waveforms.
Tip: The inner ring of lights shows
your position in the Sphere. You can always find the first waveform because
inner ring lights will glow dim gray.
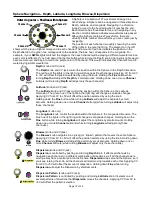
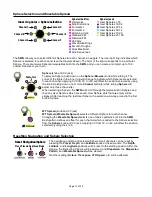
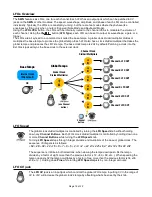
5. Now, add some effects (FX). Each of the buttons at the top of the
SWN
is an FX.
For example, channel A’s button is a wavefolding effect.
See diagram below for
all the FX
. Hold down one of the FX buttons while you turn the
Browse
knob.
You should hear the sound change as the FX is added, and you should see the
light ring display how much is being applied. By turning
Browse
while holding
down the FX button, the effect will only be applied to the current waveform.
6. To apply FX to all 27 waveforms in the Sphere, push down on the
Browse
knob
while you turn it (still holding down the FX button). Keep browsing through your
Sphere and apply effects to waveforms as you wish.
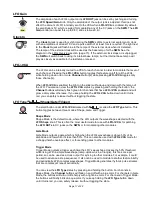
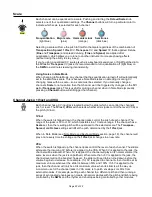
7. Once you like all of the waveforms, you can save your work. Turn the
Load/
Save Preset
knob and watch how a light goes around the ring. Each spot has a
slightly different color. Pick any spot and then hold down the knob until the light
starts flashing. Release it, and then press it again to confirm. When you save a
Sphere, the
SWN
will immediately exit Sphere Recording Mode and start using
the new Sphere. Remember that pushing and turning the
Browse
knob will
select which Sphere is active, so you can always come back to the Sphere you
just created.
There are many more features in Sphere Recording Mode! For instance, you can spread the waveforms
throughout the recorded audio, stretch them, and move them around. Read the Sphere Recording Mode section
(page 25) for more details.
Page of
9
32
+
+
Push all three knobs to enter
Sphere Recording Mode
Browse
Sphere
Color of inner
lights show
position in
Sphere
Low Pass
Filter
Wavefolding
Bit
Decimation
Metalizer
Gain/
Normalization
Seam
Smoothing
FX
+
Wavefolding
Waveform
In
Audio
Source
Push to
Record
Available
Effects:
Save Preset
Turn to select Sphere slot
Press+hold to save
Tap to confirm

