Signal Routing: Using Send and Return
The
Send
and
Return
jacks are simple but offer a wealth of possibilities for creative patching. The
Send
jack simply carries the delayed signal, unmixed with the input. It’s the same as the main
Audio
Out
jack if the
Mix
control is set fully clockwise. The
Return
input is summed with the main
In
.
However, it does not appear in the “dry” signal and is not attenuated by the
Delay Feed
knob and CV.
Feedback with External Processing
The classic use of
Send
and
Return
in a delay effect is to modify the delayed signal before it is
returned to the mix. Probably the most popular application of this kind of side-chain processing is a
simple low-pass filter in the feedback path. This causes succeeding repeats to soften, with less high-
frequency content on each pass. This is similar to the behavior of echoes in an acoustic environment,
and for this reason a low-pass filter is included in the internal feedback path of many conventional
delay processors. Note that the first echo will not be processed by the external effect, only the second
and subsequent echoes will go through the Send/Return path.
In patches involving externally processed feedback, the gain of the processing chain is always a
concern. In the case of filters in particular, the gain may be suitable overall, but not at the frequencies
you want to recirculate. If the filter is resonant, runaway feedback may occur even when the overall
gain is low.
Advanced Usage
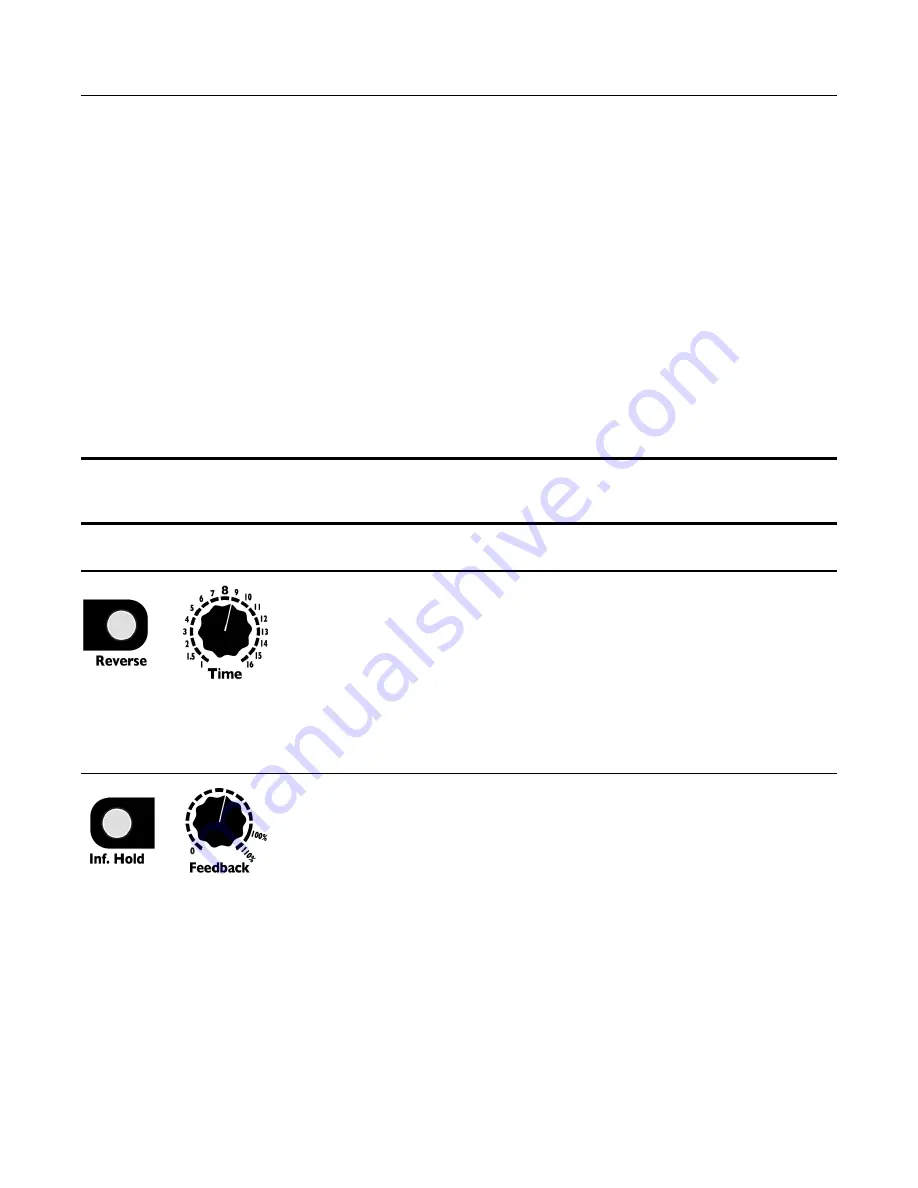
Loop start and stop points: Trimming the loop
When
Inf. Hold
is on, changing
Time
will change the loop start point in
order to make the loop the new length. If you hold down the
Reverse
button
while changing
Time
, you will change the loop end point. Therefore, you can
change a loop that’s 4 beats long into one that's 5 beats long in two different
ways (adding a beat to the end, or to the beginning). There are many
creative possibilities to be explored with adding and subtracting from the
beginning and/or end of a loop. One idea is to “inchworm” up and down
memory. If you want to move more quickly than an “inchworm”, try windowing: see the
Windowing
Section below
.
Windowing (aka Scrolling or Scrubbing)
When
Inf. Hold
is on, the
Feedback
and
Delay Feed
parameters have no
meaning since they are effectively at 100% and 0%. However, the
Feedback
knob and CV jack have a special purpose when
Inf. Hold
is on:
Windowing, also known as scrolling or scrubbing.
To use this feature, first makes sure you’re in
Inf. Hold
mode. Then, hold
down the
Inf. Hold
button while turning
Feedback.
This will cause the start
and stop points of the loop to scroll forward or backwards, depending on which way you turn the
Feedback
knob. The amount of scroll is determined by how you turn
Feedback
: one full turn of the
knob equals one loop length. So if you have a 2 second loop, then turning
Feedback
from 0% to 100%
will shift the loop forward by two seconds. Turning
Feedback
from 100% to 50% will scroll the loop
backwards by one second.
Note: Windowing only works when
Inf. Hold
mode is on.
Windowing Tutorial
Let's try it. First get set up: Set
Time
so you have a loop length that's a few seconds long. Remember,
the red loop light will flash once per loop. To keep things simple for now, set
Feedback
low (25 - 50%
perhaps). Play some sounds for 10-20 seconds and then turn on
Inf. Hold
to lock them in.
Page of
8
20
+
+


