


1
4
© 3M 2004. 3M™ Multimedia Projector X65
O
O
O
O
P
P
P
P
E
E
E
E
R
R
R
R
A
A
A
A
T
T
T
T
II
II
O
O
O
O
N
N
N
N
S
S
S
S
((
((
c
c
c
c
o
o
o
o
n
n
n
n
tt
tt
ii
ii
n
n
n
n
u
u
u
u
e
e
e
e
d
d
d
d
))
))
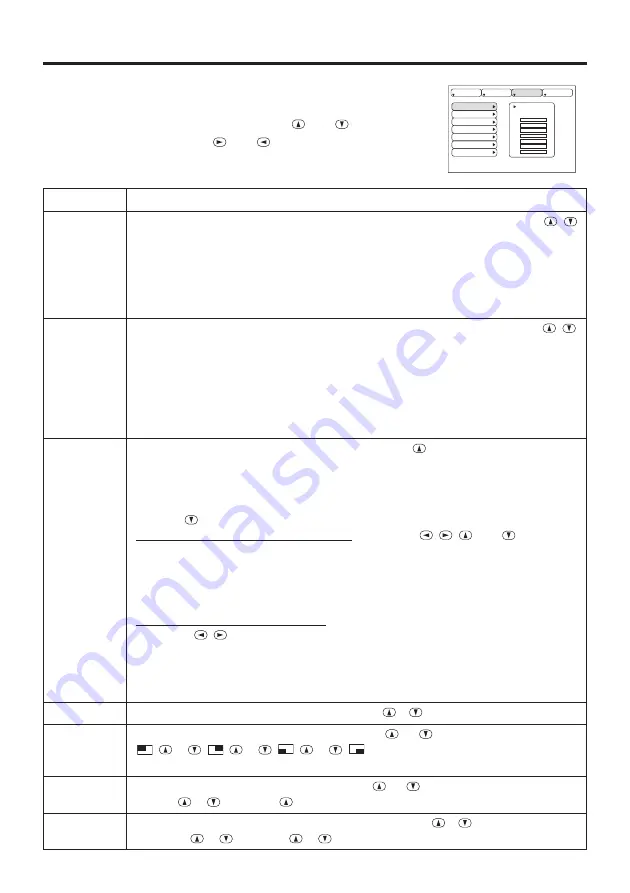
Image Menu
The following adjustments and settings are available when IMAGE is
selected on the menu. Select an item with the
and
buttons, and
start or stop operation with the
and
buttons.
Table 6. Image Menu
BLANK
START UP
MyScreen
MIRROR
P. IN P. POSIT
P. IN P. INPUT
GAMMA
MyScreen
ORIGINAL
SETUP
INPUT
OPT.
IMAGE
Item
Description
BLANK
Select Blank Screen:
Select the screen in case of the BLANK mode with the
/
button. The selected one (MyScreen, ORIGINAL or one colors) is displayed when the
BLANK mode is ON.
MyScreen
is a mode that the customer-customized screen is displayed. This is the
blue screen at the factory setting. Refer to the description of MyScreen below.
ORIGINAL
is a mode that the factory fixed screen is displayed.
• When MyScreen or ORIGINAL is selected, the screen is going to the black after several minutes.
START UP
Select Start Up Screen:
Select the screen in case of no signal input with the
/
button. The selected one (MyScreen, ORIGINAL or TURN OFF) is displayed when
no signal is input.
My Screen
is a mode that the customer-customized screen is displayed. This is the
blue screen at the factory setting. Refer to the description of MyScreen below.
ORIGINAL
is a mode that the factory fixed screen is displayed.
TURN OFF
displays the blue screen.
• When MyScreen or ORIGINAL is selected, the screen is going to the black after several minutes.
MyScreen
Set MyScreen Mode:
Select the EXECUTE with the
button to display the
MyScreen menu and set the MyScreen mode for BLANK and START UP functions.
ESC
clears and closes the menu box.
NORM.
is default of the MyScreen menu.
FREEZE
freezes the image and displays the frame to capture.
Press the
button after freeze to go to the MyScreen Capture Position mode.
In the MyScreen Capture Position mode, the buttons
,
,
and
allow to
move the frame to capture.
After adjusting the position, press the KEYSTONE button to go to the MyScreen
Display Size mode.
To cancel freezing and return to the NORM. of the MyScreen menu, press the
RESET button.
In the MyScreen Display Size mode, select the magnification x1, x2 or FULL with
the button
/
. After selecting the magnification, press the KEYSTONE button to
go to the CAPT. mode and start capturing.
To return to the MyScreen Capture Position mode, press the RESET button.
CAPT.
executes a capturing the image. It requires about 20 seconds. After capturing,
the captured image will be displayed for about 10 seconds.
MIRROR
Select Mirror Status:
Select mirror status with
/
button.
P. IN P.
POSIT
Select Position of P. in P. Display :
Press
the or button.
↔
↔
↔
•
P.IN P. function superimposes a video image over RGB or DVI signals
.
P. IN P.
INPUT
Select signal of P. in P. Display :
Press the
or
button.
VIDEO
↔
S-VIDEO
GAMMA
Select Gamma Mode:
Select the gamma mode with the
/
button.
NORMAL
↔
CINEMA
↔
DYNAMIC
Содержание Multimedia Projector X65
Страница 1: ...Multimedia Projector X65 Operator s Guide...


