
Microsoft and Windows are registered trademarks of Microsoft
Corporation in the United States and/or other countries. Firefox is a
registered trademark of the Mozilla foundation. Google and Chrome
are trademarks of Google Inc. JavaScript is a trademark of Oracle
Corporation. 3M and Attest are trademarks of 3M Company. Used
under license by 3M subsidiaries and affiliates.
Please recycle. Printed in USA.
©3M 2016. All rights reserved.
Issued: 7/16 HB11614
70-2011-5315-5
Infection Prevention Division
3M Health Care
3M Center, 2510 Conway Ave
St. Paul, MN 55144-1000
1-800-228-3957
www.3M.com/infectionprevention
For further information, contact the 3M Sterilization Tech Line at 800-441-1922, Option 2.
Connecting Using a Static IP Address
The use of a Static IP address is recommended. Certain
set-up and configuration options are available on the
password protected 3M
™
Attest
™
Auto-reader 390, 390G,
490, and 490H Web App Configuration Page, including
the option to assign a Static IP address. Using a portable
router or Ethernet jack with a dynamic IP address, navigate
to the Web App Configuration Page by entering either:
1
http://attestxxxxxx/protect/config.htm (where xxxxxx
is the 6-digit unit serial number, obtained by pressing
the
button on the front of the Auto-reader and
reading the 1st 6-digit string on the top line of the LCD
display); or
2
http://xxx.xxx.xxx.xxx/protect/config.htm (where xxx.
xxx.xxx.xxx is the IP address obtained by pressing the
button twice and referring to the top row of the
LCD screen).
Enter the address into the web browser's address bar
and press 'Go' or hit the enter key. A security screen will
appear. Enter the following User name and Password:
User name: manager
Password: Attest
Press ‘OK’
Populate the fields of the Configuration Page applicable
to establishing connectivity. You may need to consult your
facility's IT Network Support team.
Enable DHCP
Default: setting is checked indicating the
Web App will use the Dynamic IP address
automatically assigned when the Auto-reader
is connected to the network. Remove the
check if you wish to use a Static IP address.
IP Address
Enter Static IP address
Gateway
Enter Gateway
Subnet Mask
Enter Subnet Mask
Primary DNS
Enter Primary DNS
After populating desired fields, click on
Save Config
button to save your changes. A new screen confirming the
settings were successfully changed appears.
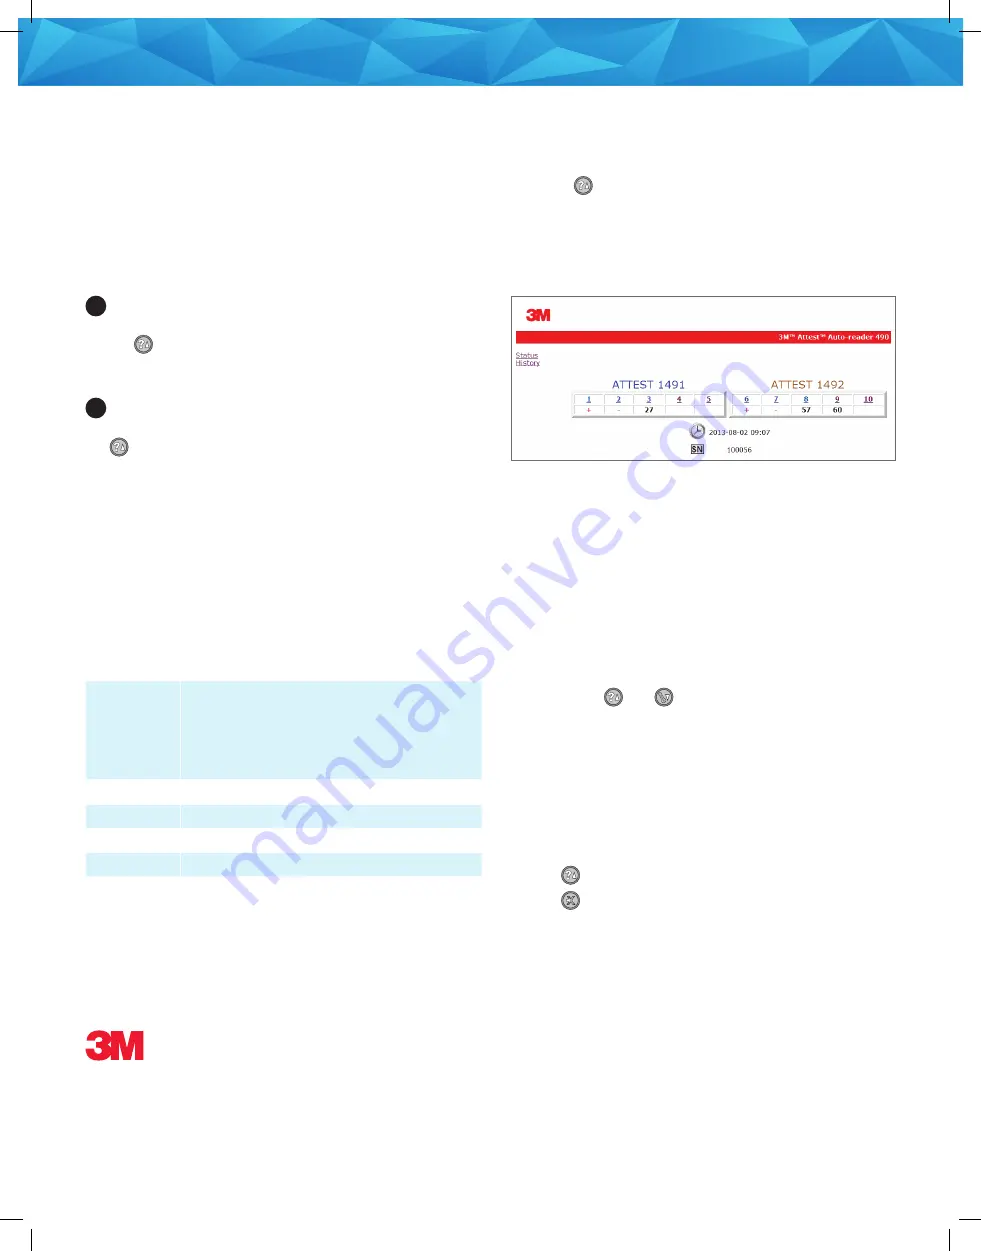
Verifying Connectivity
After connecting the Auto-reader to a live Ethernet jack,
press the
button on the front of the Auto-reader twice
to display the IP address on the Auto-reader LCD panel.
Enter http://IPaddress (e.g. http://xxx.xxx.xxx.xxx) in the
browser of a networked computer and press Enter. The
3M
™
Attest
™
Auto-reader Web App Status Page
will display.
The Auto-reader Web App may now be used according to
the instructions provided in the Operator’s Manual and, if
desired, the Auto-reader may now be able to interface with
a compatible sterile processing software system.
Contact your software system representative for
interface support.
Resetting to a Dynamic IP Address
Auto-readers manufactured after May, 2014 may be reset
to a Dynamic IP Address as follows:
• Depress the
and
buttons simultaneously
for 10 seconds.
• If DHCP is already enabled, the LCD Display will read:
DHCP ENABLED
. No further steps are needed.
• If DHCP is disabled (Static IP configured), LCD Display
will read:
Line 1:
DHCP DISABLED
Line 2: Re-enable
DHCP [No]
• Press
button to toggle to [Yes].
• Press
button to save the change.
• LCD Display will update to read
DHCP ENABLED
for 3 seconds.


