Front Door Panels
The front panels are made from thicker 1/4" acrylic to provide more structural rigidity for the
doors. Do not try to bend the 1/4” acrylic!
1. Loosen the Left Front Corner Braces
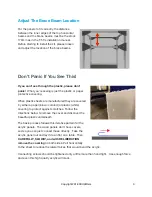
Loosen t-nuts on the left vertical 20x20 corner braces (as shown in the picture) to
create enough room to insert the front panels. The braces are the black angular pieces
that hold the 20x20 pieces together.
2. Remove the Panel Covers
Remove the clear plastic or paper sheets covering the acrylic.
Remember, do not do
this step if you want to customize the panel by making holes.
This step will not be
repeated in subsequent instructions; simply remember to remove the covers before
inserting the panels. Do not remove the panels before insertion to protect against
scratches.
3. Insert the Panels
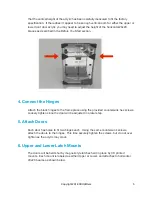
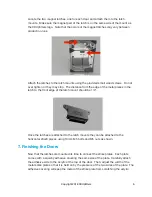
Carefully insert the bottom and top acrylic panels and then quickly refasten one of the
corner pieces to temporarily hold the 20x20 in place until its time to do the side. Note
Copyright 2018 3DUpfitters
4


