3-16
C
HAPTER
3: 3C
OM
I
NSTALLATION
W
IZARD
Completing the Installation and Configuration
Procedures for completing the installation and configuration differ
for Windows 95 and Windows NT.
Windows 95
This section describes how to complete the NIC installation and
configuration under Windows 95 after you close the 3Com
Installation Wizard.
The Insert Disk dialog box appears, prompting you for the
Windows 95 CD.
1
Insert the Windows 95 CD in your CD-ROM drive and
click
OK
.
2
In the Copy files from box, enter the path to your CD-ROM
drive, and then click
OK
.
A final Microsoft Add New Hardware Wizard screen may appear.
If this screen appears, click
Finish
. Otherwise, continue.
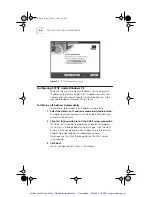
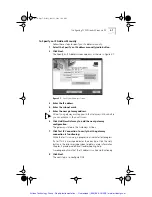
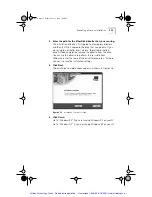
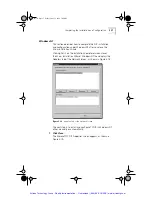
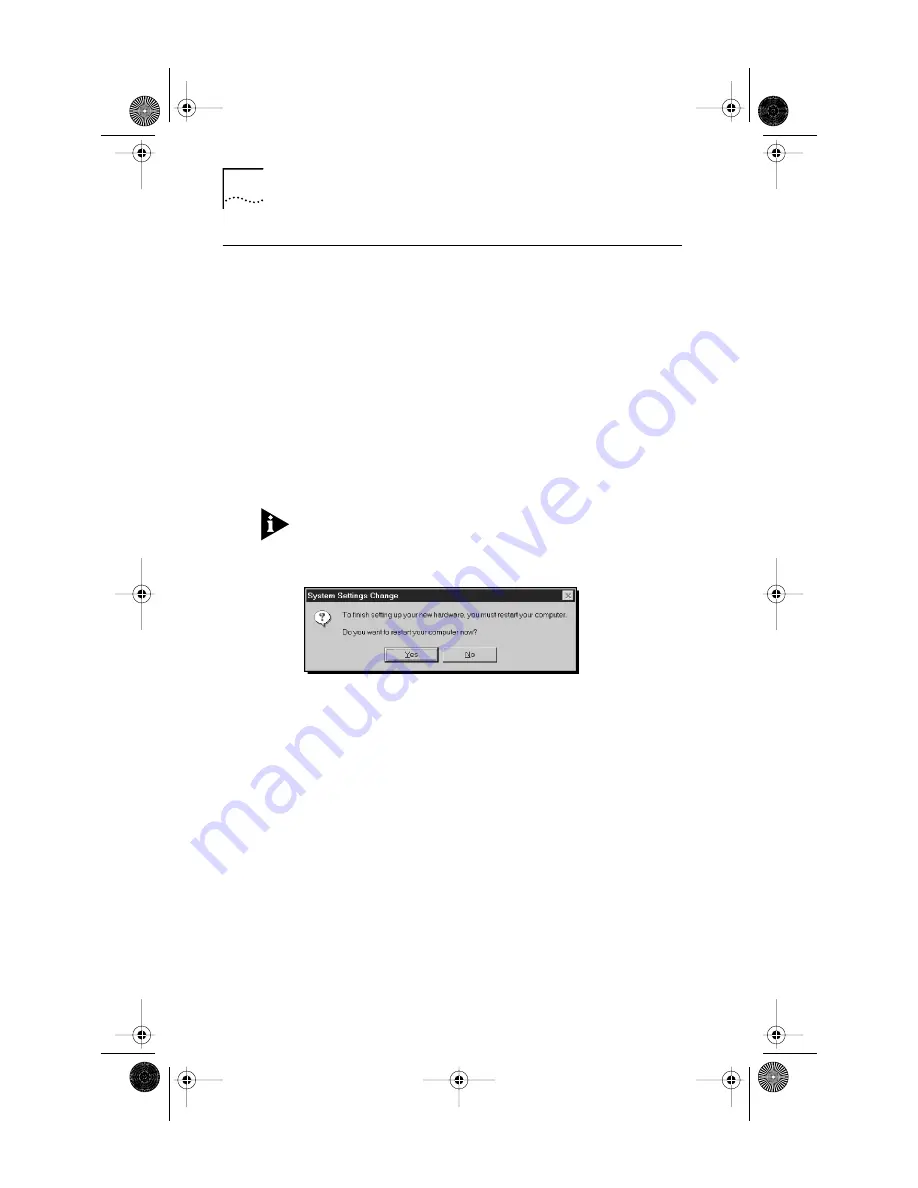
The System Settings Change dialog box appears, prompting you
to restart. See Figure 3-17.
Figure 3-17
System Settings Change Dialog Box
3
Click
Yes.
You have successfully installed and configured the NIC under
Windows 95.
The 3Com NIC Diagnostics program icon appears in the taskbar
tray. To start the program, double-click the tray icon. To disable
the tray icon, right-click the icon and select
Disable Tray
Icon
. See
Chapter 5 for more information about the 3Com tray icon.
Verify that all existing installed hardware devices are still working.
Typical devices to check include a sound card, CD-ROM drive,
analog modem, LPT port to a printer, and game ports. If any
devices are not working, go to Chapter 5 or the Windows
Troubleshooting Help system.
Book Page 16 Friday, June 11, 1999 3:02 PM
Artisan Technology Group - Quality Instrumentation ... Guaranteed | (888) 88-SOURCE | www.artisantg.com

