2-10
C
HAPTER
2: S
ETUP
FOR
C
USTOM
I
NSTALLATION
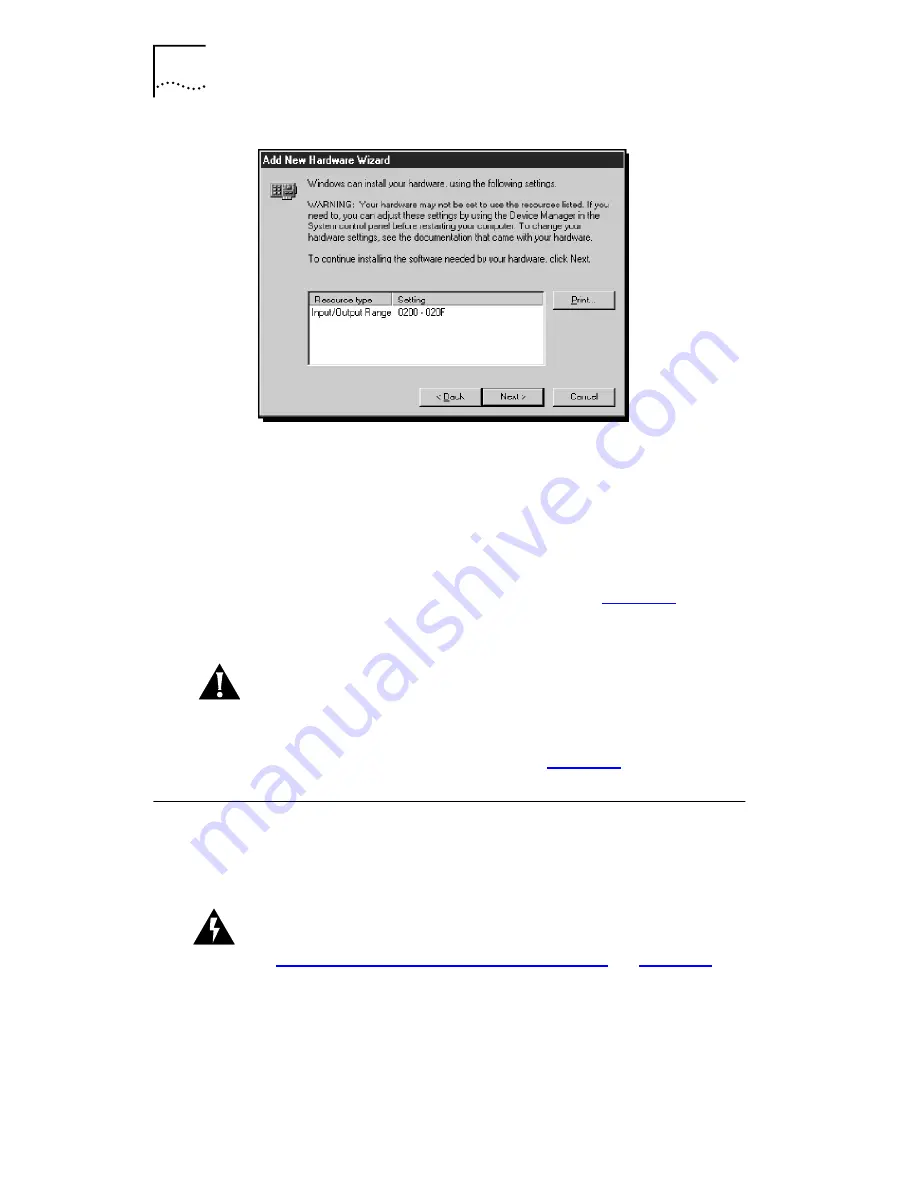
Figure 2-10
I/O Range Assigned to the NIC Screen
9
Write down the I/O range setting displayed in the list box
(or click
, if you are connected to a printer), and then
click
Next
.
When you configure the NIC using the 3Com Installation Wizard,
you must make sure that this setting matches the value displayed
on the NIC Configuration Settings screen. See
Figure 3-2
.
Windows 95 copies the required files to your hard disk. The
3Com Installation Wizard starts.
CAUTION:
I/O base address 0x110 is reserved for system
resources. If this address is assigned to a hardware device in
your PC, contact your network administrator before continuing.
The next step is to use the 3Com Installation Wizard to install NIC
software and configure the NIC. Go to
Chapter 3
.
Windows NT Setup
This section describes how to set up your Windows NT 3.51 or
4.0 system environment to install the 3C509B NIC using the
3Com Installation Wizard Custom installation option.
WARNING:
If you are installing multiple 3C509B NICs in a
Windows NT PC, you must follow the specific procedure provided
in
“Installing Multiple NICs in a Windows NT PC
” in
Chapter 5
.
Содержание EtherLink III ISA 3C509B-COMBO
Страница 12: ......
Страница 22: ......
Страница 54: ......
Страница 64: ......
Страница 84: ......
Страница 100: ......
Страница 105: ...NOTES ...
Страница 106: ...NOTES ...
Страница 107: ...NOTES ...
Страница 108: ...NOTES ...
Страница 109: ...NOTES ...
Страница 110: ...NOTES ...


