


62
C
HAPTER
5: C
ONFIGURING
THE
R
OUTER
4
Enter the IP address of the RADIUS server on your network into the
RADIUS Server
field.
5
Enter the port number that the RADIUS server is operating on in the
RADIUS Port
field.
6
Enter the key for the RADIUS server in the
RADIUS Key
field.
7
By default, the WPA keys are changed every hour, but if you want to
change this setting, you can do so by specifying the required time in the
Re-key Interval
field.
8
Click
Apply
.
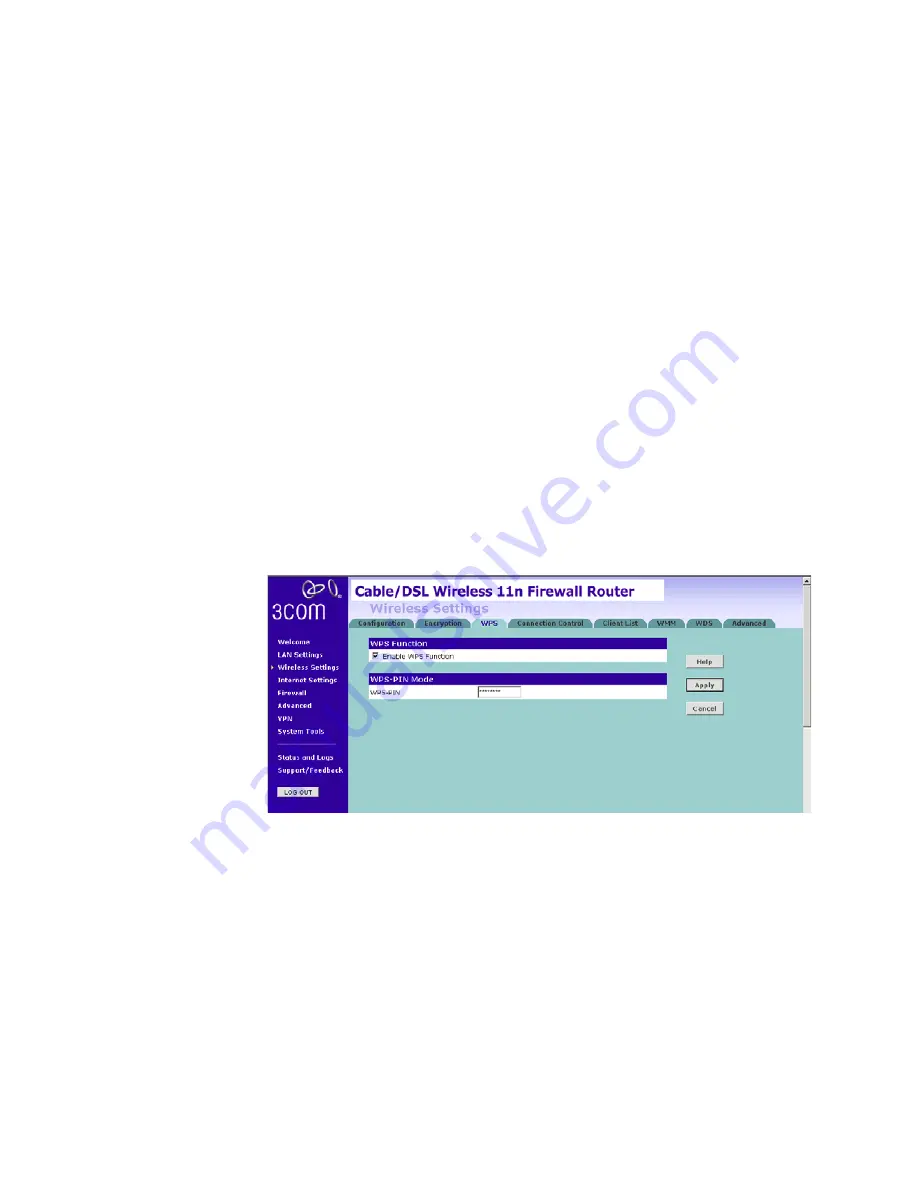
WPS
Wi-Fi Protected Setup (WPS) integrate the new WLAN clients into your
wireless network easily. You can enable this function by entering the PIN
code via the web UI page or by pressing the WPS button on the rear side
of the device.
Figure 46
WPS Screen
Two methods to setup the WPS, you can choose either one of the
following method. Note that if you choose to use the PBC mode, it would
be no need to enter the PIN code of the wireless NIC on this screen.
■
PIN
1
Check the
Enable WPS Function
box. The WPS-PIN field will appear.
2
Enter the PIN code in the
WPS-PIN
field. And then click
Apply.
Please note that the PIN code is generated this way: on the client side,
run the WPS utility which is provided by the vendor of your Wi-Fi card
Содержание 3CRWER300-73
Страница 8: ......
Страница 12: ...10 ABOUT THIS GUIDE ...
Страница 30: ...28 CHAPTER 3 SETTING UP YOUR COMPUTERS ...
Страница 52: ...50 CHAPTER 4 RUNNING THE SETUP WIZARD ...
Страница 149: ...147 ...
Страница 154: ...152 APPENDIX E OBTAINING SUPPORT FOR YOUR 3COM PRODUCTS ...
Страница 164: ...162 GLOSSARY ...
Страница 170: ...168 ...


