30
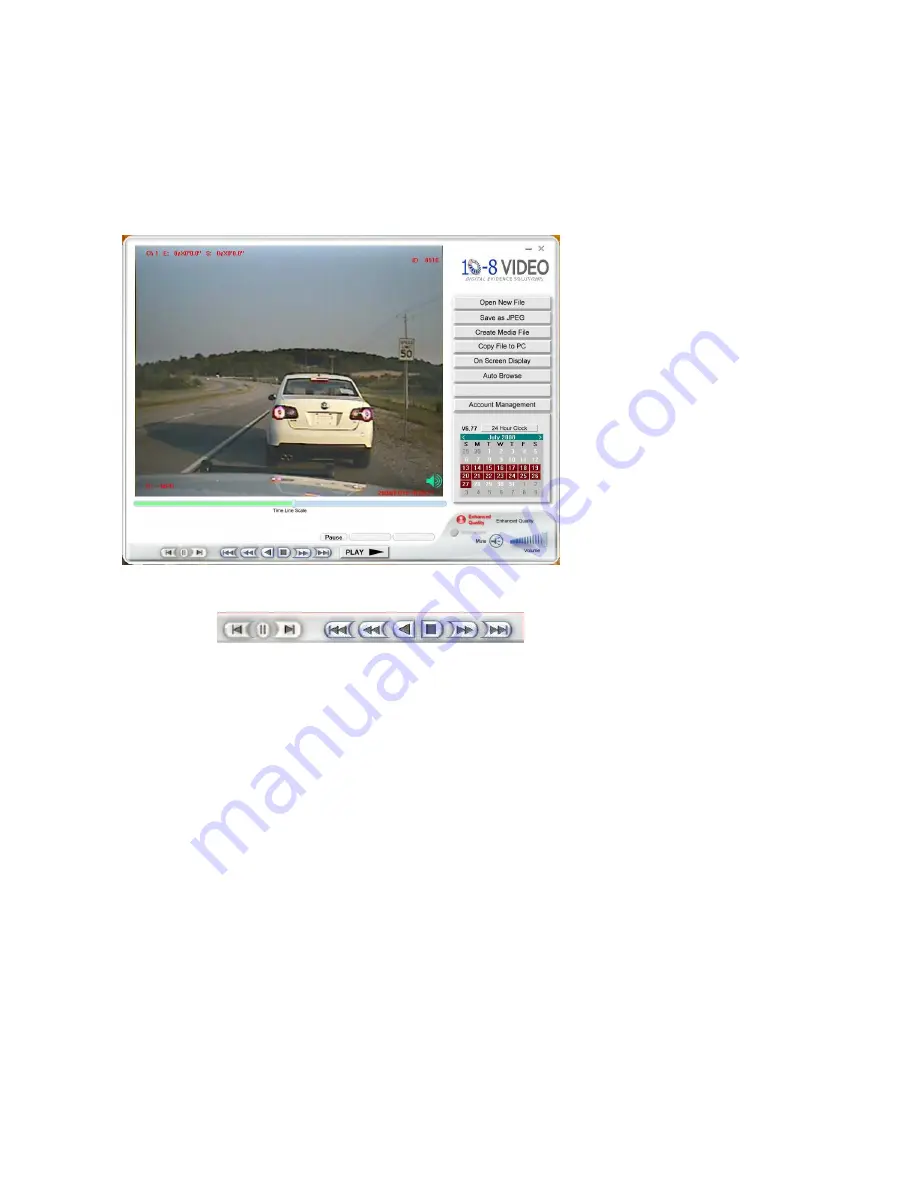
You will now be in the main player screen ready to play your video. Press
the large ‘PLAY’ button to begin the video.
Clicking on the speaker icon will mute the audio. Click again to un-mute
the audio and use the sliding volume control and your speaker volume to
adjust the volume. Clicking on the ‘On Screen Display’ button will turn the
date/time display on the video on and off.
.
The Play speed adjustment panel works similar to a DVD or VCR panel. You
can speed up, slow down, and view frame by frame with this panel. You can
also use the slider button under the video to quickly go forward or backward in
the video. The 2 arrows on either side of the pause button will play the video in
slow motion. Repeated use of the pause button will advance frame by frame.
Pressing the ‘Save to JPEG’ button will save the current frame in the display to
a common .jpg file on your hard drive.
The ‘Create Media File’ button will allow you to save to .avi and .wmv files.
Note however that the .avi files are quite large and the wmv files do not
currently have audio. The preferred method of saving files is the ‘Copy
File TO PC’. This will kept the quality at the best resolution and the file
will be saved in it’s native proprietary format.
Before using the ‘Copy File to PC’ option, make a note of the beginning and
end times of the event of video you wish to save. Then select the option to
open to the following screen:
‘Copy File To PC’:


