CONTOUR CT28 WALL & CEILING INSTALLATION
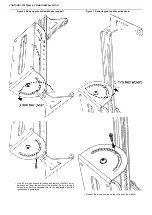
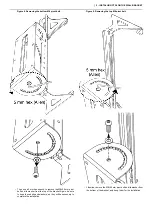
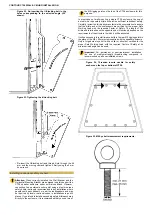
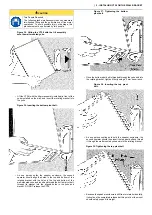
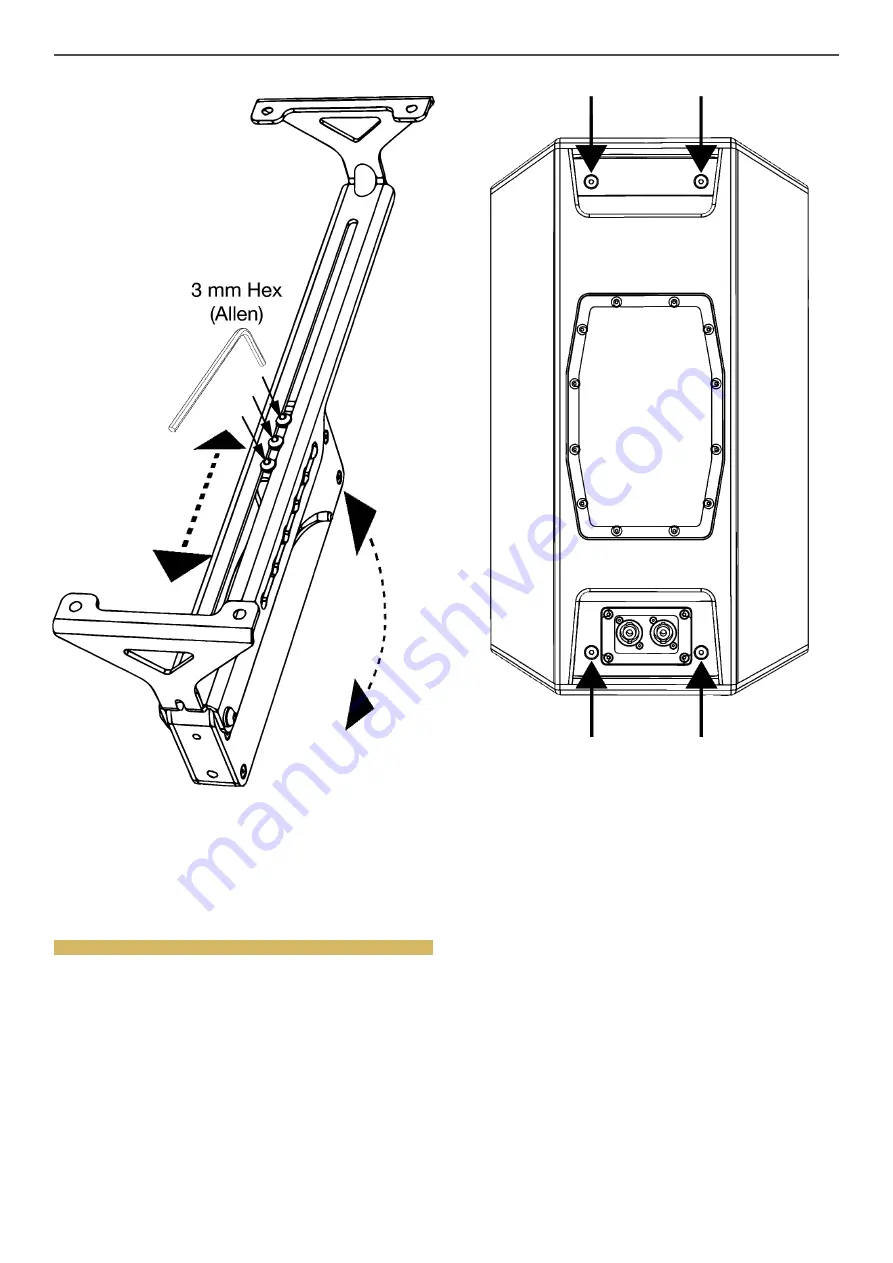
Figure 14. Verifying the movement of the cam in the
tilt arm.
•
If there appears to be no damage, and the bracket continues to
bind, use a 3 mm hex wrench to verify that the three screws that
hold the moving cam in the guide slot on the inside of tilt arm
are not too loose or not overly tightened. DO NOT REMOVE
THESE SCREWS, but only verify that they are tight enough to
keep the cam in the guide without rattling, but not so tight as to
impede the movement of the cam in the slot.
•
If the mechanism does not move freely with negligible
resistance, the entire mount should be replaced.
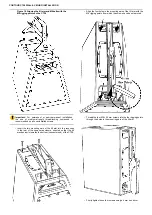
Installing the Tilt Arm assembly on the CT28
Once the Wall Bracket tilt assembly has been separated from the wall-
mounted yoke, it can be easily attached to the CT28 enclosure.
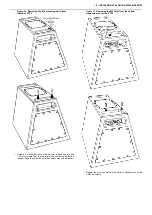
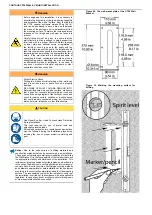
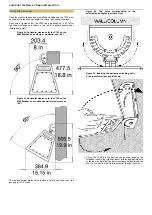
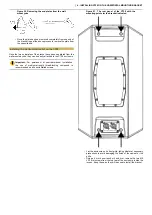
Figure 15. The rear panel of the CT28 with the
mounting points for the bracket indicated.
•
Lay the enclosure on its front grille, taking whatever necessary
precautions to avoid damaging the finish of the cabinet or the
grille.
Содержание Contour CT28
Страница 1: ...Contour CT28 Wall Ceiling Installation...
Страница 50: ......

