Xylem YSI Storm3, Getting Started Manual
The Xylem YSI Storm3 is a cutting-edge water monitoring device designed to assess stormwater runoff. To help you get started with this innovative product, we provide a comprehensive "Getting Started Manual" available for free download on our website. Discover all the features and functionalities of Storm3 from the comfort of your own device.
Share
Download


Reviews:
No comments
Related manuals for YSI Storm3

BLUEPIRAT2
Brand: Magna Pages: 82

MPR1
Brand: RAUMEDIC Pages: 98

EL-USB-LITE
Brand: Lascar Pages: 7

SD910
Brand: Extech Instruments Pages: 9

Keysight DAQ970A
Brand: DATATEC Pages: 28

DT800
Brand: dataTaker Pages: 74

WSD00T
Brand: Capetti Elettronica Pages: 8

DL75
Brand: Seametrics Pages: 4

iDash 1.8
Brand: banks Pages: 16

Multilog2
Brand: FCS Pages: 44

EBI-85 A
Brand: Ebro Pages: 28

ebro EBI 12 EX Series
Brand: Xylem Pages: 56

OMB-DAQ-TC-RACK
Brand: Omega Pages: 29

Control-Tec CT-1000
Brand: Aptiv Pages: 2
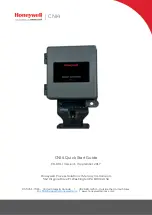
CNI4
Brand: Honeywell Pages: 8
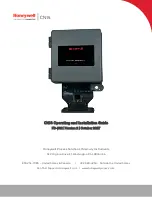
CNI4
Brand: Honeywell Pages: 82

HMG 4000
Brand: Hydac Pages: 120

XL421
Brand: HT Italia Pages: 15


