Vosonic VP8870, User Manual
The Vosonic VP8870 is an impressive multimedia player offering an array of features. To fully explore its capabilities, ensure you have the detailed User Manual. Download this manual for free from our website manualshive.com, to maximize your experience with this exceptional device.
Share
Download


Reviews:
No comments
Related manuals for VP8870

YH-925GS
Brand: Samsung Pages: 2

SDV17-SQ
Brand: NextBase Pages: 52
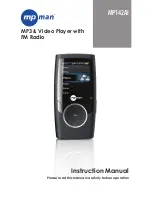
MP142AI
Brand: MPMan Pages: 42

NS-P10DVD18
Brand: Insignia Pages: 2

ShowMe
Brand: Teac Pages: 18

View Media 100
Brand: UCView Pages: 4

Uniti Nova
Brand: NAIM Pages: 12

AX1800BT
Brand: Axis Pages: 12
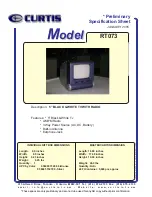
RT073
Brand: Curtis Pages: 1

DJ-R3.1
Brand: Martin Roland Pages: 8

M101
Brand: KWorld Pages: 22

MV-8990
Brand: Hamilton Pages: 2

3DO DGO101M
Brand: Goldstar Pages: 31

Clatronic TV 656
Brand: CTC Union Pages: 44

BT3548HL-R
Brand: Blue Times Pages: 45

MPD-700
Brand: Magnavox Pages: 1

DBA936
Brand: RCA Pages: 23

PDV9900
Brand: Etec Pages: 8


