www.ucview.com
1-818-772-8255
18425 Napa St. Northridge, CA 91325
View Media 100 Player Installation Manual
Thank you for purchasing the UCView View Media 100 player. Please match the items on the
list below with the items in the box. If any item is missing or damaged, please contact your
UCView Media Networks sales representative immediately.
One (1) VM 100 player
One (1) Power supply
One (1) Cable cord
One (1) or two (2) antenna(s)
Note: View Media 100 player will arrive with one (1) or two (2) antenna(s), depending on the model.
Installing your VM 100 Player:
1) Remove packaging - make sure box and plastic casings are stored away in case a
return is necessary.
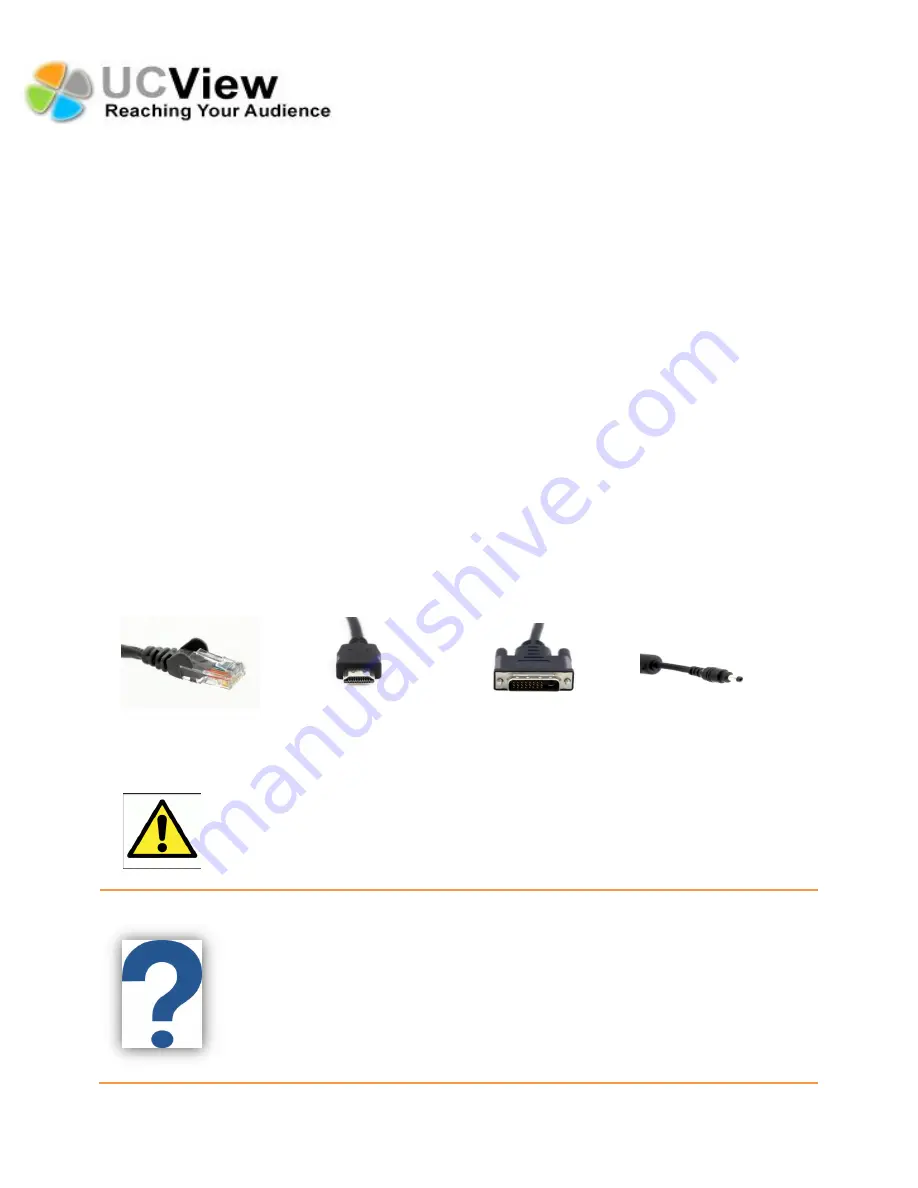
2) Plug-in the
LAN/Ethernet
cable into the VM 100 player.
3) Plug-in your video source,
HDMI
or
DVI
cable, into the VM 100 player and the monitor.
4) Plug-in the
Power
cable into the VM 100 player.
LAN/Ethernet
HDMI
DVI
Power
Note:
* A DVI to VGA converter will enable you to plug in a VGA screen.
* A DVI to HDMI converter will enable you to plug in two HDMI cables.
HDMI
(High-Definition Multimedia Interface): A single cable which is capable of
transmitting high-definition video and high-resolution audio.
DVI
(Digital Video Interface):
A cable which is capable of providing digital video signal.
VGA
(Video Graphics Array): An analog cable which enables connection from your
computer to a monitor.
LAN/Ethernet:
A LAN/Ethernet cable can connect to devices over a local area
network, such as PCs and routers.
5) Attach the antenna(s), which is included with your package, to your VM 100 player.