background image

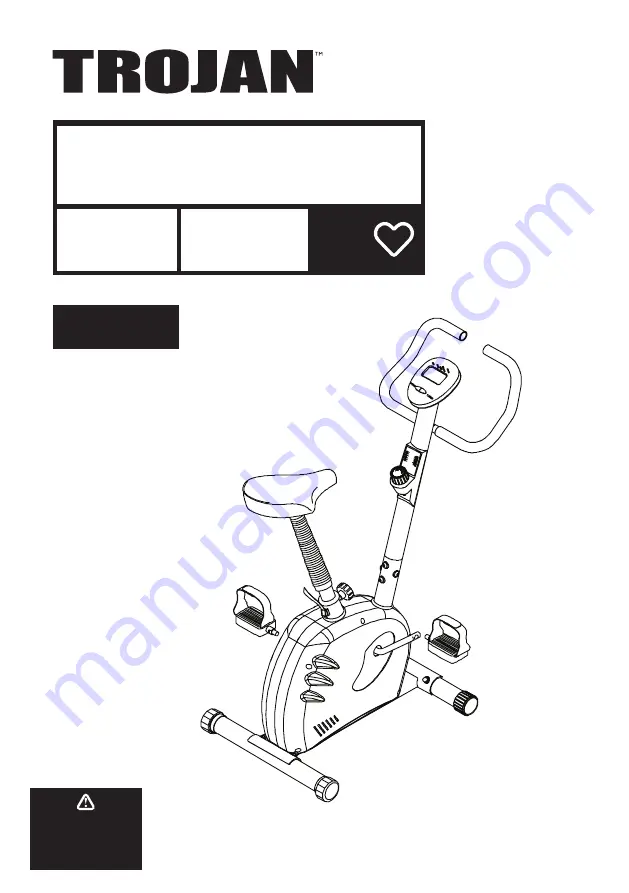
RESPONSE CYCLE 100

EXERCISE BIKE 7 KG FLYWHEEL

CARDIO

USER MANUAL

Visit facebook.com/trojanhealth

www.trojanhealth.co.za

www.instagram.com/trojanhealth

CAUTION

READ ALL PRECAUTIONS AND 

INSTRUCTIONS IN THIS MANUAL 

BEFORE USING THIS EQUIPMENT.  

KEEP THIS MANUAL FOR 

FUTURE REFERENCE.

Summary of Contents for RESPONSE CYCLE 100

Page 1: ...WHEEL CARDIO USERMANUAL Visit facebook com trojanhealth www trojanhealth co za www instagram com trojanhealth CAUTION READ ALL PRECAUTIONS AND INSTRUCTIONS IN THIS MANUAL BEFORE USING THIS EQUIPMENT K...

Page 2: ...__ 9 Console Functions ____________________________________________ 13 Exercise Instructions__________________________________________ 15 Fitness Tips Techniques _____________________________________...

Page 3: ...nsult your physician To avoid muscular pain and strain begin each workout by stretching and warming up and end each session by cooling down and stretching INSTALLATION Trojan recommends that all equip...

Page 4: ...maged or worn do not attempt to use or repair the equipment yourself Please contact our service department on 0861 TROJAN 0861 876526 to arrange a repair Customers residing outside South Africa can co...

Page 5: ...xercise Bike provides a convenient and simple method to begin your assault on getting your body in shape and achieving a healthier lifestyle Before reading further please review the drawing below and...

Page 6: ...ackaging to make sure all parts are included Basic tools such as spanners will be provided for assembly 6 Domed Nut M8 4 PCS 4 Bolt M8 x 70 mm 4 PCS 5 Arc Washer 8 x 20 x T1 5 8 PCS 24 Screw M8 x 12 m...

Page 7: ...12 mm 4 25 Handlebar 22 1 26 End Cap of Front Stand Tube 60 2 27 End Cap of Rear Stand Tube 60 2 28 L Small Cover L 1 28R Small Cover R 1 No Description Qty 29 Tension Strap 20 x 400 x 670 1 30 Plasti...

Page 8: ...8 EXPLODEDDRAWING...

Page 9: ...d parts have been supplied as per the exploded drawing on the opposite page STEP 1 FRONT AND BACK STABILISERS ASSEMBLY Attach the Front Stand Tube 60 x 500 mm 2 and the Rear Stand Tube 60 x 500 mm 3 o...

Page 10: ...eat 8 on the Seat Post 38 9 and secure using the 3 Nuts M8 11 and 3 Washers 8 x 17 x 1 2 7 Put the Sleeve Bellow 23 onto the Seat Post 38 9 Loosen the Adjustment Knob 18 Slide the Seat Post 38 9 into...

Page 11: ...is hand tight and lock it into place using the small clasp Place the Handlebar 22 25 into the Handlebar Bracket on the front of Handlebar Post 50 x T 1 5 x 640 mm 12 Tighten the T knob 33 and Washer...

Page 12: ...the bike viewed from the riders seated position Tighten both sides of pedals using the spanner provided Please note that the Right Pedal 22 R needs to be screwed in a clockwise direction The Left Peda...

Page 13: ...tinuously Pressing the RESET button will reset the function value to 0 ELAPSED TIME Press the MODE button until the ARROW points to TIME the ARROW pointing to SCAN is not displayed on the LCD the elap...

Page 14: ...sure batteries are correctly positioned and battery springs are in contact with batteries 3 Replace battery cover and ensure it is tightly closed 4 Battery life is approximately 1 year under normal us...

Page 15: ...here you put the effort in After regular use the muscles in your legs will become stronger Work at your own pace but it is very important to maintain a steady tempo throughout The rate of work should...

Page 16: ...re also trying to improve your fitness you need to alter your training program You should train as normal during the warm up and cool down phases but towards the end of the exercise phase you should i...

Page 17: ...fat that our bodies can store weight training is an essential part of the exercise routine process Weight training helps tone build and strengthen muscle If you are working above your target zone you...

Page 18: ...er minute A 6 second count is used because your heart rate will drop rapidly when you stop exercising Adjust the intensity of your exercise until your heart rate is at the proper level CONDITIONINGGUI...

Page 19: ...your back and shoulders to relax as you reach down toward your toes as far as possible Hold for 15 counts and then relax Repeat 3 times Stretches Hamstrings back of knees and back 2 HAMSTRING STRETCH...

Page 20: ...hands and try again 2 Check that the connected wire is not broken 3 Reset and carefully follow the instructions in the manual NOTE Avoid moving your hands while exercising and hold the hand pulse sens...

Page 21: ...urer in respect of any injury loss or damage direct indirect or consequential arising out of the use of or inability to use this product and whether or not occasioned by the Manufacturer s negligence...

Page 22: ...nty will be repaired free of charge as long as it complies with the terms and conditions of the warranty refer to warranties section in this manual Any items that need to be repaired that are NOT cove...

Reviews: