background image

3

ABLE BOX

ONTROL

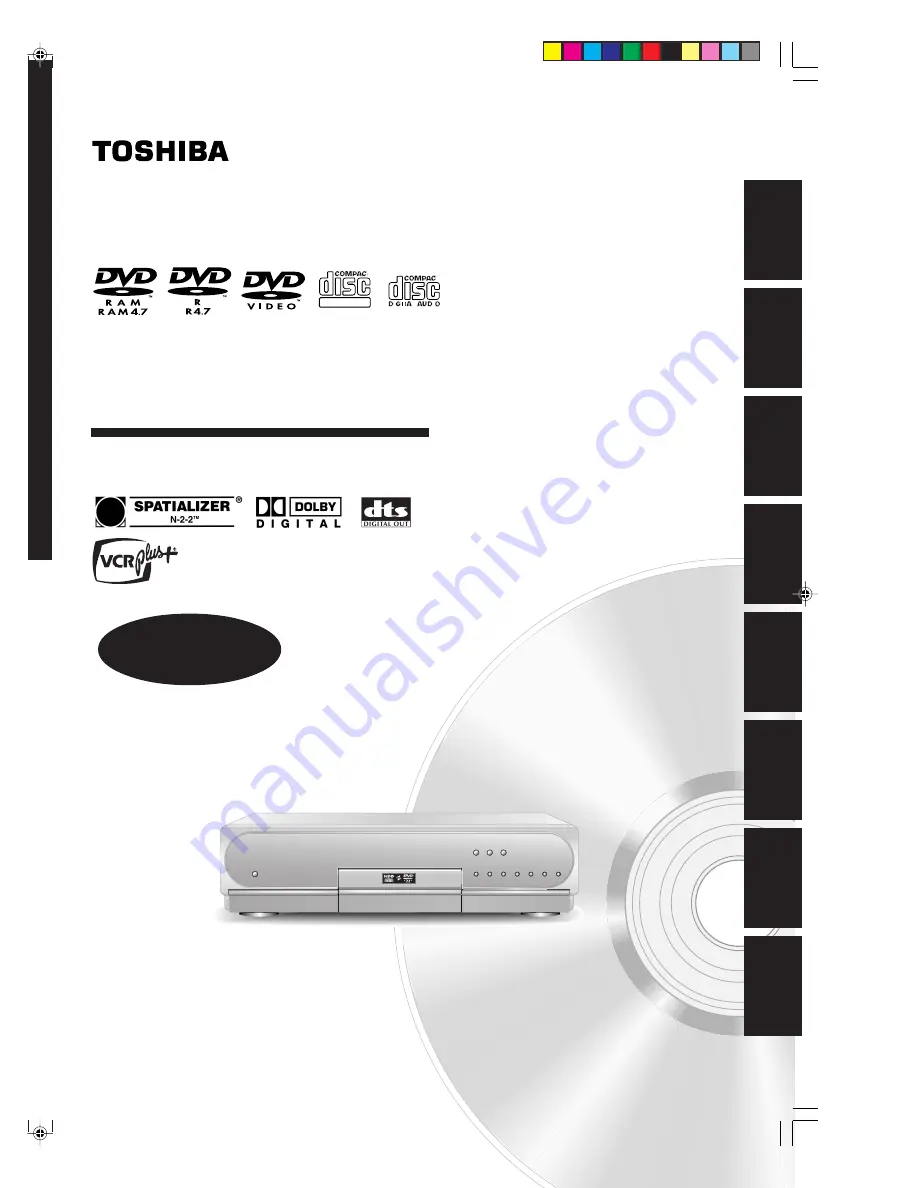
HDD/DVD VIDEO RECORDER

RD-X2U

OWNER’S MANUAL

DIGITAL VIDEO

 © 2002 Toshiba Corporation

Basic operations

Pla
ybac

k

Recor

ding

Editing

Function setup

Other

s

Intr

oduction

Dubbing

OPERATIONS

Read “INSTALLATION GUIDE” first.

T

OSHIB

A

 HDD/D

VD 

VIDEO RECORDER


RD-X2U

*RD-X2.Ope(US)H1-2-3-4

9/3/02, 2:07 PM

1

Summary of Contents for RD-X2

Page 1: ...RD X2U OWNER S MANUAL DIGITAL VIDEO 2002 Toshiba Corporation Basic operations Playback Recording Editing Function setup Others Introduction Dubbing OPERATIONS Read INSTALLATION GUIDE first TOSHIBA HDD DVD VIDEO RECORDER RD X2U 9 3 02 2 07 PM ...

Page 2: ......

Page 3: ...7 Tips on Recording 70 Relay Recording 70 A B Recording 70 Reservation Disc Program Record Lock 71 VCR Plus Recording 72 Recording an External Source 74 Library Management 76 Basic operation for the Library Management system 76 Checking remaining space on discs 77 Searching for a disc that contains a desired title 77 Displaying information 78 Maintenance of Library Data 79 Dubbing Before starting ...

Page 4: ...oubleshooting 132 Glossary 135 Alert message and corrective action 137 Q A 139 FAQ 141 Language Code List 142 Specifications 143 LIMITED WARRANTY HDD DVD VIDEO RECORDER 145 RD X2 Ope US p003 009 9 3 02 11 23 AM 4 ...

Page 5: ...er Some DVD video discs are produced in a manner that allows specific or limited operation during playback As such the recorder may not respond to all operating commands This is not a defect in the recorder Refer to the instruction notes of discs may appear on the TV screen during operation means that the operation is not permitted by the recorder or the disc Using different disc types for differe...

Page 6: ...General Ver 2 0 12cm 43 4 in 12cm 43 4 in 8cm 31 4 in Region number 1 or ALL Color system NTSC 12cm 43 4 in 8cm 31 4 in Color system NTSC Version 1 0 and 2 0 12cm 43 4 in 8cm 31 4 in 8cm 31 4 in 12cm 43 4 in CD DA audio CD format Read carefully the section On DVD RAM discs page 7 When using an 8cm 31 4 in DVD RAM disc Remove it from the cartridge For details refer to the instructions of the disc R...

Page 7: ...b to PROTECT with something sharp The disc can play but cannot be edited or erased Refer to the instructions that come with the disc The resuming function page 31 will not work if the write protect tab is set to PROTECT When using a disc without a cartridge commercially available discs Discs without cartridges can easily attract fingerprints and dust which is the reason they are not recommended If...

Page 8: ...ide of their case may cause warping Playback side Marks on DVD video discs The following are examples of marks and the meanings 4 3 LB 16 9 LB 16 9 PS 2 2 3 Mark Meanings Number of audio streams recorded in the disc 2 streams such as English and Japanese in this example Number of subtitle languages recorded in the disc 2 subtitle languages are recorded in this example Number of camera angles recor...

Page 9: ...or an audio CD Each title chapter or track is assigned a number which is called title number chapter number or track number respectively Some discs may not have these numbers When you record on the internal HDD or a DVD RAM disc one recording will always equal one title You can divide a title into several chapters by marking borders in it to facilitate scene search You can also collect favorite sc...

Page 10: ...r press down for more than 1 second for fast reverse Skip Plays the previous title chapter or track Fast reverse Scans the picture backwards The above illustration displays the front panel with the cover open See the following page on how to open or close the cover 9 Skip Fast forward button page 46 47 Press briefly to skip or press down for more than 1 second for fast forward Skip Plays the next ...

Page 11: ...Displays the Quick Menu To open or close the cover on the front panel Open the cover by pressing in on PUSH OPEN printed on the cover until it clicks Close the cover by lifting the cover to the original position and pressing in on PUSH OPEN When it clicks the cover is closed Note Do not place a heavy object on the cover while it is open Doing so may damage the recorder Directions buttons page 30 1...

Page 12: ...hen connecting the optical digital cable remove the cap and fit the connector into the jack firmly When not using the jack keep the cap inserted to protect it from dust intrusion 3 DIGITAL AUDIO OUT COAXIAL jack page 21 22 23 in INSTALLATION GUIDE Use this to connect the recorder to an audio receiver equipped with a coaxial digital audio input jack 4 INPUT 1 jacks page 74 Use this to connect the r...

Page 13: ...o signals to a connected TV or amplifier Y PB PR connects to a TV equipped with component video jacks 8 VHF UHF RF OUT TO TV output socket page 14 in INSTALLATION GUIDE Connects the supplied coaxial cable to a TV 9 VHF UHF RF IN FROM ANT input socket page 14 in INSTALLATION GUIDE Connects to an antenna or cable signal RD X2 Ope US p010 017 9 3 02 11 23 AM 13 ...

Page 14: ...ton page 106 TIME BAR button page 60 P in P button page 58 ZOOM button page 57 1 MENU Use this to display a menu screen that is recorded on a DVD video disc Operate the menu screen as the same manner as Locating a title using the top menu page 29 A menu screen is not recorded on some discs 2 RETURN Returns to the previous screen the screen may be specified depending on the disc Refer to the instru...

Page 15: ...V CODE Under the lid REC MODE button page 68 TV CODE button page 44 in INSTALLATION GUIDE T SEARCH button page 49 CLEAR button page 49 To open raise a lid toward you To open the lid hold the upper sides to pull up VCR Plus button page 72 EXTEND button page 36 39 Number buttons page 49 68 SETUP button page 118 DELETE button page 40 RD X2 Ope US p010 017 9 3 02 11 23 AM 15 ...

Page 16: ...ay 6 Angle icon page 53 Illuminates when playing a scene recorded with multi angles 7 Multi display page 74 Title chapter or track number message channel output or audio bilingual sound mode appear 8 Analog output level indicator Displays the analog output level L R Stereo and bilingual left main channel and right sub channel L Left main channel R Right sub channel Off Mono Level indicator may not...

Page 17: ...ction Indicates moving copy direction of HDD or DVD VCD CD indicator Illuminates when playing a VIDEO CD or an audio CD PBC indicator Illuminates when PBC function is On page 127 and a PBC controllable VIDEO CD is loaded HDD indicator Illuminates to indicate status of HDD HDD media indicator Indicates playback or recording condition when the HDD is chosen as media HDD bit rate value indicator page...

Page 18: ...o the connected TV also in the stop mode You can select a desired channel by pressing the CHANNEL buttons Before operating this recorder Loading e g Loading a disc Check disc compatibility beforehand page 6 and use a proper playable disc Caution Keep your fingers well clear of the disc tray Neglecting this may causes serious personal injury Keep a close watch on children Do not use a cracked defor...

Page 19: ... may refresh them However all contents stored on the disc will be completely erased by this initialization process This recorder may indicate alert messages with some discs right after insertion If such a disc is used for playback or recording on other equipment all data in the disc may be damaged and the disc will not be played By executing an initialization of the disc using the formatting funct...

Page 20: ... the ENTER button do not function while a message is displayed The message disappears automatically in a few seconds Direction buttons ENTER button DVD button button PICTURE SEARCH button PICTURE SEARCH button FRAME ADJUST button Number butons Open the lid of the remote control EDIT button SETUP button Open the lid of the remote control To select an item To confirm register a selected itemor setti...

Page 21: ...date service Because of problems and errors that can occur during the creation of DVD software and or the manufacture of DVD discs Toshiba America Consumer Products cannot guarantee that this recorder will play every feature of every DVD bearing the DVD logo As one of the creators of DVD technology Toshiba DVD recorders are manufactured to the highest standards of quality and as a result such inco...

Page 22: ...Format Before operating this recorder Continued Introduction 2 Press the buttons to select Disc format then press the ENTER button A sub menu appears on the right side e g 3 Press the ENTER button e g Numbering a disc The recorder automatically numbers discs when initializing However you assign a desired number using 3 digits and designate sides A and B on a double sided disc 1 Press the buttons t...

Page 23: ...ess the buttons to select Start then press the ENTER button Initialization starts When initialization is completed the setup window disappears DVD RAM Physical Format Physical formatting is a simple execution for a disc which cannot be used or read or which is becoming hard to read It may refresh such a disc for recording and playback There is no guarantee that all such discs will be recovered DVD...

Page 24: ... 7 8 9 Enters the number DELETE DELETE DELETE Erases one character immediately to the left side of the cursor CLEAR CLEAR CLEAR Erases all the characters on the input column Caps Lock Preserves the characters on the input column and returns to the previous screen Cancels the characters on the input column and returns to the previous screen Enters a space Enters a symbol Switching a language Before...

Page 25: ...elect BkSp by pressing the buttons then press the ENTER button Alternatively open the lid of the remote control and press the DELETE button 1 Press the button to select an input mode 2 Press the buttons to select a character then press the ENTER button The selected character is input on the cursor 3 Repeat steps 1 and 2 to enter characters 4 When finished press to save the characters The character...

Page 26: ... RD X2 Ope US p018 026 9 3 02 11 23 AM 26 ...

Page 27: ...s are based on remote control operation unless otherwise noted You can use the buttons on the remote control and those on the main unit as well when they have the same function Basic Operations Record a TV program and play it back Playing a DVD video disc Playing recorded contents CONTENT MENU Tips on playback Programing a recording REC MENU Tips on recording Quick menu operation RD X2 Ope US p027...

Page 28: ...is muted during still mode DVD VIDEO VCD CD DVD PLAY STOP PAUSE Note DVD video disc provides high resolution pictures and a lot of information Because of this you may notice some fine picture noises on TV screen which you have never seen with regular broadcast TV program While the amount of noise depends on the TV you use with the recorder you should generally reduce the sharpness adjustment on yo...

Page 29: ...ration of the top menu depends on the disc This section explains a general example of how to operate a top menu Also refer to the instructions of the disc itself 1 Press the TOP MENU button The top menu appears on the TV screen 2 Press the buttons to select the title you want If the titles in the top menu are assigned a number you can directly locate a specific title by pressing its designated num...

Page 30: ... starts from the location where you last stopped You can change a thumbnail picture of a title in a built in HDD or a DVD RAM See page 115 You cannot change a thumbnail picture of a chapter If you load a disc while playing contents of the HDD playback stops To resume press the PLAY button CONTENT MENU ENTER ENTER HDD DVD RAM PLAY STOP PAUSE REC TV VIDEO CHANNEL DISPLAY REMAIN INPUT SELECT ZOOM TIM...

Page 31: ...s original playlist in a disc Set HDD RAM Title Play page 129 to Serial Playback You can play all titles in the HDD or in a DVD RAM disc in the order of the thumbnails on the CONTENT MENU as if they are recorded in one video tape Playing all titles original in a disc All ORG Title Play You can play all original titles in the HDD or in a DVD RAM disc in the order of the thumbnails on the CONTENT ME...

Page 32: ... characters you can use Library function page 76 more easily When you select Lock you can protect recorded contents page 40 By pressing the O button you can return to the previous display To exit these steps press the CONTENT MENU button Viewing the first scenes of titles original Intro Scan 1 After step 1 on page 30 press the QUICK MENU button The Quick Menu appears 2 Press the buttons to select ...

Page 33: ...last scene or the main menu may appear after playing If you display a still picture such as the main menu on the TV screen for a prolonged period the TV may be damaged raster burn To prevent this press the STOP button to stop playback During playback you can do the following Switch playback to another disc Press the STOP button to stop playback Then press the HDD or DVD button to select a disc you...

Page 34: ...URN DVD TV TIMESLIP ENTER ENTER REC MENU REC MENU e g F R A M E ADJUST 1 During stop press REC MENU The REC MENU appears 2 Press ENTER CH is ready for setting 3 Select an item by pressing then press ADJUST to set the item Refer to the setting items on the next page You can also set the item by pressing the button 4 When complete press ENTER To program another recording press the button to move to ...

Page 35: ...al digital audio High data rate of L PCM may result in shorter program length Setting items Notes See page 66 for details on Mode Rate and Audio Other recording procedures are also available See page 67 When you set the bit rate below about 4 0 Mbps playback of some speed may not work correctly There will be noise and the picture quality is lower than other rate settings Suggestions for the pictur...

Page 36: ...ng an entry 1 Press the REC MENU button The REC MENU appears 2 Press the buttons to select an entry you want to change then press the ENTER button 3 Press the button to select an item then press the ADJUST button to set the item 4 Press the ENTER button The modification is registered 5 Press the REC MENU button to exit Notes You cannot change any entry within 5 minutes before recording start time ...

Page 37: ...rs 4 Press the buttons to select an entry then press the ENTER button or press the ADJUST button The recorder calculates on a bar graph how much a specific program identified by a check mark will occupy on the disc Pressing the ADJUST button can display or remove the check mark e g 5 Correct the parameters of the entry if necessary Skip to step 7 if you do not need this You can change Media Mode R...

Page 38: ... the same time To start recording while playing a disc Stop playback then select the other disc by pressing the HDD or DVD button and start recording on that disc To play a disc while recording on another disc Select the disc that is not being recorded by pressing the HDD or DVD button and start playback on the disc To set an end time while recording is in progress 1 During recording press the QUI...

Page 39: ...VD R Before recording make sure DVD R Broadcast Record is set to Main or SAP page 128 Notes You cannot close the disc tray automatically at the recording start time If you want to record on a DVD RAM disc load it on the recorder beforehand While recording you cannot change the settings of a program such as the channel mode etc The number of titles cannot exceed in any case 99 for a DVD RAM and 198...

Page 40: ...sc volume Deleting a playlist page 104 title chapter does not affect the original title chapter Deleting an original page 104 title chapter affects all the corresponding playlist title chapters Deleting all chapters in a title erases the title itself Chapters in a title which contains still pictures cannot be deleted To protect recorded content You can protect recorded content from unexpected dele...

Page 41: ... To exit the Quick Menu Press the QUICK MENU button again Alternatively Select Exit with the buttons then press the ENTER button e g ENTER HDD DVD RAM DVD VIDEO VCD CD PLAY STOP PAUSE REC LIBRARY REC MENU EDIT MENU CONTENT MENU DVD HDD V REMOTE ANGLE SUBTITLE AUDIO CHANNEL F R A M E ADJUST SLO W SK I P P I C T U R E SEARCH REC QUICK MENU DVD HDD INSTANT SKIP INSTANT REPLAY TOP MENU MENU RETURN TIM...

Page 42: ...eat all playlist titles in a disc Cancel repeat in Repeat playback mode To resume normal playback Playback of an HDD or DVD RAM stops Notes Some discs may not permit repeat operation You cannot use repeat playback in conjunction with Random play If you press the STOP button during repeat playback this operation is canceled While you are performing repeat playback on an HDD or a DVD RAM disc other ...

Page 43: ...p 1 To select another chapter in the same title you do not need to select the title number Repeat these steps if necessary You can program up to 30 selections into memory 3 Press the ENTER button Memory in normal playback mode To display an entry box for one program selection Memory release in memory playback mode To resume normal playback Memory repeat in memory playback mode To repeat a current ...

Page 44: ...y when using the 3D sound effect For high quality sound set to Off when playing back a Linear PCM track To check information on a title Disc HDD DVD RAM Status Play Item Title Information To preview the first and end of every selection titles chapters Disc HDD DVD RAM Status While the EDIT MENU is displayed Item Preview To cancel selection of a title chapter Disc HDD DVD RAM Status While the EDIT ...

Reviews: