background image

04/01/2016

1

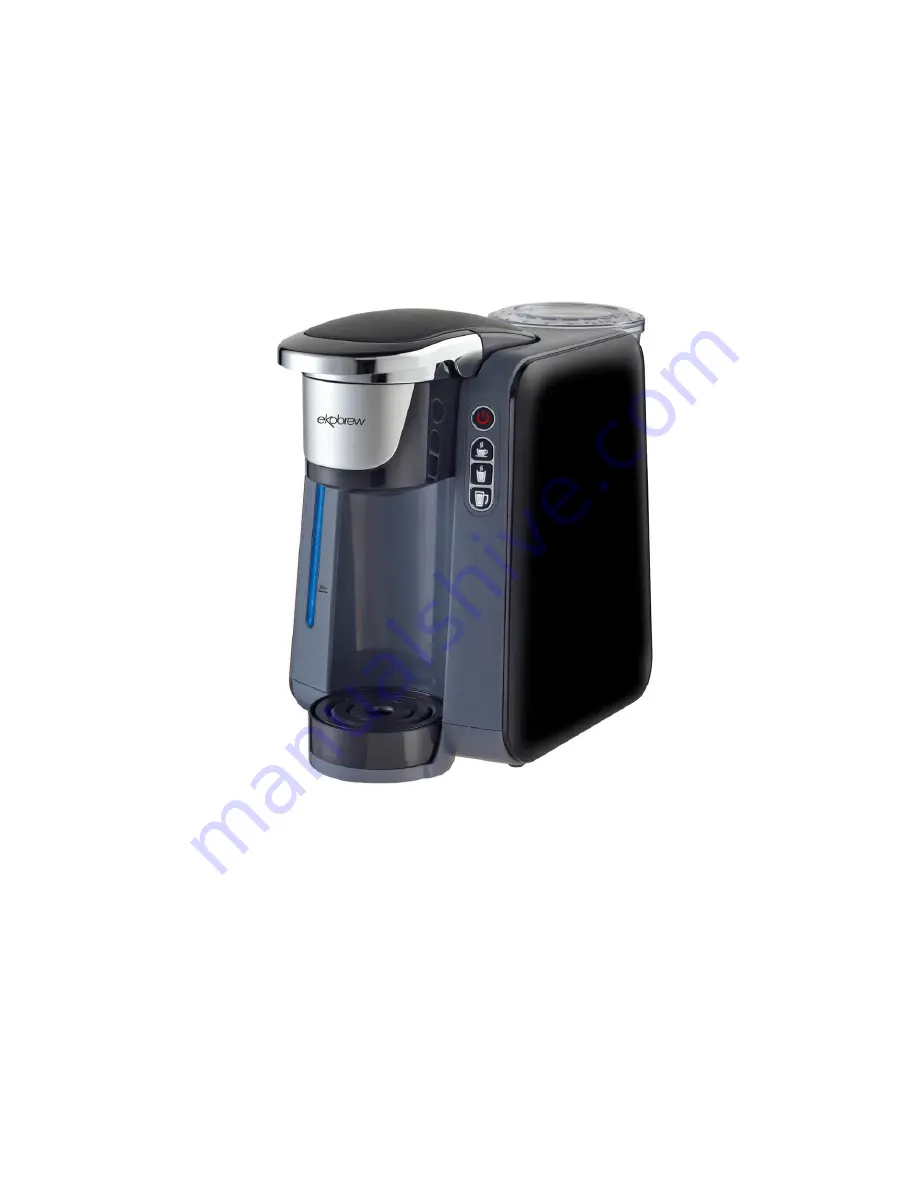
INSTRUCTION MANUAL

Model: AC-505K

Please read this Instruction Manual and the safety instructions 
before operating the appliance!
At least one copy of this manual should be kept in a location 
available at all times to maintenance and management staff

Single Server Brewer

Summary of Contents for AC-505K

Page 1: ... 505K Please read this Instruction Manual and the safety instructions before operating the appliance At least one copy of this manual should be kept in a location available at all times to maintenance and management staff Single Server Brewer ...

Page 2: ...machine please read this operating manual carefully paying particular attention to the safeguards IMPORTANT SAFEGUARDS 3 NOTES ON THIS MANUAL 4 UNPACKING 5 STARTING UP 5 OVERVIEW OF MACHINE PARTS AND CONTROLS 6 HOW TO BREW 7 HOW TO PROGRAM YOUR DEFAULT COFFEE VOLUME 9 HELPFUL HINTS 9 CLEANING AND MAINTAINING YOUR SINGLE SERVE BREWER 10 TROUBLESHOOTING YOUR SINGLE SERVE BREWER 12 TECHNICAL DATA 13 ...

Page 3: ... appliance malfunctions or is damaged in any manner Contact your Customer Service to arrange for replacement or repair 11 Do not let the cord hang over the edge of the table or counter or touch hot surfaces 12 Close supervision is necessary when any appliance is used by or near children 13 Do not open the brewer while brewing is in progress 14 Do not use appliance for other than intended use 15 To...

Page 4: ...ipped over accidentally 4 THIS PRODUCT IS FOR HOUSEHOLD USE AND HOSPITALITY USE ONLY The plug of this appliance is subject to usage for household or hospitality For household use the appliance is equipped with 2 wire polarized type plug SPT 2 power supplier cord or 3 wire grounding plug with SVT power supplier While for household and hospitality use the appliance is equipped with 3 wire grounding ...

Page 5: ... unpacking please check that the following parts are included 1 coffee brewer 2 Manual 3 Warantee card Note Check that your home power supply voltage is the same as marked on the machine rating plate Destroy all the plastic bags to prevent danger to children Tip keep the packaging boxes for transporting the machine e g for removals servicing etc Note You may find a little water remaining in the ma...

Page 6: ......

Page 7: ...l put on the brewer 4 the appliance has water level senser if water level is lower than Min line the brewer will not be allowed to make a new brew until refill water above the Min line with indication of flashing light in the water level indicator 5 Lift the handle of the brewer and insert a chosen K Cup pack into the k cup pack housing do not peel off the foil cover of the k cup pack CAUTION Avoi...

Page 8: ...ng indicating the heating up process is complete and the brewer is ready to work Select Brew Size by pressing the serving size button with a beep indicating the brew is starting 9 The brewer starts to brew while the pressed button will be flashing during the brewing process the brewing stops automatically when the button stops flashing after brewing time is reached with 2 beeps The process can be ...

Page 9: ...you hear two short beeps The ON OFF button will begin to blink and the MEDIUM CUP button will illuminate steadily which represents the default setting of 1 hour before your brewer automatically turns off 3 Press the SMALL cup button to change the setting to fifteen minutes 4 Press the LARGE cup button to change the setting to two hours 5 After you have selected the preferred auto off time press th...

Page 10: ...Drip Tray Assembly and place the tall mug on the Drip Tray Base The Drip Tray Any liquid overflow from your cup or the Cold Water Reservoir will be caught in the Drip Tray Be sure to empty the Drip Tray The Drip Tray has a snug fit to ensure it stays put in transit Clean Your Brewer Regularly To keep your Brewer looking and performing its best be sure to clean the external and internal components ...

Page 11: ...om of the K Cup pack Holder To avoid risk of injury do not put your fingers in the K Cup pack Assembly Housing Cleaning the K Cup pack Holder Assembly 1 Cleaning the Parts The K Cup pack Holder Assembly can be placed onto the top shelf of a dishwasher NOTE Use low temperature cycles in the dishwasher To remove from the Brewer lift the front face of the Brewer Grasp the top of the K Cup pack Holder...

Page 12: ...tep 7 Repeat Step 6 three times using bottled water with no K Cup pack in place to clean the Brewer plumbing and get rid of any residual taste from the vinegar The Brewer is now ready for normal use again De Scaling Your Brewer Mineral content in bottled or filtered water varies Depending on the mineral content of the water calcium deposits or scale may build up in your Brewer Scale is non toxic b...

Page 13: ...eservior is empty 2 Pump is dry after long storage or at the first use 1 Fill the water reservoir 2 Turn off the brewer with the on off button press the on off button and keep it pressed the pump starts to draw water release the button until water comes out Coffee drops around the brewer hold when brewing 1 Ground coffee sticked on to the Water Outlet gasket as a result the sealing is not good Pul...

Page 14: ...shall not be liable for any incidental or consequential damages caused by the breach of any express implied or statutory warranty or condition Except to the extent prohibited by applicable law any implied warranty or condition of merchantability or fitness for a particular purpose is limited in duration to the duration of the above warranty Ekobrew disclaims all other warranties conditions or repr...

Reviews: