04/3/10
CD-G7500V(Z)_FR.fm
TINSZA101AWZZ
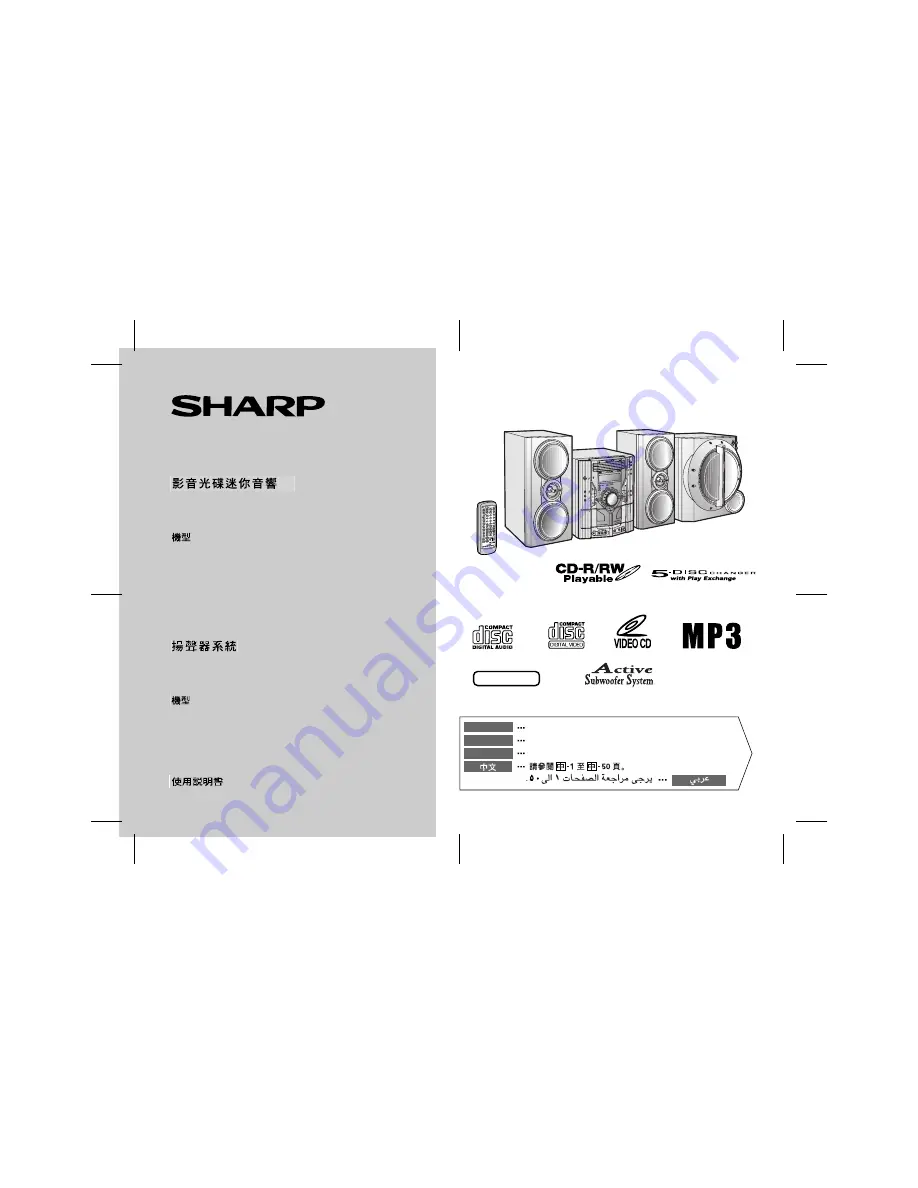
VIDEO CD MINI SYSTEM
MINI-CHAÎNE CD VIDÉO
SISTEMA MINI VÍDEO CD
MODEL
MODÈLE
MODELO
OPERATION MANUAL
MODE D’EMPLOI
MANUAL DE MANEJO
Please refer to pages E-1 to E-50.
Se reporter aux pages F-1 à F-50.
Consulte las páginas S-1 a S-50.
ENGLISH
FRANÇAIS
ESPAÑOL
SHARP CORPORATION
CD-G7500V
SPEAKER SYSTEM
ENCEINTES ACOUSTIQUES
SISTEMA DE ALTAVOCES
MODEL
MODÈLE
MODELO
CP-G7500
NTSC/PAL