SATO ARGOX OS-214EX, User Manual
The SATO ARGOX OS-214EX is a high-quality barcode printer designed for efficient and reliable printing. Make sure to download the User Manual for free from manualshive.com to get the most out of your printer. This manual provides detailed instructions on how to set up and operate your device.
Share
Download


Reviews:
No comments
Related manuals for ARGOX OS-214EX

Evolution3 SmartFold
Brand: KEENCUT Pages: 48

SteelTrak 165
Brand: KEENCUT Pages: 29

PSG4
Brand: ALFRA Pages: 8

4107RH
Brand: Makita Pages: 12

Raptor
Brand: EASTMAN Pages: 56

MPC 5000
Brand: EASTMAN Pages: 88

Compact Elite 350-1
Brand: Logan Pages: 9

Plasmacut 39
Brand: Homer Pages: 17
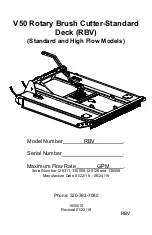
RBV V50
Brand: Talet Equipment Pages: 20

HL40-5g Hobby Advanced
Brand: Full Spectrum Laser Pages: 91

BLUE STREAK 2 629X
Brand: EASTMAN Pages: 23

PZ4822
Brand: Poulan Pro Pages: 75

TC20
Brand: DALTOOL Pages: 4

AssistCut 12222
Brand: Gardena Pages: 234

0870613
Brand: GCE Pages: 136

4 V-EC Professional
Brand: Bosch Pages: 237

0 607 595 100
Brand: Bosch Pages: 222

AdvancedCut 18
Brand: Bosch Pages: 178


