background image

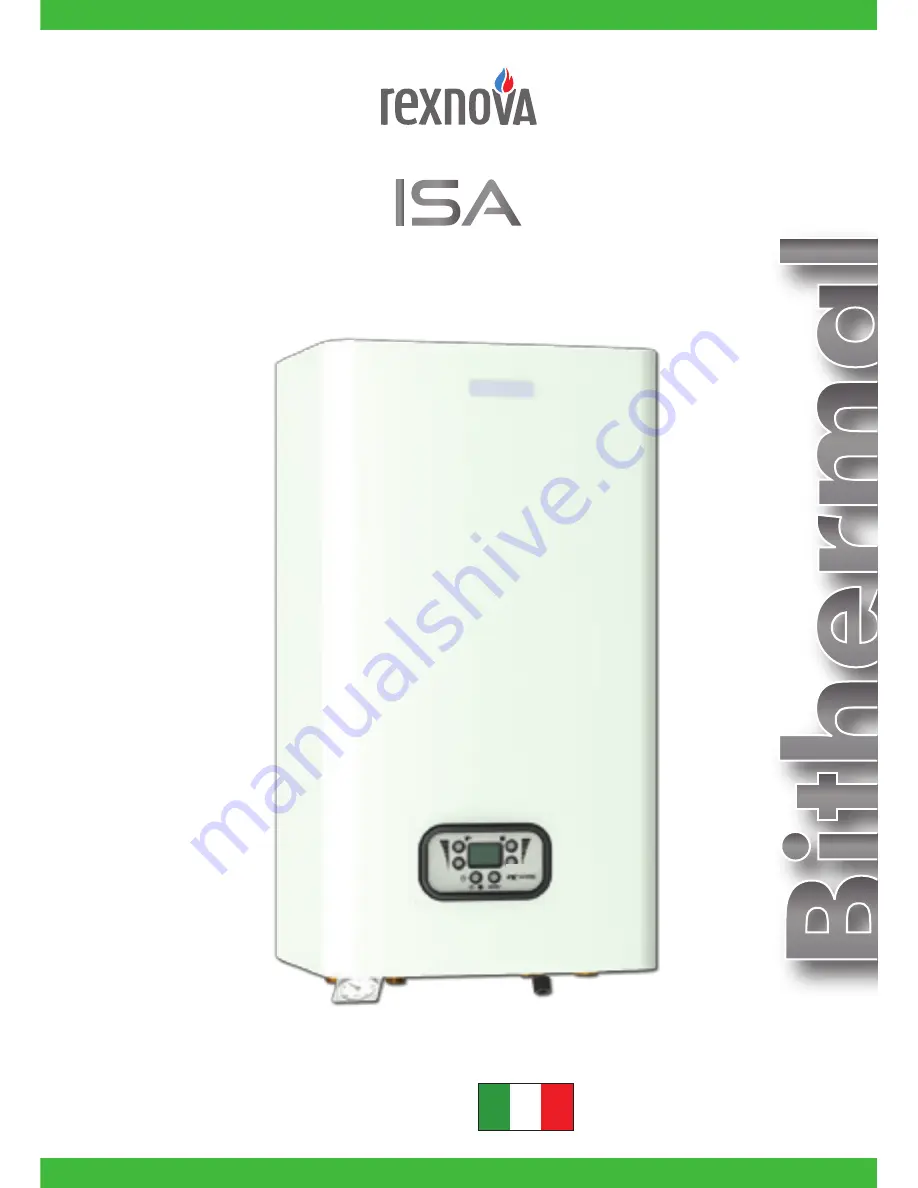
Wall-hung boiler with integrated heat exchanger

20kw Bithermal

ITALIAN DESIGN

MADE IN ITALY

INSTALLATION, COMMISSIONING, USE AND MAINTENANCE MANUAL

G20 ENGINEERING SRL Loc. Campogrande 13, 29013 CARPANETO PIACENTINO (PC), Italy

phone +39 0523 850513 - fax. +39 0523 850712 - www.aircontrol-pc.com - www.g20engineering.com

A Brand by 

G20 ENGINEERING

A brand by 

G20 ENGINEERING

Summary of Contents for ISA 20 BITHERMAL

Page 1: ...Wall hung boiler with integrated heat exchanger 20kw Bithermal ITALIAN DESIGN INSTALLATION COMMISSIONING USE AND MAINTENANCE MANUAL A brand by G20 ENGINEERING ...

Page 2: ......

Page 3: ...ISA 20 KW BITHERMAL BOILER MANUAL VERS 07 2016 REV 1 ...

Page 4: ... Technical Data Sheet 29 GENERAL REQUIREMENTS This manual supplied with every boiler should be considered as an integral component as it contains instructions for the correct safe and appropriate installation use and maintenance of the system The manual must always be kept by the user of the boiler and made available for the installation and or maintenance technicians to consult It must also accom...

Page 5: ...s recommended when efficiency and simplicity are needed 20kW BITHERMAL Isa 1 FUMES EXTRACTOR 2 SAFETY THERMOSTAT 3 BITHERMAL PRIMARY HEAT EXCHANGER 4 DHW PROBE 5 CH PROBE 6 COMBUSTION CHAMBER 7 BURNER 8 IGNITION DETECTION MONOELECTRODE 9 EARTH ELECTRODE 10 PRESSURE GAUGE 11 CIRCULATOR UNIT 12 DHW PRIORITY VALVE 13 WATER PRESSURE SWITCH 14 SAFETY VALVE 15 GAS VALVE 16 EXPANSION TANK 17 COMBUSTION G...

Page 6: ... functions are deactivated and the domestic hot water production mode only is maintained this mode is selected by pushing E button and then the TAP symbol Pict 4 is displayed when the unit is in stand by the CH circuit temperature is shown on the display TURNING THE BOILER OFF Pushing several times the E button until the word OFF is displayed Pict 4 during an intake of DHW water the DHW temperatur...

Page 7: ...tton to increase the value and D button to decrease it the display shows the corresponding value and the flashing symbol of CH mode RADIATOR the set display during an intake of DHW water the DHW temperature is shown together with the flashing TAP symbol and with the FLAME symbol of the ignited burner while in DHW mode the display shows the CH temperature value the FLAME symbol of the ignited burne...

Page 8: ...ver the malfunction of any component or conditions which could compromise safe operation of the system are detected the microprocessor system places the device into a limited operation mode or even completely prevents it from operating The microprocessor system is able to detect and issue warnings for the main fault conditions to allow the system to be brought back to normal conditions as soon as ...

Page 9: ...sor fault Boiler locked Consult technical support E04 Domestic hot water system temperature sensor fault DHW supplied in provisional mode Heating functions normally Consult technical support E05 Gas regulation valve fault Operation at reduced power Consult technical support E08 Central heating system pressure too low Boiler locked Check for leaks in CH system Restore sufficient water pressure to C...

Page 10: ...e 6 Filling loop cock 7 Hot water priority turbine 9 Circulator unit 10 Expansion tank Pict 8 Pict 9 GND SIGN 5VDC FLUX VG MODULATOR D H W PROBE HEATING PROBE SAFETY THERMOSTAT LINE POWER NEUTRAL POWER EARTHING BOILER EARTHING L N IGNITOR EARTHING OPEN THERM ROOM THERMOSTAT WATER PRESSURE SWITCH AIR PRESS SWITCH NEUTRAL FASE GAS VALVE FAN LINE FAN NEUTRAL CIRC R NEUTRAL CIRC LINE NEUTRAL FASE ...

Page 11: ...nnel only They also assume responsibility for correct installation adjustment and commissioning Adjustment maintenance and repair of the boiler must be performed by qualified and authorized personnel only Do not install the boiler in environments containing dust or strong vapors The presence of substances such as fluorine chlorine sulphur etc e g vapors from sprays solvents or detergents paints ad...

Page 12: ...on the template Remove the template insert the two wall plugs in the previously prepared holes then hang the boiler inserting the hooks of the plugs in the specific boiler holes Fasten the template so that its axis coincides perfectly with that of the boiler 690 MURO WALL 58 60 50 3 4 1 2 3 4 MANDATA RISCALD C H OUTPUT INGRESSO GAS GAS INLET ACQUA CALDA SANITARIA D H W 60 65 97 1 2 3 4 140 RITORNO...

Page 13: ...ere are completely removed Connect the safety valve outlet so that its operation will not cause any damage to persons or property Use piping of not less than 1 2 diameter Ensure that the line is always at atmospheric pressure by using suitable traps do not connect pipes directly to the valve outlet Connect the safety valve outlet line to the household grey water drainage system Apply suitable prot...

Page 14: ...r pipes of sufficient diameter must therefore be used to satisfy this requirement Perform the filling and topping up of the system with the boiler completely off and all parts at room temperature Always close the filling loop cock once you have finished the operation Pict 14 Pict 15 When all of the boiler connections have been plumbed in it is possible to proceed to fill the central heating circui...

Page 15: ...hen wiring in the boiler When installing or replacing the power supply cable the earth conductor must be left 2 cm longer than the others If it is necessary to completely replace the pre wired power supply cable the PCB compartment will have to be accessed Cut power to the boiler using the power switch installed before it Remove the lower cover by removing the four screws turn the instrument panel...

Page 16: ...ke and flue must be connected to a combustion gas evacuation air intake system The types of permissible air intake and combustion gas evacuation flue systems are listed on the technical data plate and summarized below C12 concentric wall flue The pipes may also be split but the outlets must be exposed to similar wind conditions C32 concentric vertical flue with the same specifications as C12 type ...

Page 17: ... consists of one pipe for combustion gas evacuation connected to the fan outlet and one pipe for the air intake connected to the hole on the roof of the sealed chamber The system provides 60 100 mm DIIAMETER COAXIAL SYSTEM components necessary for completing the line including changes of direction straight sections of various lengths connections to the boiler and outside terminals as well as all n...

Page 18: ...cable regulations regarding energy output efficiency it is necessary to fit a diaphragm between the fan and flue duct for systems of minimum or intermediate length The detected value shall not be less than shown in the table FLUE SYSTEMS TECHNICAL CHARACTERISTICS column SIGNAL for the exhaust system and for the examined power and type of device The size of the diaphragm depends on the type and len...

Page 19: ...MENSIONS AND PURPOSELY DESIGNED AND MANUFACTURED FOR THE PURPOSE FOLLOW INSTALLATION INSTRUCTIONS TO THE LETTER INSULATE ANY FLUE SECTIONS WHICH WILL BE EXPOSED TO LOW TEMPERATURES TAKE MEASURES TO AVOID THE FORMATION OF EXCESSIVE CONDENSATION ENSURE THAT ANY CONDENSATION DOES NOT EVEN MINIMALLY AFFECT ANY INTERNAL PART OF THE BOILER WHENEVER NECESSARY PLACE APPROPRIATE CONDENSATE TRAPS ON THE FLU...

Page 20: ...lations Clean any deposits on the heat exchangers and electrodes Remove any oxidation on the burner Check that the boiler ignites turns off and functions correctly Visual check for leaks in gas and water pipes and unions Check that the safety devices are operational Check that the boiler s control and regulation This function allows the boiler to be run at minimum and maximum power conditions duri...

Page 21: ...OF THE BOILER HAVE BEEN OBSERVED If the function remains activated for long periods of time an increase in pressure may occur in correspondence with the system s terminals All safety measures are active when in SERVICE mode in particular those for the control of the maximum temperature in the central heating circuit via the flow temperature sensor on reaching 70 C the function is suspended The boi...

Page 22: ...pplicable regulations That the boiler is connected to the combustion gas evacuation system in accordance with all data plate present on the rear of the instrument panel applicable legislation and regulations and that the manufacturer s specifications and compatible methods listed on the technical data plate Pict 21 are respected Check that appropriate diaphragms are fitted whenever necessary page ...

Page 23: ...erential manometer with an appropriate range at least Check that all preliminary indications and checks specified have been carried out Disconnect a cable from the gas valve modulator and adjust the device at the minimum power Measure the gas pressure after the regulator using the micromanometer connected to the relative outlet Check that the measured value is the same as that listed in the min co...

Page 24: ...ly line which could lead to excessive pressure drops e g too many bends changes of direction excessively long or countersloping sections etc Consult the gas company on the specified minimum supply pressure values Whenever dynamic pressures above the specified maximum values should be found Install a suitable pressure reducer regulator on the gas supply line before the boiler Adjust the dynamic pre...

Page 25: ...CREW UNTIL IT SEALS Press the gas valve regulation screws cover closed Return the instrument panel to its operating position fastening if necessary Refit the lower cover fastening it with the screws If the measured value does not correspond to the table adjust the external adjustment screw on the gas valve until it does turning it CLOCKWISE to increase the pressure and ANTICLOCKWISE to reduce it R...

Page 26: ... all the injectors into their own seats Replace the burner tray pack fastening it to To adapt the supply driver of the gas regulation valve modulator it is necessary to enter the CONFIGURATION MENU and view the value of parameter P00 Set the parameter according to the gas supply and the change performed following the values given in the table below After all the gas injectors have been replaced ch...

Page 27: ...N MENU It is possible to view the information or to perform the complete configuration of the boiler by accessing the different pages of the CONFIGURATION MENU Accessing the CONFIGURATION MENU aside Accessing the menu Press F and D buttons at the same time for at least 3 seconds the display will show P letter and 00 figure Pict 28 Selecting a menu page The Menu Information is organized into pages ...

Page 28: ...10 1 minute P05 CH Post circulation time seconds 0 180 180 seconds P06 DHW Post circulation time seconds 0 180 60 seconds P07 Anti Water hammer delay seconds 0 3 0 P08 Heating start delay seconds 0 199 0 P10 DHW intake detection signal 0 1 1 P11 Overheating cycle limits 0 OFF ON 0 0 1 2 3 4 5 5 5 5 5 SET 5 8 10 12 P12 Post ventilation time 10 60 30 P13 Boiler type 0 Bithermal 1 Monothermal 0 P14 T...

Page 29: ... in the PCB case as follows Remove the boiler iron cover by loosening the 4 fastening clips Remove the rear instrument panel cover by unscrewing the 4 screws Identify the two pole terminal board located on the left hand side of the PCB Disconnect any cable which may be present by loosening the terminal screws and remove it completely Connect the wires from the thermostat cable to their respective ...

Page 30: ...ircuit and the burner lit at minimum power When the temperature measured by the sensor reaches 8 C the function is deactivated by turning off the burner and restoring the previous conditions When an external sensor is fitted the function is activated when the temperature measured by the sensor on the CH flow circuit is 6 C and the temperature measured by the external sensor is 2 C The function is ...

Page 31: ...mb temp 20 C C 126 Fuel consumption G20 m3 h 2 1 G31 kg h 1 78 HEATING CH water temperature adjustment range C 35 80 Expansion tank l 6 0 Expansion tank pressure bar 1 0 Mix Max operating pressure bar 0 8 3 0 Max Circulator head mca 5 0 DOMESTIC HOT WATER Continuous draw Δ T 25 C l min 10 4 Max DHW pressure bar 6 0 Min DHW pressure bar 0 5 Min max DHW temp adjustment C 35 55 ELECTRICAL CHARACTERIS...

Page 32: ...ncentric coaxial intake exhaust gas pipe diameter mm 60 100 Min max concentric pipe length m 0 5 5 bend Split separate intake flue pipe diameter mm 80 80 Max pressure drop with separate pipes intake flue evacuation mbar 1 84 MAINS GAS OPERATING PRESSURE G20 max mbar 10 8 G20 min mbar 1 3 G30 31 max mbar 37 G30 31 min mbar 4 5 Ø G20 nozzles mm 1 3 Ø G30 G31 nozzles mm 0 77 ...

Page 33: ...NOTE ...

Page 34: ...NOTE ...

Page 35: ......

Page 36: ...MADE IN ITALY G20 ENGINEERING SRL Loc Campogrande 13 29013 CARPANETO PIACENTINO PC Italy phone 39 0523 850513 fax 39 0523 850712 www aircontrol pc com www g20engineering com A Brand by G20 ENGINEERING ...

Reviews: