


Quick Start Guide
What’s in the box?
GNSS Support
05
Install External GPS antenna
(Optional accessory)
02
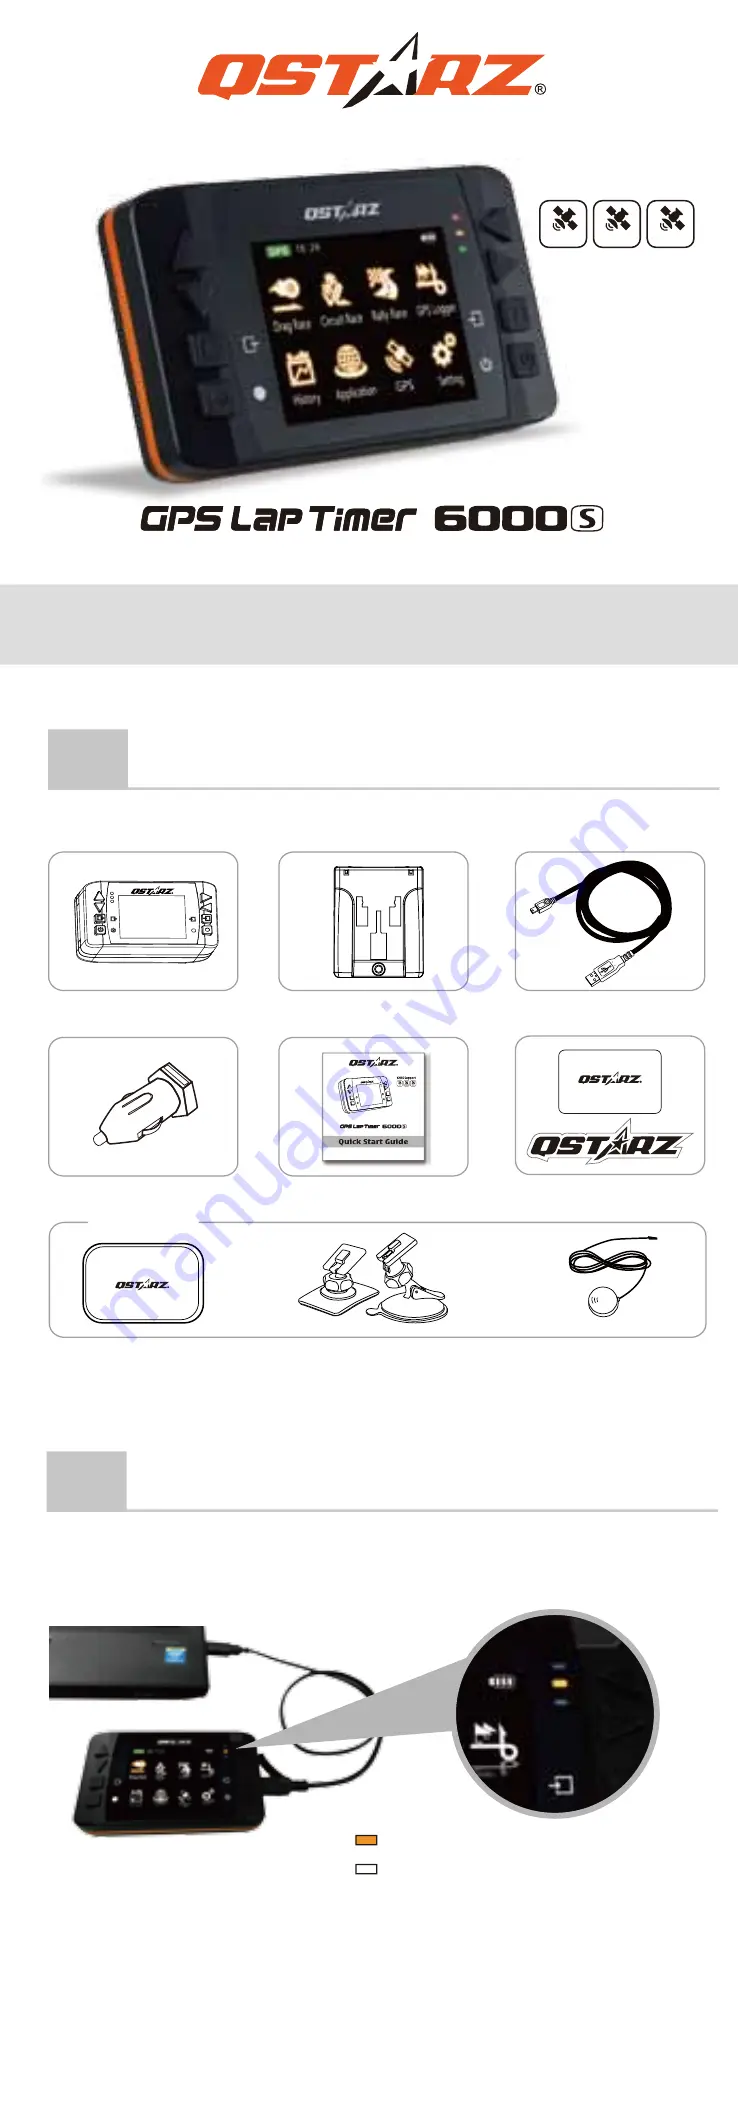
Charging the 6000S
Orange LED On
:
On Charging
Orange LED Off: Fully Charged
04
6000S Car Mount Installation
01
Please make sure that you have everything included in the package:
QSTARZ 6000S unit
Device mounting bracket
Mini USB cable
Warranty Card
Car charger
Quick Start Guide
Warranty card +
Exclusive Sticker
Protective Case
Car or
Motorcycle mount
03
2
1
4
3 4
5
5
6
3
2
1
7
6
8
7
Power button:
Press 3 seconds to power On/Off.
Enter/Set button:
Press to confirm the selected
option.
Navigation buttons:
Press to switch among different options.
Back/Cancel button:
Press to cancel function and go back to
previous screen.
Multi-function button:
Press to start the race and record.
USB Jack:
Device charging/downloading/firmware upgrade.
Reset Button:
Shut down the device. (Inside the rubber cover)
External GPS antenna MCX jack
(Inside the rubber cover)
6000S Function Buttons
Step 3
Step 2
Step 1
1
1
2
Select one of the preset Profiles
(0-100 km/h, 400 m,10 sec, or
Custom) you want to use and
press
Next
button.
2
4
5
3
Select Compare (Best or Last) &
Field option, and press
Start
button
3
Use 6000S on Drag Race/Performance test
Use 6000S on the Circuit Race
External
GPS Antenna
Please FULLY charge the 6000S for the first time use by
connecting the supplied USB cable through computer or car’s
cigarette adaptor.
※ Charging time is typically 5 hours when device power is Off.
A fully charged battery will last about 10 hours operation.
Line up the bracket with the screw hole and secure the mounting
bracket in place with the provided screw.
Step 1:
Line up the suction cup arm with the mounting bracket holes.
Step 2:
Snap the mounting bracket onto the suction cup arm.
Step 3:
Locate the area on the vehicle windshield where you want to
mount the 6000S and lower the locking lever into place to
secure the mount to the windshield firmly.
Set the track’s Beacon Width and
other settings. Then press
Start
button.
Once the screen displays
Ready
you can start timing your race.
Use the Navigation buttons to
select Circuit Race mode and
press
Enter
button.
Select one of the preset Profiles
(Practice, Prediction, Race,
Challenge, or Custom) you want
to use and press
Next
button.
6000S will auto-detect and
display the tracks nearby, select
the track and press
Next
button.
Acquiring GPS Satellite Signals
6000S is for outdoor use; an open
sky outdoor environment will enable
faster satellite acquisition and
provide better positioning accuracy.
If 6000S cannot detect your track’s
Start/Finish line , you can use attached
QRacing software or go to Qstarz
website to check and update the
latest version.
6000S has built-in GPS antenna. You can increase GPS precision
and reception quality by installing External GPS antenna. Open the
Rubber cover and plug in the GPS antenna connector to antenna
jack on the back of 6000S. Make sure to mount the External
GPS antenna on the car roof or any metallic surface.
MCX Plug for connecting to 6000S
GPS Antenna for receiving GPS Signal.
Magnet design can stick to car roof or
metallic surface.
Best location to install the External GPS Antenna:
On the car On the Motorbike
B
A
B
A
Use the Navigation buttons to
select Drag Race mode and
press
Enter
button.
8
(
Optional)
Note: Optional Accessory type is subject to change without prior notice.
QZSS
GLONASS
GPS


