Potterton Osprey 2 CFL 125, Installation And Servicing Instructions
The Potterton Osprey 2 CFL 125 is a reliable and efficient boiler that provides heating comfort to your home. For easy installation and proper usage, make sure to download the User Operating Instructions Manual from our website. This essential manual is available to download for free, providing step-by-step guidance.
Share
Download


Reviews:
No comments
Related manuals for Osprey 2 CFL 125
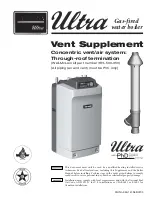
383-500-350
Brand: Weil-McLain Pages: 13

B.A.I
Brand: Beretta Pages: 144

Fortius
Brand: E.C.A. Pages: 42

MEGAPREX N 1060N
Brand: Lamborghini Caloreclima Pages: 108

106
Brand: Knight Pages: 48

Ecosy 2 SB 28E
Brand: Saunier Duval Pages: 4

Solo 110
Brand: Prestige Pages: 104

Excellence
Brand: Prestige Pages: 114

Proteus Plus Blue 24 kW
Brand: E.C.A. Pages: 35

M 36 Flex
Brand: E-Tech Pages: 44

Vitosol 200-T
Brand: Viessmann Pages: 80

ATLAS D 30 PLUS UNIT
Brand: Ferroli Pages: 96

M24E18A
Brand: Market Forge Industries Pages: 31

Logano GE434
Brand: Buderus Pages: 72

ROCA NORA 24
Brand: Baxi Pages: 20

Pioneer
Brand: HTP Pages: 74

OPTIMUM 700
Brand: Bonnet Pages: 37

EOLO Mini
Brand: Immergas Pages: 48


