


Please read these operating instructions
before using the unit and save for future
reference.
This unit is compatible with Caller ID and
SMS. To use these features, you must
subscribe to the appropriate service of
your service provider.
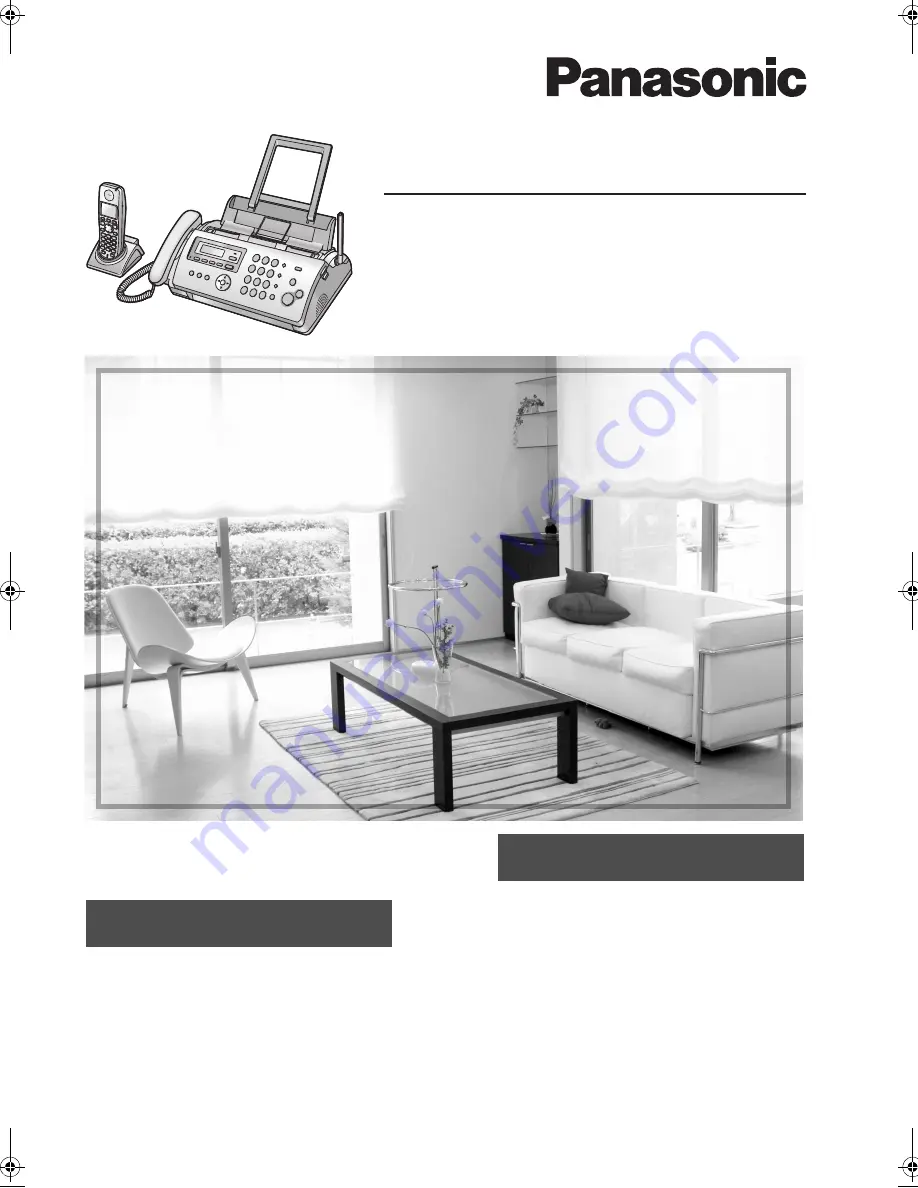
Operating Instructions
Compact Plain Paper Fax with DECT
Model No.
KX-FC255AL
Charge the battery for about 7 hours
before initial use.
Be sure to use the telephone line cord
included in this unit.
FC255AL-PFQX2639ZA-en.
Page 1 Friday, April 21, 2006 1:50 PM
Summary of Contents for KX-FC255AL
Page 82: ...82 Notes ...
Page 83: ...83 Notes ...


