Oliver 6910, Owner'S Manual
The Makita 6910 Instruction Manual is a comprehensive guide that ensures users can operate their power tool with confidence. Available for free download on our website, this manual provides detailed instructions and invaluable tips to maximize the efficiency and durability of your Makita product. Visit manualshive.com to access your digital copy today.
Share
Download


Reviews:
No comments
Related manuals for 6910

9031
Brand: Makita Pages: 3

1510
Brand: Unior Pages: 4

9403
Brand: Makita Pages: 3

9404
Brand: Makita Pages: 3

6303
Brand: Oliver Pages: 50

BO6030
Brand: Makita Pages: 2

9227C
Brand: Makita Pages: 3

9032
Brand: Makita Pages: 9

BO5010
Brand: Makita Pages: 2

PV7001C
Brand: Makita Pages: 2

BO4900V
Brand: Makita Pages: 3

PW5001C
Brand: Makita Pages: 3

M9204
Brand: Makita Pages: 6

BO4900V
Brand: Makita Pages: 14

PV7000C
Brand: Makita Pages: 15

SA4540C
Brand: Makita Pages: 12

9227CY
Brand: Makita Pages: 28
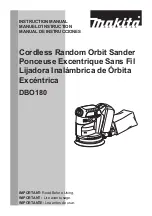
DBO180
Brand: Makita Pages: 28


