


Ohaus Corporation
Ohaus Corporation
Ohaus Corporation
Ohaus Corporation
Ohaus Corporation
29 Hanover Road
Florham Park, NJ
07932-0900
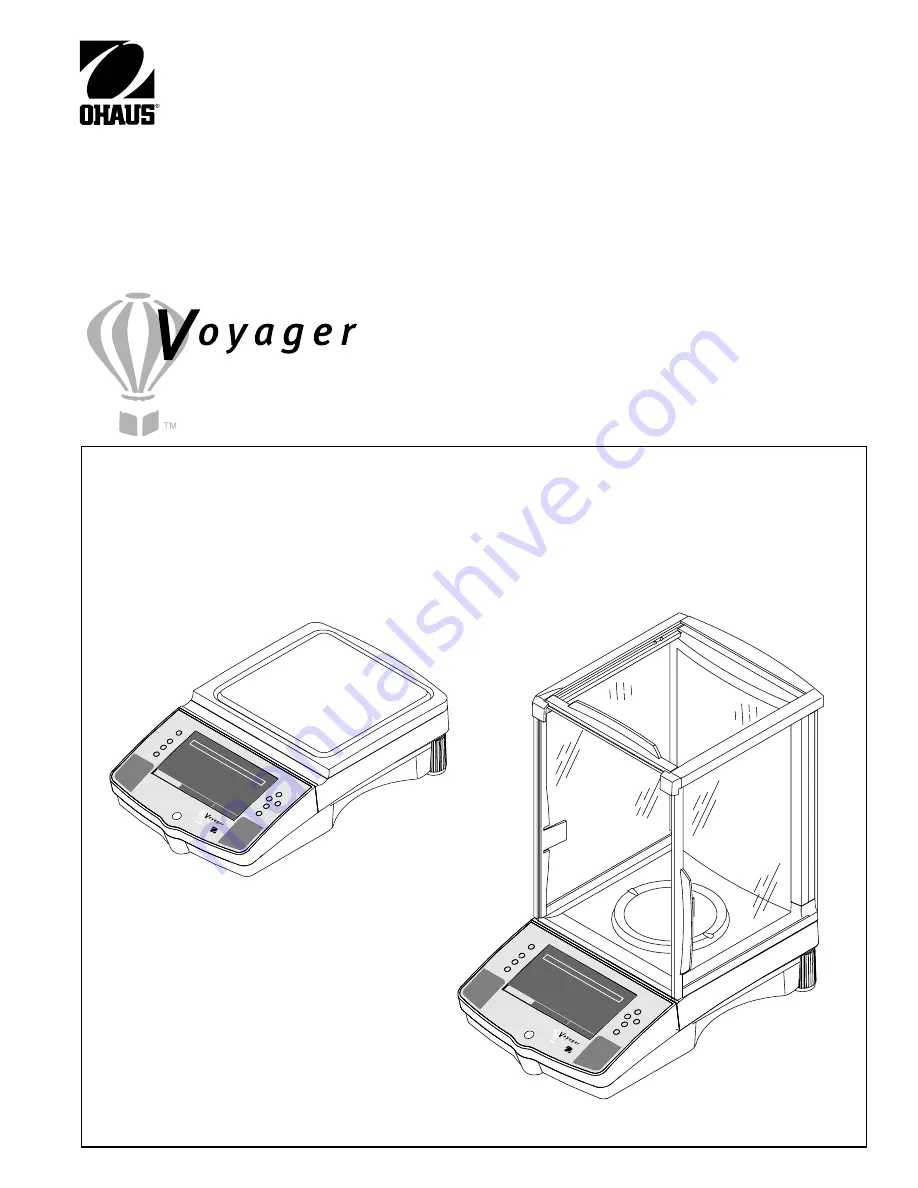
INSTRUCTION MANUAL
Balances
>O/T<
>O/T<
0.00
WEIGHT
0%
100%
CONTRAST
GRAMS
STABLE
MOVE HIGHLIGHT
CONTRAST
MAIN MENU
Enter
Go Back
Heip
OHAUS
®
>O/T<
>O/T<
0.000
WEIGHT
0%
100%
CONTRAST
GRAMS
STABLE
MOVE HIGHLIGHT
CONTRAST
MAIN MENU
Enter
Go Back
Help
OHAUS
®
Summary of Contents for Voyager Balances
Page 61: ...55...
Page 62: ...56...
Page 65: ...1 Ohaus Corporation 29 Hanover Road Florham Park NJ 07932 0900 Operating instructions balances...
Page 154: ...Operating instructions balances O T O T O T O T OHAUS...
Page 243: ......
Page 245: ......


