background image

Axis IP Camera Settings

1.

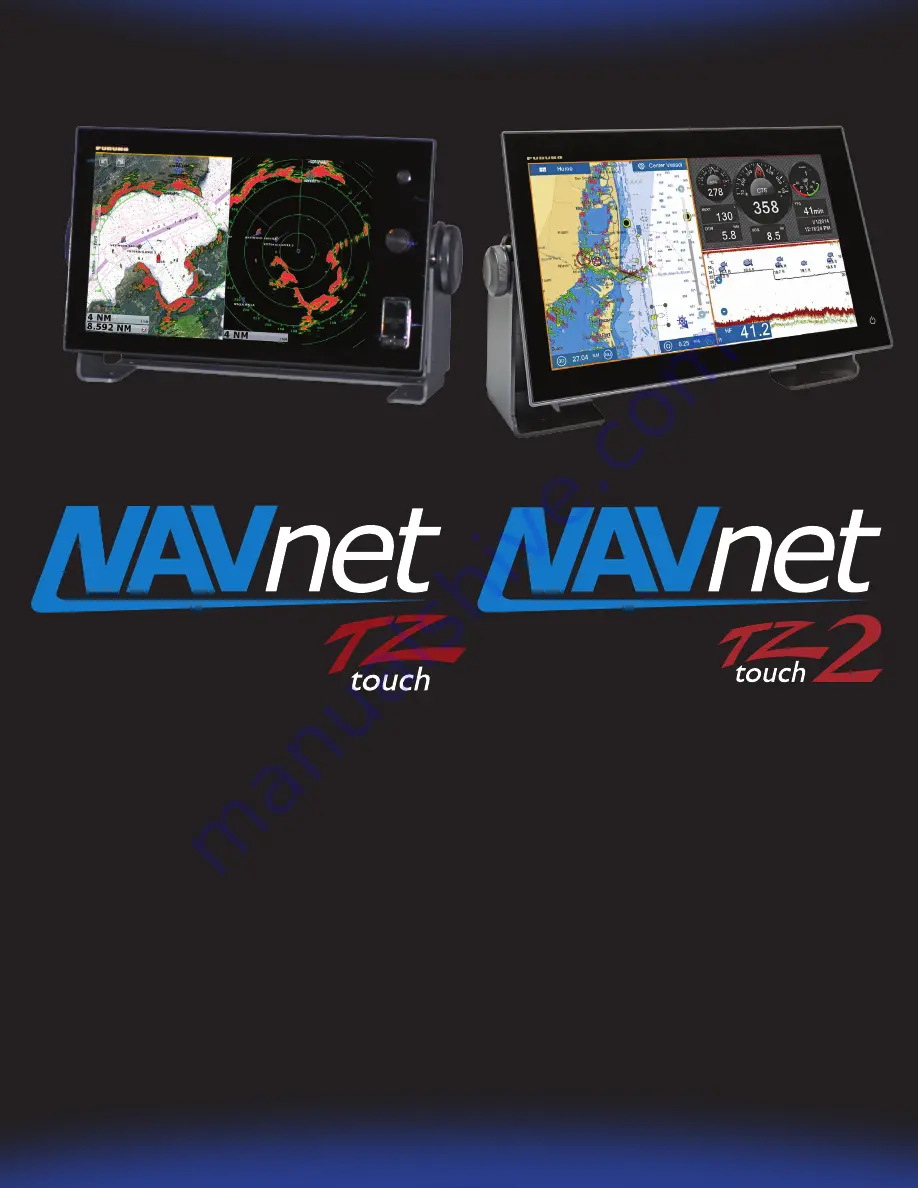
Introduction – NavNet TZtouch/2 with Axis

2.

Overview

2.1.  Summary – Setup Procedure

2.2.  Latest Axis Cameras Compatible 

with H.264 Format

2.3.  Tested Axis Video Servers at FEC

3.

Setting up a PC

4.

Setting up Axis IP Camera

4.1.  Setting up IP Address of Axis IP 

Camera

4.2.  Configuring Axis IP Camera

5.

Setting up Axis Video Server

5.1.  Setting up IP Address of Axis Video 

Server

5.2.  Configuring Axis Video Server

6.

Showing Camera Images

6.1.  Checking Axis IP Camera(s) in 

Menu

6.2.  Checking Axis Video Server(s) in 

Menu

7.

Tips – 4 x IP C 2 x Video Servers

Summary of Contents for TZtouch

Page 1: ...ers at FEC 3 Setting up a PC 4 Setting up Axis IP Camera 4 1 Setting up IP Address of Axis IP Camera 4 2 Configuring Axis IP Camera 5 Setting up Axis Video Server 5 1 Setting up IP Address of Axis Video Server 5 2 Configuring Axis Video Server 6 Showing Camera Images 6 1 Checking Axis IP Camera s in Menu 6 2 Checking Axis Video Server s in Menu 7 Tips 4 x IP Cameras 2 x Video Servers ...

Page 2: ...eras from the TZT9 14 BB and TZTL12F 15F it is necessary to assign an IP address to each Axis IP camera This procedure will require a Windows PC connected via Ethernet to the Axis IP camera s Pre wiring and installing the cameras on the vessel first is recommended so that all Axis IP cameras can be networked to the PC through a hub and can be configured at the same time It will be necessary to set...

Page 3: ...ng Axis video servers were used for tests M7014 http www axis com products cam_m7014 index htm Analog Input Four 4 channels Ethernet Output One 1 channel P7214 http www axis com products cam_p7214 index htm Analog Input Four 4 channels Ethernet Output One 1 channel ...

Page 4: ...This section describes how to assign a dedicated IP address to a PC 1 Access Start Control Panel 2 Open Network and Sharing Center 3 Open Change adapter settings 4 Right click on Local Area Connection and select Properties ...

Page 5: ...s on Step 6 and 5 Note It takes up to 20 seconds for the new IP to be recognized A popup window on the bottom right corner should show when the IP is correctly set Turn OFF any Firewall that could prevent data from being exchanged between the Axis camera and the PC You may also have to restart your computer IP address 172 31 3 50 Subnet mask 255 255 0 0 ...

Page 6: ...Camera No 2 Axis IP Camera No 3 Axis IP Camera No 4 172 031 200 003 172 031 200 004 172 031 200 005 172 031 200 006 In this example two 2 sets of Axis M1011 are used 1 Load the Axis CD Network video products which is included with the camera The Autorun software should appear If the autorun is not working on your computer browse the CD and double click on Setup 2 Select Install Product 3 Click on ...

Page 7: ...amera models in multiple locations MAKE SURE to WRITE DOWN the IP camera s serial numbers which can be found on the back of the camera with the intended location to help correctly assign the IP camera s name 6 To change the IP address select a camera and click on assign new IP address to selected device button 7 Enter the correct IP address and click on Assign In this example 172 31 200 3 will be ...

Page 8: ...ra s 10 After the IP address is changed restart the camera power OFF ON 4 2 Configuring Axis IP Camera Axis IP cameras need to be configured using a Web browser 1 Enter the IP address of the IP camera In this example http 172 31 200 4 is entered 2 The camera configuration page will open Click on Setup to access the configuration page ...

Page 9: ...k on the yellow bar and choose Install ActiveX ActiveX is a registered trademark or a trademark of Microsoft Corporation in the United States and or other countries 4 After entering the ID and password the Setup page will open 5 In Basic Setup 1 Users select Enable anonymous viewer login and click on Save 6 In Basic Setup 3 Date Time select Synchronize with computer time and click on Save ID root ...

Page 10: ...n supported by the M1011 Tips As another example with the Axis M5013 supporting a higher resolution than the M1011 set Resolution to 800x600 4 3 8 In Basic Setup 4 Video Stream H 264 or MPEG 4 H 264 tab set as follows Optional Settings 1 PTZ When using a PTZ moving camera you can set up the default Home position In PTZ configuration Preset Positions adjust the view of the default camera position u...

Page 11: ... and select Use current position as Home Click on Add to validate If you do not need the camera to return to the Home position automatically after 30 sec just put 0 and validate 2 Aspect Ratio Correction Some Axis IP camera models have a setting option of aspect ratio correction in Basic Setup 4 Video Stream Make sure to select Aspect ratio correction ...

Page 12: ...e Axis M7014 is used Follow the Step 1 to 4 in Section 4 1 5 Double click on AXIS IP Utility to open the program The following window will open showing the detected cameras in the network 6 To change the IP address select a camera and click on assign new IP address to selected device button 7 Enter the correct IP address and click on Assign In this example 172 31 200 7 will be assigned It will tak...

Page 13: ...e camera configuration page will open Click on Setup to access the configuration page 3 You will be asked for an ID and password Enter the following ID and password and click on OK Note When the webpage loads pay attention to the top of the page to authorize the installation of the ActiveX Click on the yellow bar and choose Install ActiveX ActiveX is a registered trademark or a trademark of Micros...

Page 14: ...anonymous viewer login and click on Save 6 In Basic Setup 3 Date Time select Synchronize with computer time and click on Save 7 In Basic Setup 4 Video Stream Video 1 to Video 4 and Quad Stream Image tab select Aspect ratio correction set Resolution to 4CIF 640 x 480 and Compression to 30 and click on Save ...

Page 15: ...a s in Menu 1 After the interconnection and setup of IP cameras finish check that they are detected in the TZT9 14 BB and TZTL12F 15F network accessing Menu Settings Camera IP Camera 1 to IP Camera 4 Detected Disconnected or Not Detected When the camera is detected the symbol appears When the camera is disconnected or not detected the symbol appears 2 Available IP camera sources are displayed in t...

Page 16: ...cted At default Server is set to OFF Turn it ON to show detailed settings When the video server is detected the symbol appears You can turn ON OFF the Quad Mode and Input 1 to Input 4 according to your preference In this example everything is ON When the video server is disconnected or not detected the symbol appears 2 Available video server sources are displayed in the RotoKey menu In this exampl...

Page 17: ...mera M1011 No 1 172 031 200 003 2 IP Camera M1011 No 2 172 031 200 004 3 IP Camera M1011 No 3 172 031 200 005 4 IP Camera M1011 No 4 172 031 200 006 5 Video Server M7014 172 031 200 007 6 Video Server P7214 172 031 200 008 1 All the IP cameras and video servers are assigned with dedicated IP addresses as shown in the AXIS IP Utility 2 All the IP cameras and video servers are detected by the TZT14 ...

Page 18: ...ly shown on both quarter 1 4 screens as shown at right To see each camera image manually switch sources between each source on one camera screen as shown at left because it is NOT compatible with the scrolling function To get multiple camera images to show at the same time on a TZTL12F 15F use analog cameras connected to a Quad server and display the combined image on a full screen END All brand a...

Reviews: