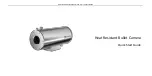
MRC IR-CAM-FEVER, Quick Start Manual
The MRC IR-CAM-FEVER is a cutting-edge infrared camera designed to detect and monitor body temperature quickly and accurately. Ensure proper usage by downloading the free Quick Start Manual from our website. Stay informed and keep your workspace safe with this essential tool. Download your manual today!
Share
Download


Reviews:
No comments
Related manuals for IR-CAM-FEVER
HM-TD2H37T-10/X
Brand: Hikmicro Pages: 9

HDC1580
Brand: Sony Pages: 50

HDC3100
Brand: Sony Pages: 56
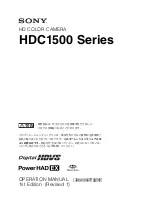
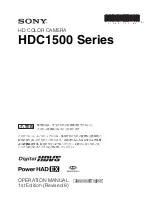
HDC1500 Series
Brand: Sony Pages: 62

HDC5500
Brand: Sony Pages: 63
HDC1400
Brand: Sony Pages: 65
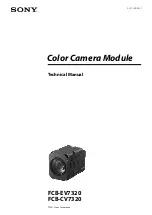
FCB-CV7320
Brand: Sony Pages: 70

FCB-CV7520
Brand: Sony Pages: 71
HDC-950 Series
Brand: Sony Pages: 120
HDC-900 Series
Brand: Sony Pages: 203

super motion hdc4300
Brand: Sony Pages: 206

1.4i
Brand: Redlake MASD Pages: 38

ST-BTLI540IRVF-B
Brand: Security Tronix Pages: 4

Testo 876
Brand: The Snell Group Pages: 2

CE-X-36
Brand: Ros Pages: 29

FTI 300
Brand: geo-FENNEL Pages: 52


