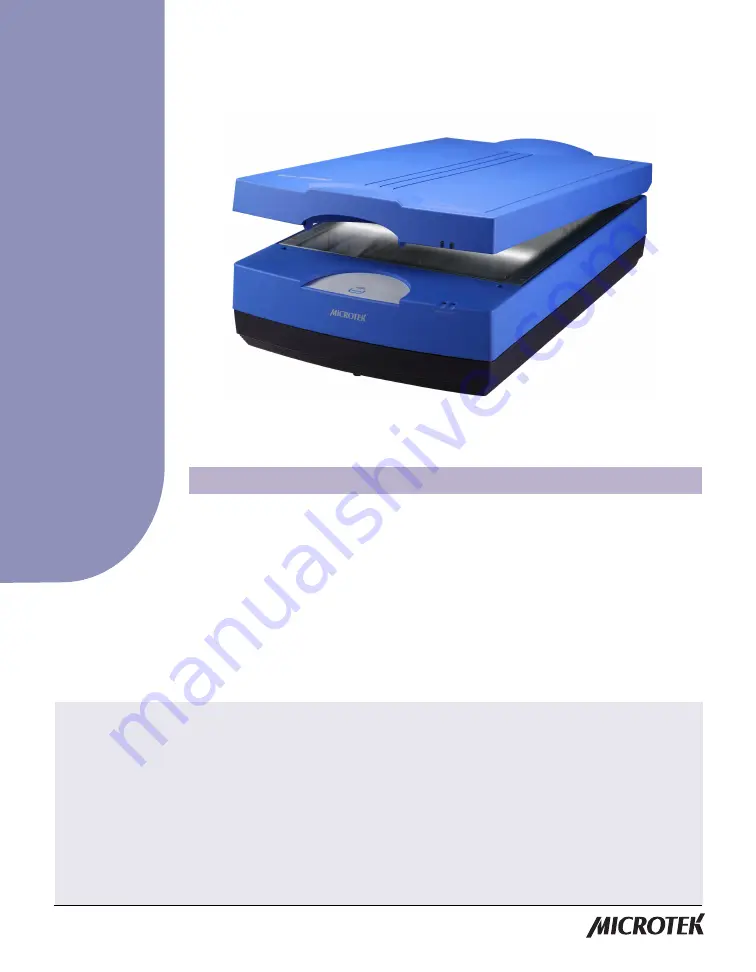
Getting to Know Your Bio-6000
The Bio-6000 is a professional gel scanner specially designed and optimized for image
capture of biological samples from gels or transparent film. It features an A3-sized
scan bed, 48-bit color depth, 3200 x 6400-dpi optical resolution, and one Smart-Touch
button on the front panel for an easy access to the scan function. With a Dmin of
0.05D and a Dmax of 3.77D, the Bio-6000 can deliver a wide dynamic range to
enhance the image quality in both bright and dark areas of the image. Additionally,
the Bio-6000 also lets you scan reflectives and prints up to 11.6" x 16.9" in size,
convenient for any biological laboratory use.
Copyright © 2014 Microtek International, Inc. http://www.microtek.com
I49-004826 E, January 2014
Contents
Getting to Know Your Bio-6000 ....................................................................... 1
Features of the Bio-6000 .................................................................................. 2
Taking a Closer Look ........................................................................................ 3
Initial Setup ...................................................................................................... 4
Step 1: Unpacking Package Contents ................................................... 4
Step 2: Installing the Software .............................................................. 5
Step 3: Unlocking the Scanner .............................................................. 6
Step 4: Installing the TMA ...................................................................... 7
Step 5: Connecting the Scanner ............................................................ 8
Using the U-Shaped Ruler (Calibration Ruler) ............................................... 9
Positioning Electrophoresis Gels/Film or Transparent Film ....................... 10
Positioning Reflective Materials ................................................................... 10
The Black Plate ................................................................................... 11
Your First Scan ............................................................................................... 12
Scanning Scenarios ....................................................................................... 14
Scanning Electrophoresis Gels or Film ................................................ 15
Scanning Reflective Materials ............................................................... 17
Specifications / System Requirements ........................................................ 19
FCC Compliance Statement .......................................................................... 20
Bio-60
0
0
f
e
a
tu
re
s
,
scenarios, and inf
ormation
User Guide