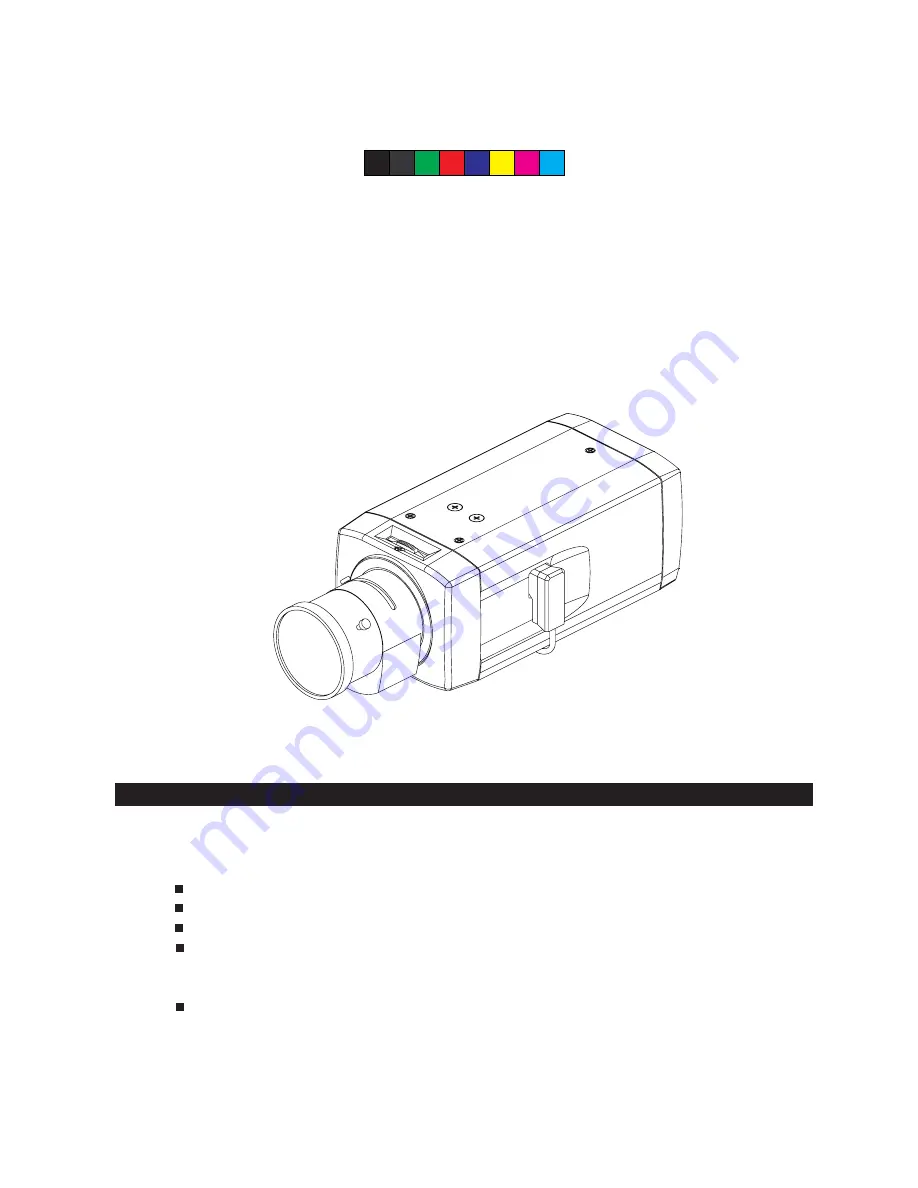
background image

Wide-Dynamic Range

Real Day/Night Camera 

 Instructions Manual

Before attempting to connect or operate this product, please read these instructions 

carefully and save this manual for future use.

CONTENTS

PRECAUTION ..................................................................

IMPORTANT SAFTY INSTRUCTIONS....................................

NOTES OF USE.................................................................

SETUP PROCEDURES........................................................

 •

MAIN CAMERA SETUP MENU1

..................................................

 •

MAIN CAMERA SETUP MENU2

..................................................

SPECIFICATIONS..............................................................

290. A.7

ZEIM-0050692G

2
3
4
6
9
15
20

C

M

Y

CM

MY

CY

CMY

K

ZEIM-0050692G-A.7_English.pdf   2008/7/21   ¤W¤È 10:40:26

Summary of Contents for SCB290-HN5

Page 1: ...erate this product please read these instructions carefully and save this manual for future use CONTENTS PRECAUTION IMPORTANT SAFTY INSTRUCTIONS NOTES OF USE SETUP PROCEDURES MAIN CAMERA SETUP MENU1 MAIN CAMERA SETUP MENU2 SPECIFICATIONS 290 A 7 ZEIM 0050692G 2 3 4 6 9 15 20 C M Y CM MY CY CMY K ...

Page 2: ...in a commercial environment This equipment generates uses and can radiate radio frequency energy and if not installed and used in accordance with the instruction manual may cause harmful interference to radio communications Operation of this equipment in a residential area is likely to cause harmful interference in which case the user will be required to correct the interference at his own expense...

Page 3: ...ikely to be walk ed on or pinched by items placed upon or against them paying particu lar attention to cords at plugs scre ws and the point where they exit from such as a bookcase or rack unless proper ventilation is provided or the manufacturer s instructions have been adhered to 10 Servicing Do not attempt to service this video product yourself as opening or remo ving covers may expose you to da...

Page 4: ...on Use this button to move the cursor upward or to select different settings in the OSD menu 5 Left button Use this button to move the cursor to the left or to exit the selected item in the OSD menu 6 Enter button Use this button to enter the selected item or to confirm the settings in the OSD menu 7 Down button Use this button to move the cursor downward or to select different settings in the OSD...

Page 5: ... of respective apparatus 13 DC12V AC24V power connector Connect this connector to the respe ctive power DC12V AC24V model only WARNING This apparatus must be EARTHED 14 AC90V 260V Connect this connector to the respe ctive power AC90 260V model only WARNING This apparatus must be EARTHED 1 Iris connector 2 RJ45 connector NO Video Lens DC Lens 1 12V Damp 2 NC Damp 3 Video Drive 4 GND Drive NO Functi...

Page 6: ...E M I D P T Z S E T M I R R O R O F F P R I V A C Y Z O N E O F F I D S E T T I N G B L E M I S H D E T F L I C K E R L E S S O F F B A C K E X I T C A N C E L D E F A U L T P R I V A C Y Z O N E M E N U P R I V A C Y Z O N E O F F B L O C K 1 S E T C L R E X I T C L E A R A L L MAIN MENU 2 PRIVACY ZONE SETUP ALC ELC SETUP A D D R E S S 0 0 1 P R O T O C O L P E L C O P B A U D R A T E 4 8 0 0 S O...

Page 7: ...ge the setti ngs of the selected item NOTE When an item is selected it will start blinking Up button Left button Enter button Right button Down button When satisfied all the settings move the cursor to the EXIT item and press the enter button to exit the OSD setup menu You can also restore the settings to factory default by moving the cursor to the DEFAULT item then press the Enter button You can ...

Page 8: ...ting to be either PELCO P or PELCO D PELCO P Camera can be controlled by PELCO P protocol PELCO D Camera can be controlled by PELCO D protocol NOTE Camera controller must have the same protocol and baud rate with the camera before it can control the camera 4 Software version This item indicates the firmware ver sion of the camera This information will be useful in future maintainese or RMA needs 5...

Page 9: ...era will switch between from B W to color mode at brighter lighting conditions respectablly to the LOW setting LOW The camera will switch between from B W to color mode at darker lighting conditions respectablly to the HIGH setting When satisfied all the settings move the cursor to other items or to the EXIT item and press the enter button to exit OSD setup menu You can also restore the settings t...

Page 10: ... wider than conventional camera You can see both bright objects and dark objects clearly in the same monitor OFF In this mode the WD wide dynamic function is not activated NOTE WD function is not available during ELC mode Please set up WD LEVEL and WD CONTRAST as user s demands or environment conditions WD LEVEL Press the Right or Left button to move the WD level indicator between the ten levels 1...

Page 11: ...eed setting to OFF AUTO or Manual 1 60sec 1 120K sec The available settings might be different because of in ELC or ALC modes please refer to the table below SETUP PROCEDURES When satisfied all the settings move the cursor to other items or to the EXIT item and press the enter button to exit OSD setup menu You can also restore the settings to factory default or cancel all the modifica tion you mad...

Page 12: ...0s 1 30s P 1 50s 1 25s X4 N 1 60s 1 15s P 1 50s 1 13s X6 N 1 60s 1 10s P 1 50s 1 8s X8 N 1 60s 1 7s P 1 50s 1 6s X12 N 1 60s 1 5s P 1 50s 1 4s X16 N 1 60s 1 4s P 1 50s 1 3s X20 N 1 60s 1 3s P 1 50s 1 2 5s X40 N 1 60s 1 1 5s P 1 50s 4 5s X80 N 1 60s 4 3s P 1 50s 8 5s X160 N 1 60s 8 3s P 1 50s 16 5s X320 N 1 60s 16 3s P 1 50s 32 5s remark N NTSC P PAL SETUP PROCEDURES 6 Sens up Slow shutter setup Mo...

Page 13: ...NT The camera is in internal sync mode LL The camera is in line lock sync mode You can adjust the phase angle from 0 300 degree accordingly NOTE For camera using DC power the OSD will show instead of INT but the sync will be set INT automatically When satisfied all the settings move the cursor to other items or to the EXIT item and press the enter button to exit OSD setup menu You can also restore...

Page 14: ...Colour te mperature range is 2600 K 6000 K ATW2 The camera will use TTL autotra ce white balance algorithm to implement a perfect colour reproduction Colour te mperature range is 2500 K 10000 K MANUAL You can setup the white balan ce by adjusting the R and B red and blue values Note The default setting R 15 B 15 BLC3 You can see the active area of BLC3 function It covers lower half size of the mon...

Page 15: ...t the gamma value to 0 45 or 1 0 45 The camera s gamma value is set to 0 45 This value is generally used in CCTV monitoring 1 The camera s gamma value is set to1 This value is generally used in image processing When satisfied all the settings move the cursor to other items or to the EXIT item and press the enter button to exit OSD setup menu You can also restore the settings to factory default or ...

Page 16: ...acy zone function is off Move the cursor to the setting to the right of E ZOOM by pressing the Up or the down button Press the Right or Left button to move the zoom indicator between the levels And set the pan and tilt as well 1X zoom 2X zoom NOTE This function is not available when the camera is in WD mode 4 P T Z setup When satisfied all the settings move the cursor to other items or to the EXIT...

Page 17: ...ll the privacy zone settings previously made by moving the cursor to the CLEAR ALL item then press the Enter button B Masking area setup SETUP PROCEDURES 7 Camera ID setup Move the cursor to the setting to the right of ID by pressing the Up or the Down button Then press the Enter button the PRIVACY ZONE setup menu appears on the monitor A Display position setup When satisfied all the settings move...

Page 18: ...tton Press the Enter button to move the cursor to the alphabet table below Choose one of the letter by using Up Down Left Right button then press the Enter button to choose which one you want and the cusor will move to the next automatically Repeat step3 to setup other charact ers of the camera ID When satisfied all the settings move the cursor to the EXIT item and press the enter button to exit t...

Page 19: ...et as PELCO P protocal as well 3 BAUD RATE The baud rate on the software should be the same as the setting of the camera A D D R E S S 0 0 1 P R O T O C O L P E L C O P B A U D R A T E 4 8 0 0 S O F T V E R A X X E X I T D E F A U L T COM PORT setting Select the COM PORT on the computer which is the software output port When the settings are complete correct the light on the right top corner of th...

Page 20: ...manual B C G Yes Remote control Pelco P Pelco D via RS485 RJ45 interface Remote control via computer with remote controller software Electric shutter Auto 1 60 1 50 to 1 120 000sec manual Auto slow shutter from 0 04 sec to up to 5 3 sec BLC1 BLC2 BLC3 BLC4 User define off More than 50dB AGC off Video DC driver Auto normal turbo OFF ATW1 ATW2 manual 2X YES 0 45 1 0 selectable Minimum illumination D...

Reviews: