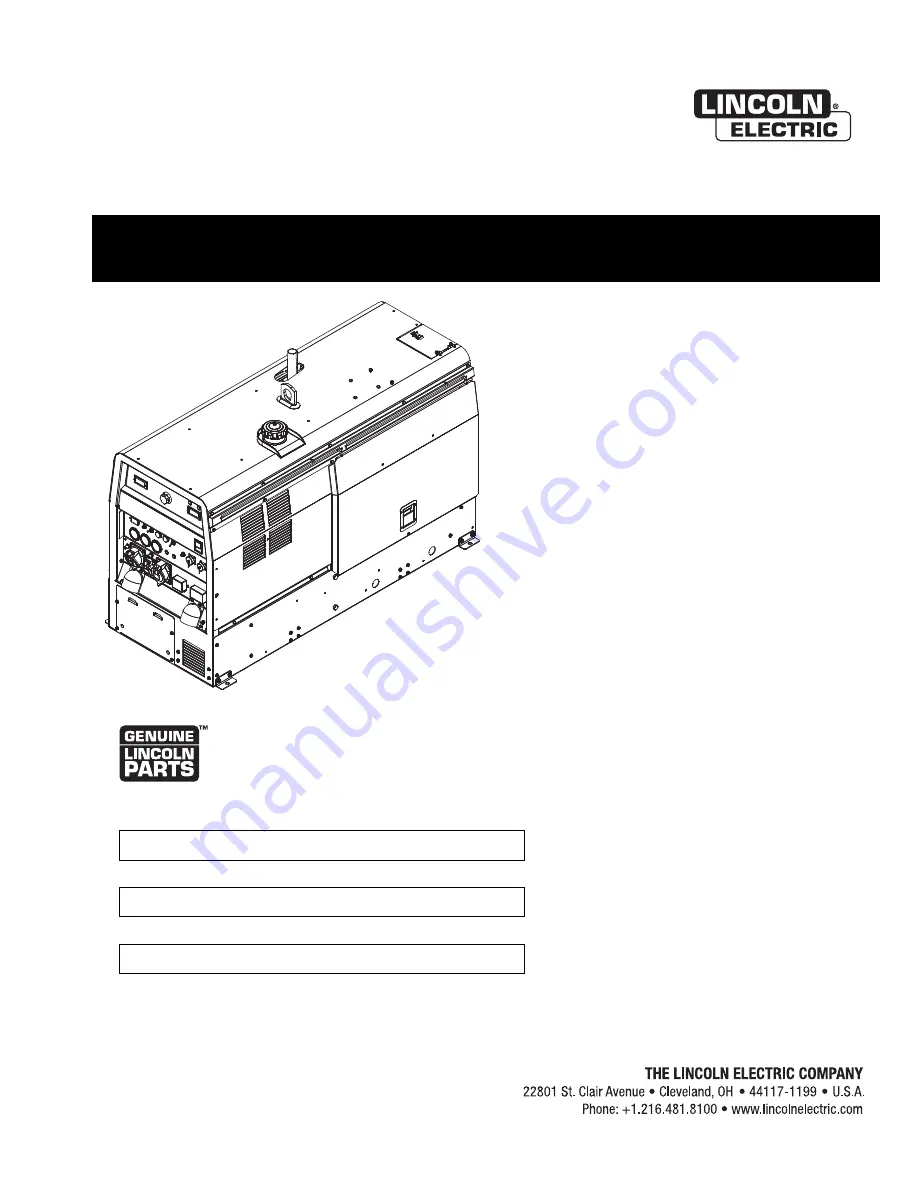
background image

Operator’s Manual

Vantage

®

500 (CE)

Register your machine:  

www.lincolnelectric.com/register

Authorized Service and Distributor Locator:  

www.lincolnelectric.com/locator

IM894-F

|   Issue D ate Oct-16

© Lincoln Global, Inc.  All Rights Reserved.

For use with machines having Code Numbers:

11298, 11299, 11524, 11525,
11574, 11575, 11963, 12196,
12333, 12364, 12657

Need Help? Call 1.888.935.3877 

to talk to a Service Representative

Hours of Operation: 

8:00 AM to 6:00 PM (ET) Mon. thru Fri.

After hours? 

Use “Ask the Experts” at lincolnelectric.com
A Lincoln Service Representative will contact you 
no later than the following business day.

For Service outside the USA: 

Email: [email protected]

Save for future reference  

Date Purchased

Code: (ex: 10859)

Serial: (ex: U1060512345)

Summary of Contents for Vantage 500 CE

Page 1: ...298 11299 11524 11525 11574 11575 11963 12196 12333 12364 12657 Need Help Call 1 888 935 3877 to talk to a Service Representative Hours of Operation 8 00 AM to 6 00 PM ET Mon thru Fri After hours Use Ask the Experts at lincolnelectric com A Lincoln Service Representative will contact you no later than the following business day For Service outside the USA Email globalservice lincolnelectric com Sa...

Page 2: ...s compatible This may require additional protection measures h the time of day that welding or other activities are to be carried out The size of the surrounding area to be considered will depend on the structure of the building and other activities that are taking place The surrounding area may extend beyond the boundaries of the premises methods of reduCIng emIssIons Mains Supply Welding equipme...

Page 3: ... Lincoln Electric Wire Feeders A 7 A 8 ________________________________________________________________________________ Operation Section B Safety Precautions B 1 General Description B 1 For Auxiliary Power B 1 Engine Operation B 1 Add Fuel B 1 Break in Period B 1 Welder Controls B 2 B 3 Engine Controls B 4 Fuel Consumption B 4 Starting and Stopping the Engine B 4 B 5 Welding Operation B 5 Duty Cy...

Page 4: ...ng Optional Spark Arrestor D 5 Welder Generator Maintenance D 6 Storage D 6 Cleaning D 6 Brush Removal and Replacement D 6 ________________________________________________________________________ Troubleshooting Section E How to Use Troubleshooting Guide E 1 Troubleshooting Guide E 2 thru E 6 ________________________________________________________________________ Connection Diagrams Wiring Diagra...

Page 5: ...tem Electric shutoff solenoid Indirect fuel injector AIR CLEANER ENGINE IDLER MUFFLER ENGINE PROTECTION Low noise Muffler Shutdown on low oil Single Element Automatic Idler Top outlet can be rotated pressure high engine Made from long life aluminized steel coolant temperature ENGINE WARRANTY 2 years 2000 hours all non electric components 3 years major non electric components Welding Process DC Con...

Page 6: ...kers 400V 3 Ph x 1 230V 1 Ph x 1 115V x 1 5 14 Pin Connector 6 Pin Connector 4 pole 25Amp 30mA trip current 3 Phase 25 Amp x 1 1 phase 15 Amp x 1 for 230V 30 Amp x 2 for 115V 400V 3 Ph x 1 230V 1 Ph x 2 14 Pin Connector 6 Pin Connector 4 pole 25Amp 30mA trip current 3 Phase 25 Amp x 1 1 phase 15 Amp x 2 10A for Engine Battery Charging Circuit 10A for Wire Feeder Power 5 Center Tapped to ground ...

Page 7: ...f other safety issues such as heat generated damage burns and fires The machine is shipped with the VRD switch in the Off position To turn it On or Off Turn the engine Off Disconnect the negative battery cable Lower the control panel by removing 4 front panel screws See Figure A 1 Place the VRD switch in the On or Off position See Figure A 1 With the VRD switch in the On position the VRD lights LO...

Page 8: ...t of Lincoln equipment and likely additional attachments 2 Proper support of and attachment to the base of the welding equipment so there will be no undue stress to the framework 3 Proper placement of the equipment on the trailer to insure stability side to side and front to back when being moved and when standing by itself while being operated or serviced 4 Typical conditions of use i e travel sp...

Page 9: ...TAGE 500 CE A 5 MUFFLER OUTLET PIPE Using the clamp provided secure the outlet pipe to the outlet tube with the pipe positioned such that it will direct the exhaust in the desired direction Tighten using a 9 16 14mm socket or wrench SPARK ARRESTER Some federal state or local laws may require that gasoline or diesel engines be equipped with exhaust spark arresters when they are operated in certain ...

Page 10: ...t A machine grounding stud marked with the symbol is provided on the front of the welder WELDING TERMINALS The VANTAGE 500 CE is equipped with a toggle switch for selecting hot welding terminal when in the WELD TERMINALS ON position or cold welding terminal when in the REMOTELY CONTROLLED position WARNING WELDING OUTPUT CABLES With the engine off connect the electrode and work cables to the output...

Page 11: ...cess started When welding is stopped the engine will revert to low idle speed after approximately 12 seconds unless welding is resumed A 7 INSTALLATION VANTAGE 500 CE A 7 AUXILIARY POWER The auxiliary power capacity is 16 500 watts Peak 14 500 Watts Continuous of 50 Hz three phase power The auxiliary power capacity rating in watts is equivalent to volt amperes at unity power factor The max permiss...

Page 12: ... end of the lead This is a control lead to supply current to the wire feeder motor it does not carry welding current 4 Set the MODE switch to the CV WIRE position 5 Set the WELD TERMINALS switch to WELD TERMINALS ON 6 Set the ARC CONTROL knob to 0 initially and adjust to suit 7 Set the IDLE switch to the AUTO position When not welding the VANTAGE 500 CE engine will be at the low idle speed If you ...

Page 13: ...e IDLER control switch to the desired operating mode Full power is available regardless of the welding control settings providing no welding current is being drawn ENGINE OPERATION Before Starting the Engine Be sure the machine is on a level surface Open side engine door and remove the engine oil dipstick and wipe it with a clean cloth Reinsert the dipstick and check the level on the dipstick Add ...

Page 14: ...CONTROL will be 40 200 amps rather than the full 40 300 amps Any current range that is less than the full range provides finer current resolution for more fine tun ing of the output When in the TOUCH START TIG mode and when an Amptrol is connected to the 6 Pin Connector the OUTPUT dial is used to set the maximum current range of the CURRENT CONTROL of the Amptrol 2 DIGITAL OUTPUT METERS The digita...

Page 15: ...ition the output is electrically hot all the time In the REMOTELY CONTROLLED position the output is controlled by a wire feeder or amptrol device and is electrically off until a remote switch is depressed 10 WIRE FEEDER VOLTMETER SWITCH Matches the polarity of the wire feeder voltmeter to the polarity of the electrode 11 VRD Voltage Reduction Device INDICATOR LIGHTS On the front panel of the VANTA...

Page 16: ...s off when the RUN STOP switch is in the ON position prior to starting the engine However if the engine is not started within 60 seconds the light will come on When this happens the RUN STOP switch must be returned to the OFF posi tion to reset the engine protection system and light 19 BATTERY CHARGING LIGHT A warning indica tor light for Low No battery charge The light is off when the systems are...

Page 17: ...ve is located on the fuel pre filter CAUTION The ARC CONTROL dial sets the short circuit current arc force during stick welding to adjust for a soft or crisp arc Increasing the number from 10 soft to 10 crisp increases the short circuit current and pre vents sticking of the electrode to the plate while welding This can also increase spatter It is recommended that the ARC CONTROL be set to the mini...

Page 18: ...at 0 NOTE With the VRD switch in the ON position there is no output in the DOWNHILL PIPE mode For indicator light operation see table B 1 TIG WELDING The TOUCH START TIG setting of the MODE switch is for DC TIG Tungsten Inert Gas welding To initiate a weld the OUTPUT CONTROL dial is first set to the desired current and the tungsten is touched to the work During the time the tungsten is touching th...

Page 19: ...fference in operation with the VRD On or Off for this mode For indicator light oper ation see table B 1 WIRE WELDING CV Connect a wire feeder to the VANTAGE 500 CE according to the instructions in INSTALLATION INSTRUCTIONS Section The VANTAGE 500 CE in the CV WIRE mode permits it to be used with a broad range of flux cored wire Innershield and Outershield electrodes and solid wires for MIG welding...

Page 20: ...g spools K1870 1 LN 15 Across the Arc Wire Feeder Portable lightweight compact CC CV unit for flux cored and MIG welding Includes Gas Solenoid adjustable flow meter and internal contactor For 10 15 lb 4 5 6 8kg spools Magnum Gun and Magnum Gun Connector Kit are required for gas shielded welding Innershield Gun is required for gasless welding K126 2 Magnum 350 Innershield Gun K1802 1 Magnum 300 MIG...

Page 21: ... Perkins 140517050 C Drain water separator fuel strainer R Water separator element Lincoln M20840 A R Fuel filter canister Perkins 130366120 I Tension of alternator drive belt I Alternator drive belt wear R Alternator drive belt Perkins 080109107 C Air filter earlier check may be req d R Air filter element Donaldson P821575 R Renew the engine breather I Tighten cylinder head I Valve clearances Int...

Page 22: ...the oil container to be sure it includes the letters indicated Note An S grade oil must not be used in a diesel engine or damage may result It IS permissible to use an oil that meets S and C grade service classifi cations SAE 10W30 is recommended for general all tempera ture use 5F to 104F 15C to 40C See engine owner s manual for more specific informa tion on oil viscosity recommendations OIL FILT...

Page 23: ...itself and distribute the sealing pressure evenly To complete a tight seal apply pressure by hand at the outer rim of the filter not the flexible center Avoid pushing on the center of the urethane end cap No cover pressure is required to hold the seal NEVER use the service cover to push the filter into place Using the cover to push the filter in could cause damage to the housing cover fasteners an...

Page 24: ...he fan belt and radiator hoses Replace if signs of deterioration are found TIGHTENING THE FAN BELT If the fan belt is loose the engine can overheat and the battery lose its charge Check tightness by press ing on the belt midway between the pulleys It should deflect about 25 in 6 4 mm under a load of 20 lbs 9 Kg FUEL At the end of each day s use refill the fuel tank to min imize moisture condensati...

Page 25: ...to the machine can result if operated at speeds above maximum CLEANING THE BATTERY Keep the battery clean by wiping it with a damp cloth when dirty If the terminals appear corroded discon nect the battery cables and wash the terminals with an ammonia solution or a solution of 1 4 pound 0 1113 kg of baking soda and 1 quart 0 9461L of water Be sure the battery vent plugs if equipped are tight so tha...

Page 26: ...p rings to wear and darken slightly Inspect the brushes when a generator over haul is necessary Do not attempt to polish slip rings while the engine is running WARNING Service and Repair should only be performed by Lincoln Electric Factory Trained Personnel Unauthorized repairs performed on this equip ment may result in danger to the technician and machine operator and will invalidate your factory...

Page 27: ...BLE CAUSE lists the obvious external possibilities that may contribute to the machine symptom Step 3 RECOMMENDED COURSE OF ACTION This column provides a course of action for the Possible Cause generally it states to contact your local Lincoln Authorized Field Service Facility If you do not understand or are unable to perform the Recommended Course of Action safely contact your local Lincoln Author...

Page 28: ...vertical position of handle 2 Fuel Filters dirty clogged Check and replace main filter element and or Inline Fuel Filter 3 Out of fuel Fill tank and bleed fuel system 4 High coolant temperature or low oil pressure indictor lights lit Check oil and coolant levels Fill if required Check for loose or bro ken fan belt 5 Faulty fuel shutdown solenoid Check that shutdown solenoid is functioning properly...

Page 29: ... sides of base and exhaust end case back 1 Dirty fuel or air filters Inspect and clean replace filters as needed Inspect and clean replace filters as needed 2 Water in fuel If water found in tank Empty fuel tank and refill then purge fuel lines 1 Faulty battery Replace 2 Loose connections at battery or alternator Clean and tighten con nections 3 Faulty engine alternator or charg er module Consult ...

Page 30: ...nkage or broken spring 2 Faulty PC board Control or Idler 1 Fuel filter clogged Replace 2 Air filter clogged clean or replace 3 High idle setting incorrect check and adjust if required 4 Valves out of adjustment 5 Fuel contaminated with water or sediment Check fuel pre filter and empty of water bleed fuel system Replace fuel in tank if needed 1 Broken spring on Idle Solenoid solenoid linkage bindi...

Page 31: ... Weld Terminals On position when welding without control cable 3 Faulty PC board or welder alterna tor 1 Poor remote control cable connec tion to 6 pin or 14 pin connector Check connections 2 Faulty remote cable or faulty wire feeder or wire feeder cable Replace if necessary 3 Faulty control potentiometer or PC board 1 Wire Feeder Power circuit breaker open Check 42V beaker and reset if tripped 2 ...

Page 32: ...ure the electrode wire gas voltage current etc is correct for the process being used 3 Check for loose or faulty connec tions at the weld output terminals and welding cable connections 4 The welding cables may be too long or coiled causing an excessive voltage drop 5 Faulty Control Board 1 Make sure VRD ON OFF toggle switch is in the OFF position 2 Poor work lead connection to work Make sure work ...

Page 33: ...F 1 DIAGRAMS F 1 VANTAGE 500 CE ...

Page 34: ...F 2 DIAGRAMS F 2 VANTAGE 500 CE ...

Page 35: ...F 3 DIAGRAMS F 3 VANTAGE 500 CE ...

Page 36: ...F 4 DIAGRAMS F 4 VANTAGE 500 CE ...

Page 37: ...or reference only It may not be accurate for all machines covered by this manual The specific diagram for a particular code is included with the machine If the diagram is illegible write to the Service Department for a replacement Give the equipment code number ...

Page 38: ...or reference only It may not be accurate for all machines covered by this manual The specific diagram for a particular code is included with the machine If the diagram is illegible write to the Service Department for a replacement Give the equipment code number ...

Page 39: ...reference only It may not be accurate for all machines covered by this manual The specific diagram for a particular code is included with the machine If the diagram is illegible write to the Service Department for a replacement Give the equipment code number ...

Page 40: ...3 0 24 00 609 6 39 41 1001 20 60 523 3 28 95 735 3 36 06 915 9 30 81 782 6 60 00 1524 0 16 75 425 4 N A N A CENTER OF GRAVITY WITH OIL IN ENGINE COOLANT IN RADIATOR AND EMPTY FUEL TANK 1 27 32 3 46 47 1180 36 6 03 153 25 62 59 1589 8 1 73 43 95 N B CASE FRONT GRAPHICS MAY NOT MATCH ALL CODES NOTES C ...

Page 41: ...NOTES VANTAGE 500 CE ...

Page 42: ...stomer s particular purpose with respect to such information or advice As a matter of practical consideration we also cannot assume any responsibility for updating or correcting any such information or advice once it has been given nor does the provision of information or advice create expand or alter any warranty with respect to the sale of our products Lincoln Electric is a responsive manufactur...

Reviews: