


Vantage
®
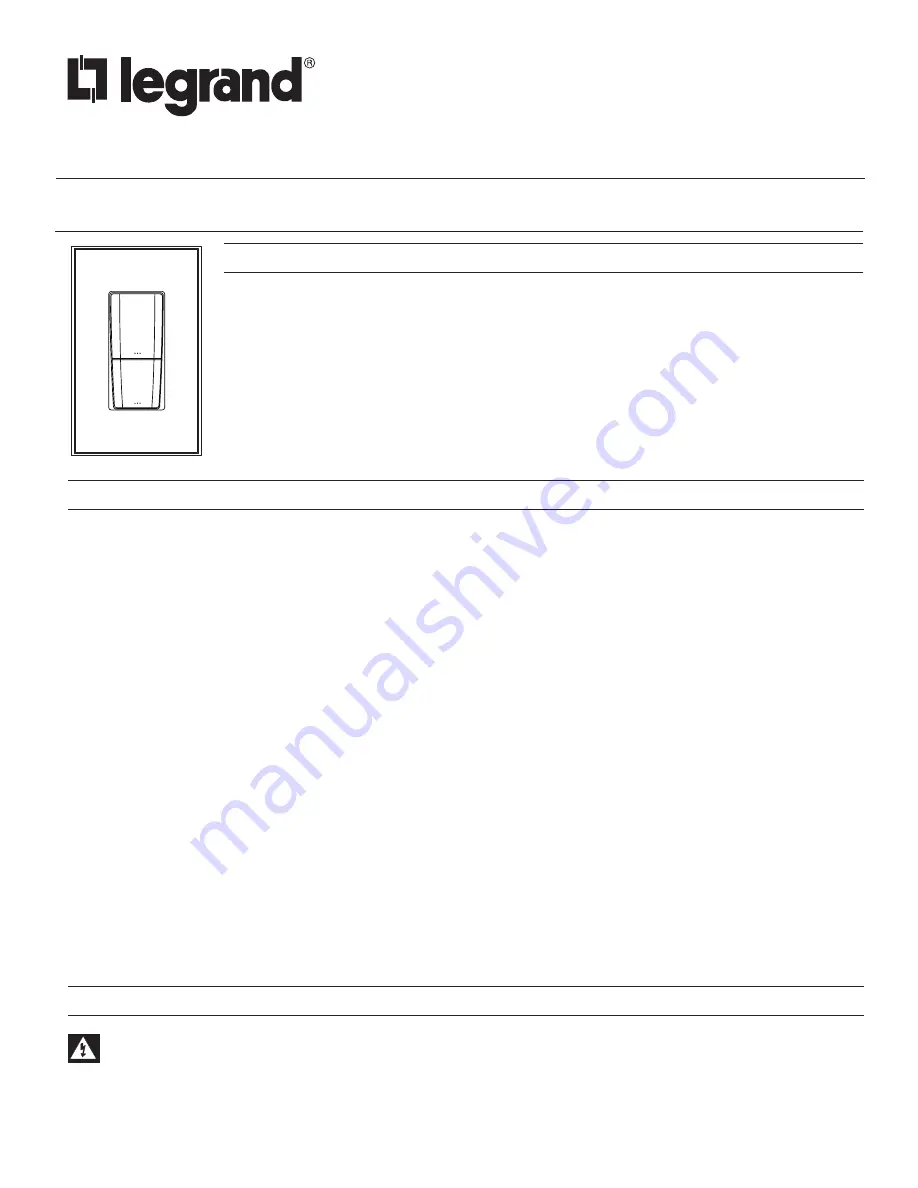
RadioLink Keypad Station
Installation Instructions • Instructions d’Installation • Instrucciones de Instalación
No: IS-00712 - rev. 2 1/20
RK12XE-XXXA • Les Numéros de Catalogue • Los Números de Catálogo:
Country of Origin: Made in China • Pays d’origine: Fabriqué en Chine • País de origen: Hecho en China
OVERVIEW
Vantage’s RadioLink Keypad Station communicates to the Vantage Control System via a radio
transceiver. The keypad comes in the EasyTouch II style and can be ganged with additional
EasyTouch II RK1 keypads and/or ScenePoint™ stations; up to 4 gangs. It is powered via the local
line feed. Once the keypad is configured and the buttons programmed, it can perform any button operation
that a standard keypad supports; this station does not have any loads and is available with two buttons,
simplifying the interface. The keypad joins Vantage’s premiere backlit line of stations. Each button is
evenly backlit with a built in diffuser and three color LED providing an array of color choices. Buttons may
be engraved or non-engraved. The backlight color can be personalized to indicate the button’s status.
Additional custom status colors may be programmed for multiple status buttons as desired. The EasyTouch
II also features an ambient light sensor for automatic day/night backlight intensity control* and a built-in IR
receiver. See Design Center software for EasyTouch II (ScenePoint) faceplate and button finishes.
NOTES TO INSTALLER
SYSTEM REQUIREMENTS AND INSTALLATION
EASYTOUCH II LEDs
Current technology does not allow LED suppliers to guarantee color values. It is common to have a slight difference among LEDs,
however, this is not too noticeable with backlit engraving. Historically, blue and red LEDs are more consistent than green LEDs.
Because of this slight variation it is recommended that one or two stations be pre-programmed with the colors the client is requesting
and that these stations be shown to the client for their final approval before ordering and installing.
EASYTOUCH II AUTO BACKLIGHT
The Auto Backlight feature for EasyTouch II will not change all stations at the same time.
Description:
EasyTouch II stations incorporate a built-in light sensor. When enabled through Vantage software the sensor will change the
brightness of the button LEDs depending on the ambient lighting. For example, in normal light the buttons would be bright. In
extremely low light conditions, as at night time with all the lights off, the buttons would be dimmed to a very low level. Many conditions
lend to the phenomenon of keypads not changing at the same time. The location of each keypad is primary. In multiple gang
situations more light may be on one part of the multi-ganged station causing the auto backlight feature to operate differently in that
section of the multi-gang. Many other lighting factors, even less noticeable to the human eye, can affect, auto backlight sensors,
intended results.
Solution:
Because manufacture variations are inherent in light sensors and the conditions mentioned above are inevitable, it is not always
practical to use the Auto Backlight feature. This feature may be turned off in Software. If the Auto Backlight feature is not working as
the client and installer intends, Vantage Controls recommends using one of the following two suggestions to control the brightness of
EasyTouch II buttons.
1. Edit the LED style for EasyTouch II buttons by creating two modes*. Each mode can use the same ON/OFF colors at very
different intensities. Create two
Time Controls
. One for
Sunrise
and one for
Sunset
. Program the time controls to assign the
appropriate mode.
-OR-
2. Create the two mode LED style as described in step one. Install a Vantage light sensor and program the light sensor to change
the modes of all the EasyTouch II stations at once in an area.
This station is compatible with InFusion Design Center software. For complete support it is recommended that firmware
and software be kept to the most current release. Installation of Vantage products should be performed or supervised by
a Certified Vantage Installer. Turn the circuit breaker off and make sure no voltage is present when the keypad is installed.
Damage caused by failure to disconnect power may void warranty and is a risk to the installer. Connect the wires as follows:
Black to LINE, White to NEUTRAL, Green to structure’s safety GROUND. Before turning the circuit breaker on, check to see
that all connections are correct.


