


101 Witmer Road, Suite 700 • Horsham, PA 19044 • Phone 1-800-521-0754 • Fax 215-442-9202
www.labrepco.com • [email protected]
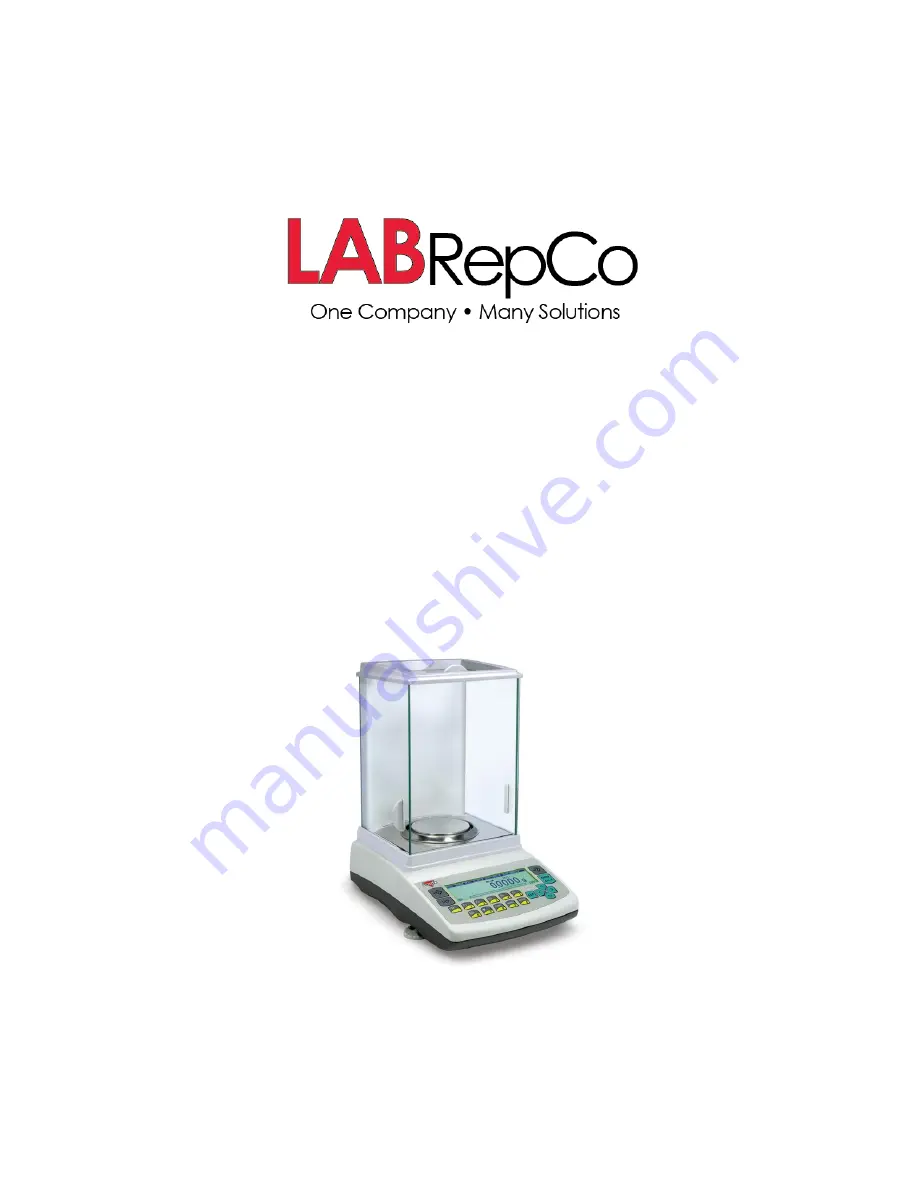
Instruction Manual for
Torbal AG and AGN Series Balances
The LabRepCo Torbal AG100 is a state-of-the-art laboratory balance, designed to deliver accurate and precise measurements. Ensure optimal performance and effective usage with our comprehensive Instruction Manual. Download it for free from manualshive.com and gain valuable insights on operating your Torbal AG100, enhancing your research capabilities.
101 Witmer Road, Suite 700 • Horsham, PA 19044 • Phone 1-800-521-0754 • Fax 215-442-9202
www.labrepco.com • [email protected]
Instruction Manual for
Torbal AG and AGN Series Balances


