Istruzioni ed avvertenze per l’installazione e l’uso
Instructions and warnings for installation and use
Instructions et avertissements pour l’installation et l’usage
Anleitungen und Hinweise zu Installation und Einsatz
Instrucciones y advertencias para su instalación y uso
Instruções e advertências para a instalação e utilização
Instrukcje i zalecenia dotyczące instalacji i użytkowania
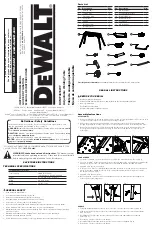
Operatore per porte automatiche scorrevoli
Operator for Automatic Sliding Doors
Opérateur pour portes coulissantes automatiques
Antrieb für automatische Schiebetüren
Actuador para puertas automáticas de corredera
Operador para portas de correr automáticas
Napęd do automatycznych drzwi przesuwnych
LEVANTE